
Hi friends! It’s finally here, the unveiling of our finished farmhouse kitchen remodel! I introduced the project to you back in July, which is when we kicked off demo. We finished the kitchen in December so in total, it took us 5 months. Words can’t express how happy I am to have a new kitchen and how excited I am to finally share it!!
Before we jump in, here’s a look back at all of the kitchen-related blog posts along the way that document the design and construction process:
- Kitchen Remodel Project Introduction
- Cabinet Planning & Remodel Update
- Week 4 Remodel Update
- Week 9 Remodel Update
- Kitchen Update: Putting it Back Together
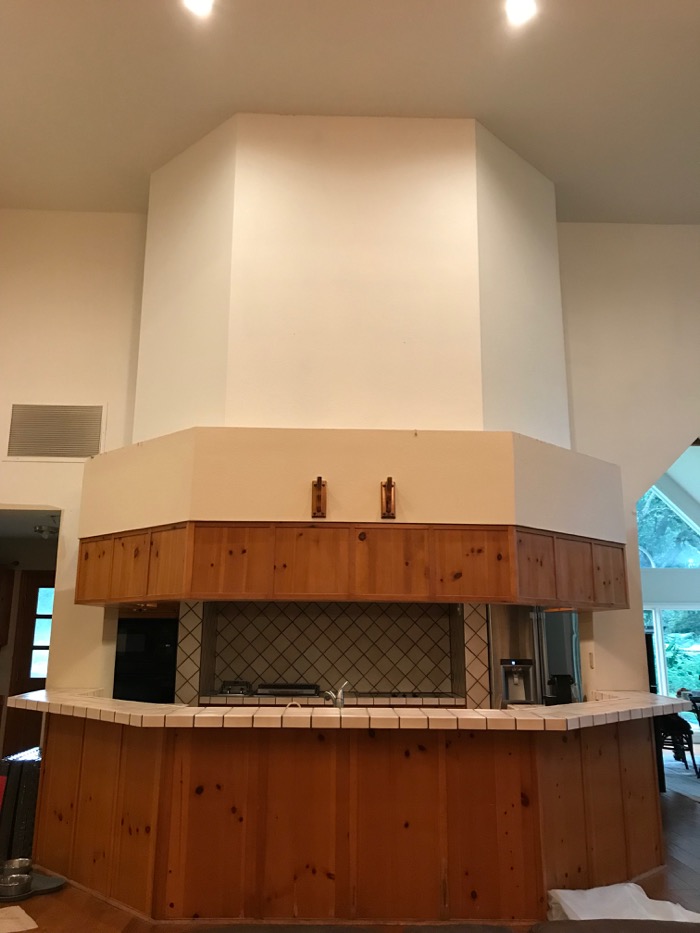
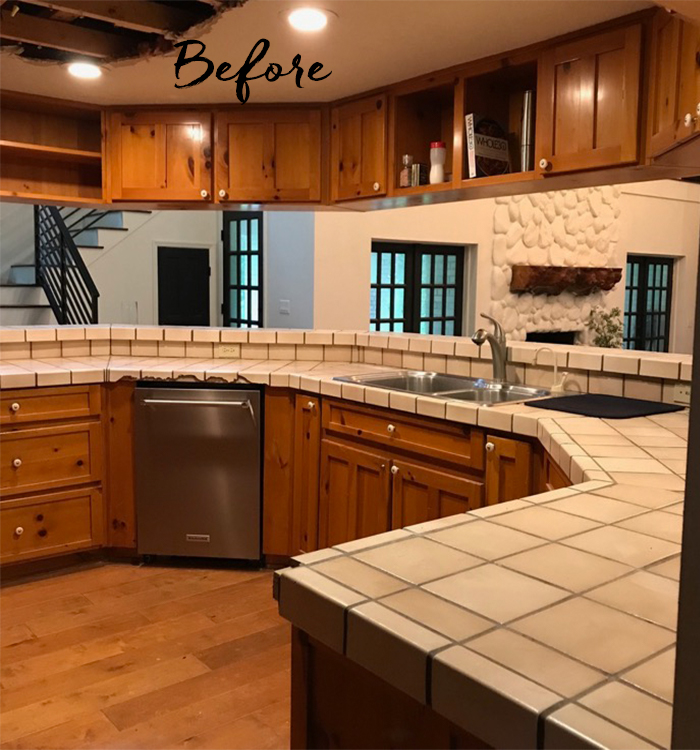
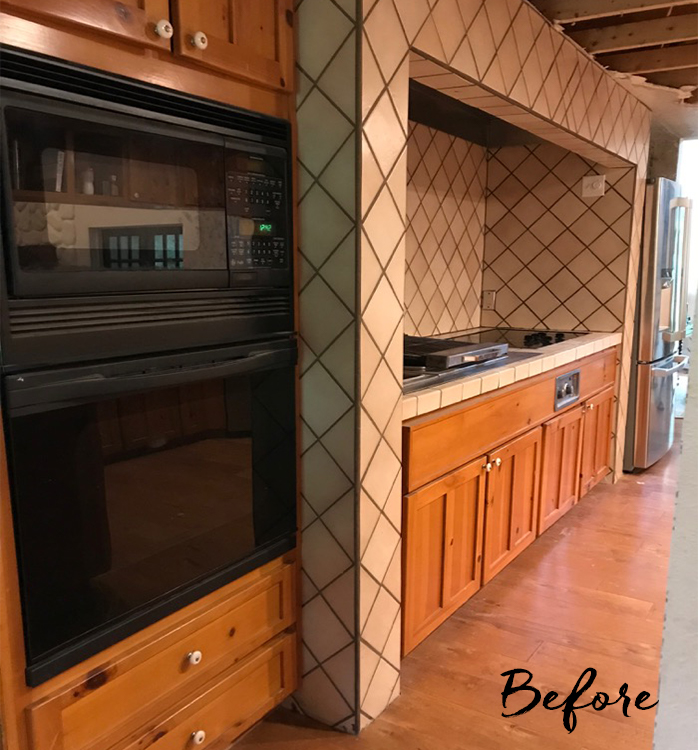
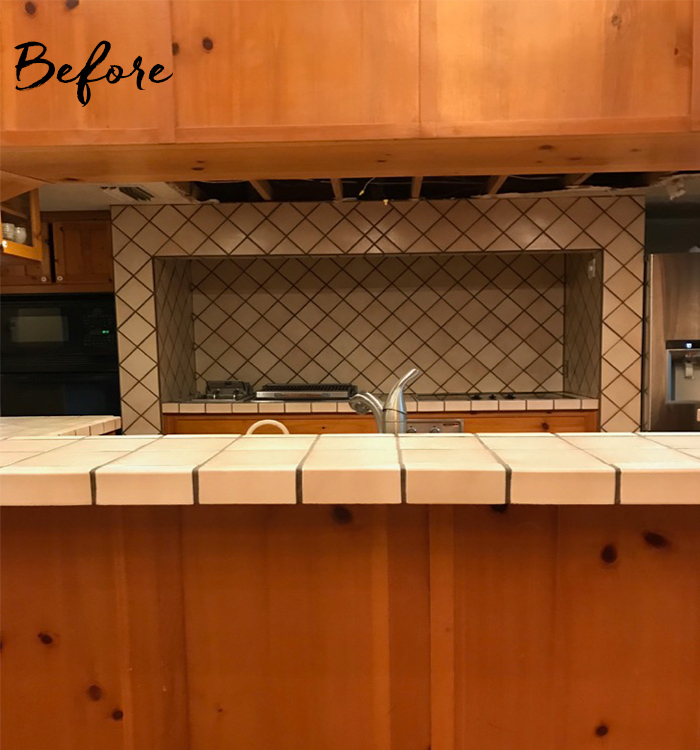
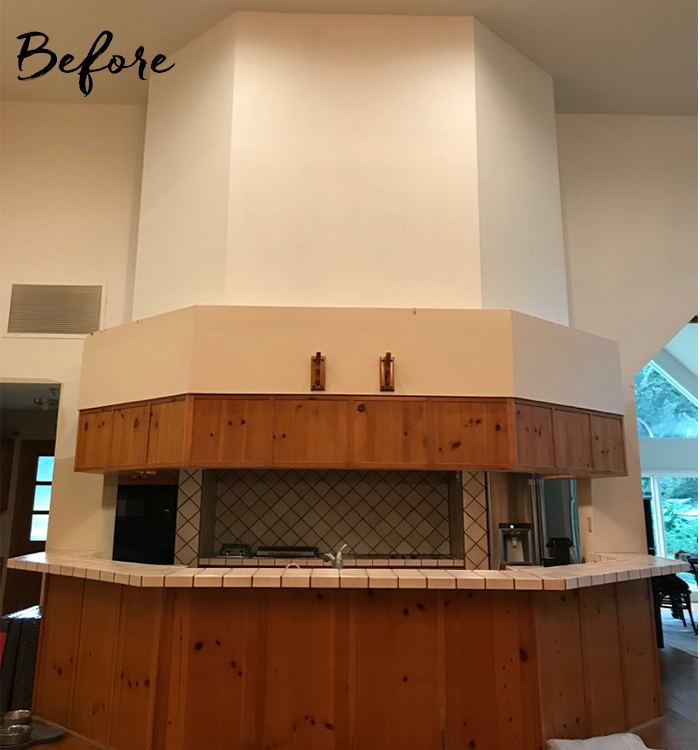
Let’s start with a before image, shall we? The transformation of this space is insane and I must remind you what it looked like when we started: tile countertops, dropped ceilings, a weird build-out, all that orange-y wood and funky angles.
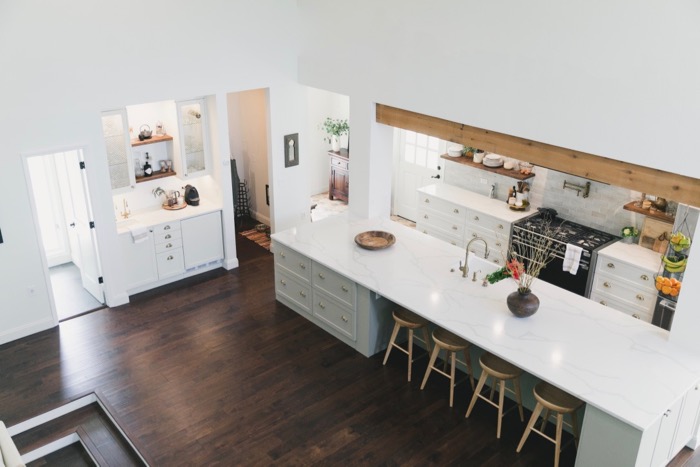
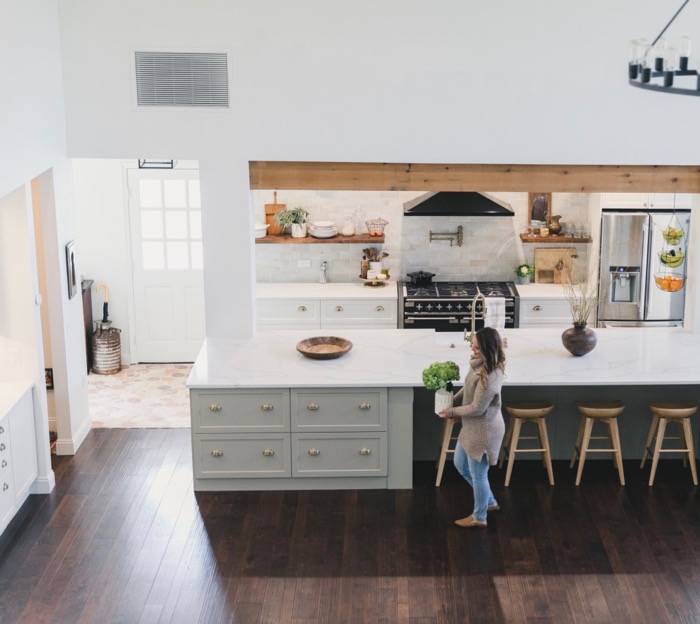
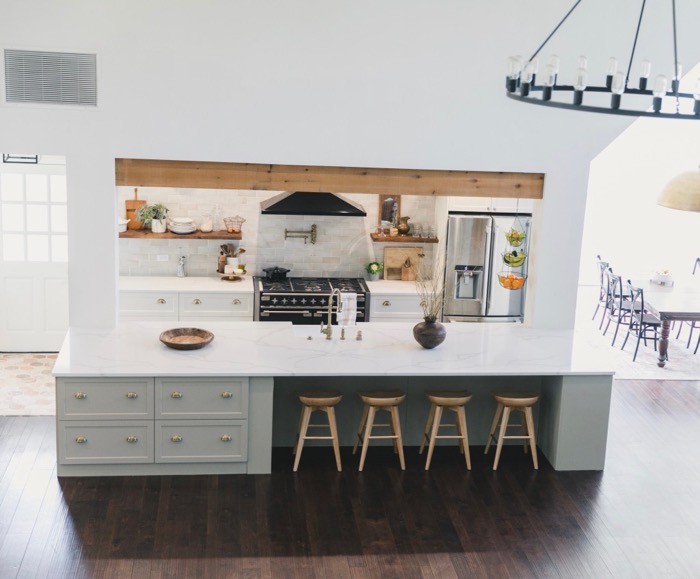
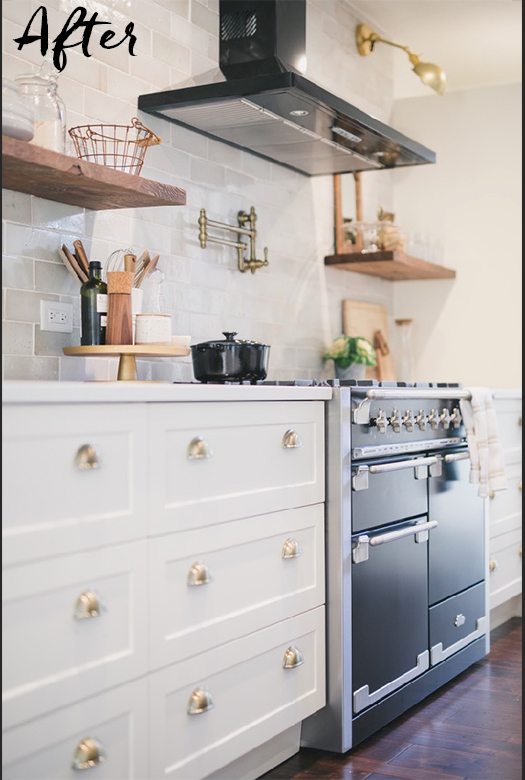
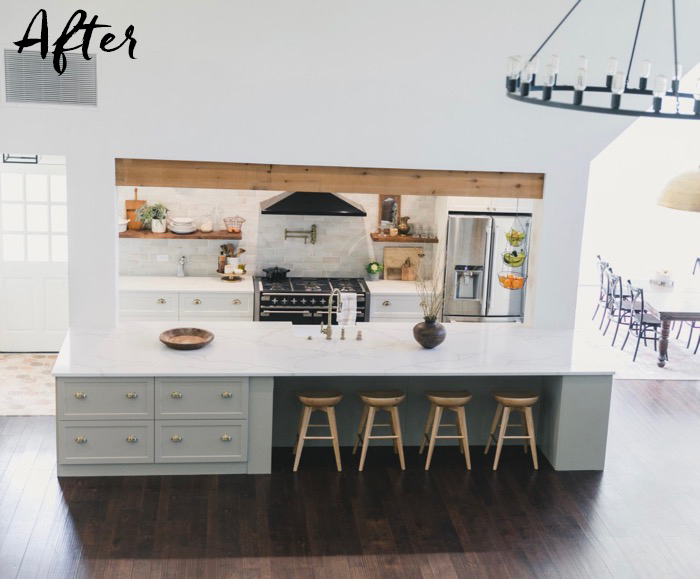
Here’s what it looks like now!
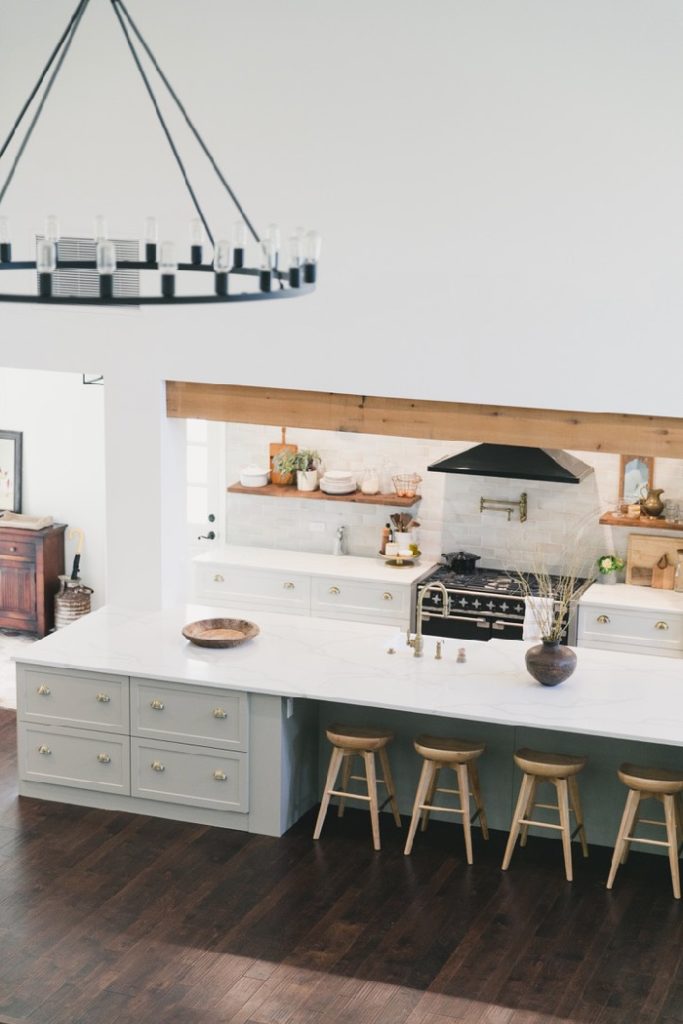
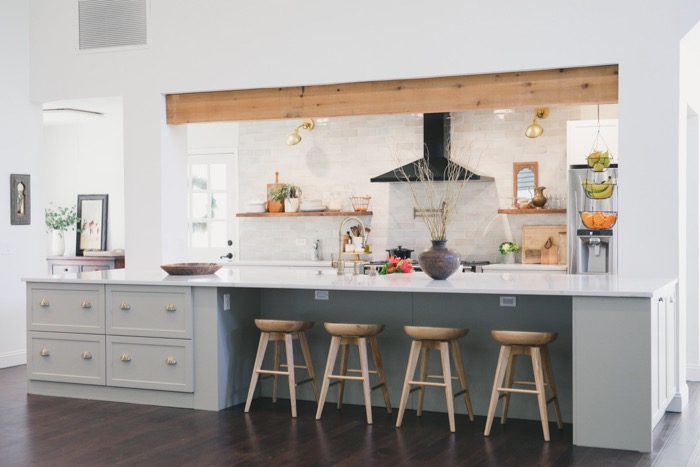
We’ve come a long way, huh?!?! The kitchen is a lot more open, brighter and way more functional. It is overall a happier space to be in and is perfect for entertaining.
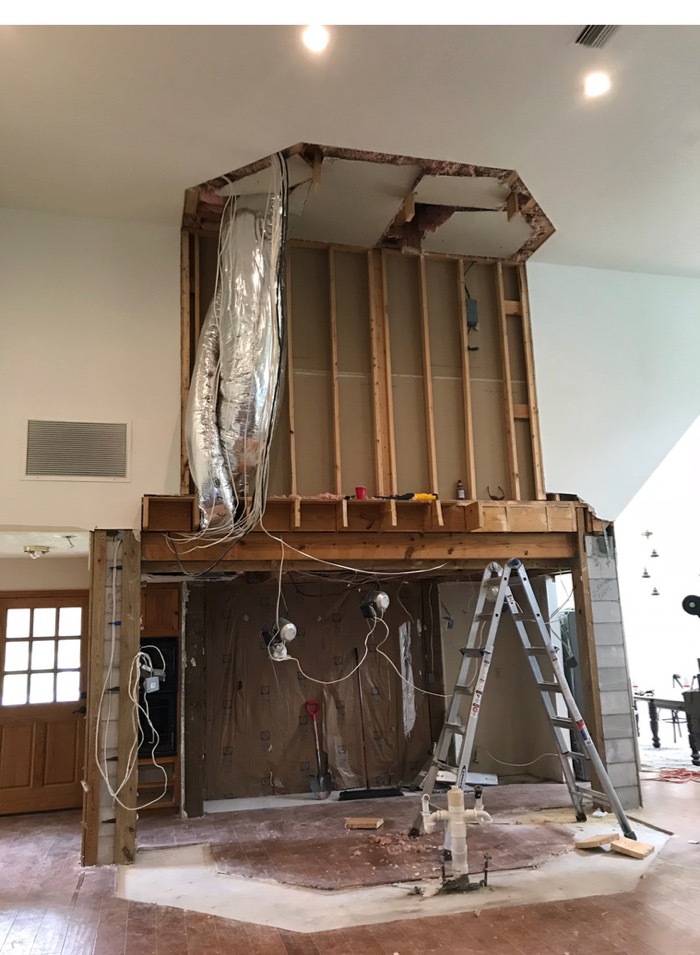
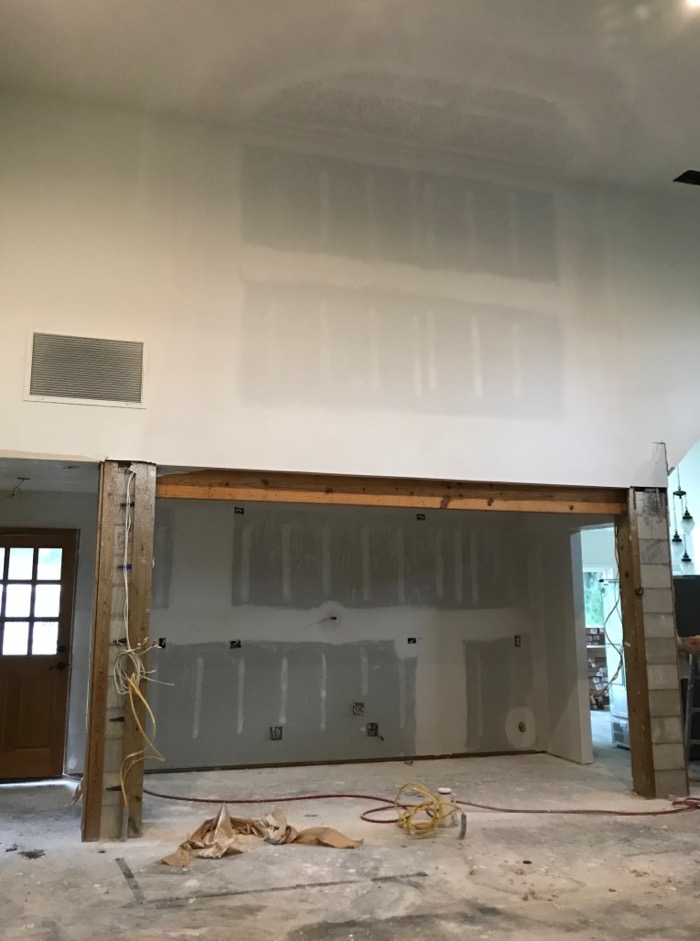
As you can see, we started our farmhouse kitchen remodel by removing that entire build-out above the kitchen and raising the ceilings. We eliminated the bar top and opted for one huge countertop-height island. The island measures approximately 16′ long. I designed some drawers for extra storage on the seating side of the island, while still having room for four stools. The island has cabinets worked into the design on the sides as well.
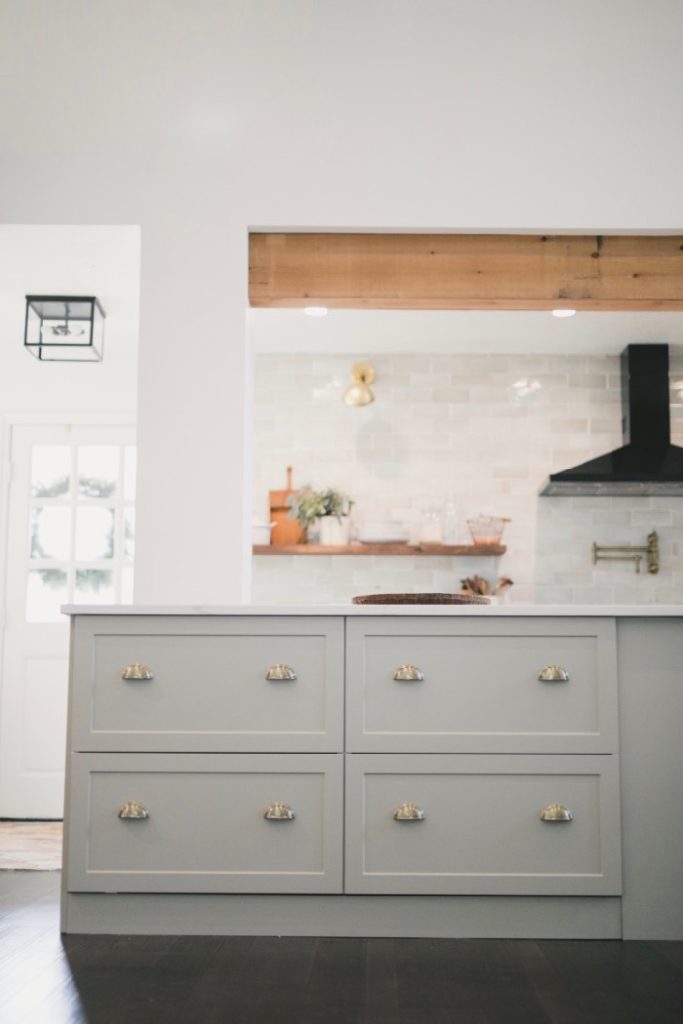
Our cabinet shells are IKEA and we went with Semihandmade’s shaker style cabinet doors. I went with two-toned kitchen cabinets. The island cabinets are Semihandmade’s super-matte color clay, and the back wall of the kitchen and wet bar are Semihandmade’s super-matte color antique.
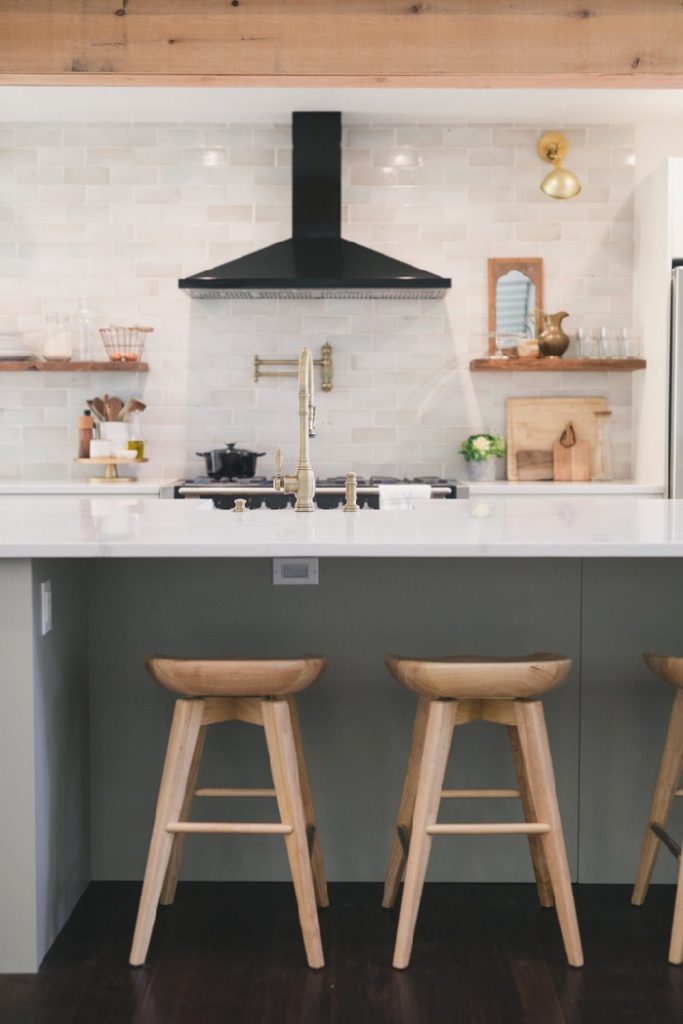
I opted for no upper cabinets and instead we went with two open shelves on either side of the range. Originally I planned on two shelves on either side, but install proved to be pretty difficult and I actually think one is cleaner anyway. Sometimes you have to adjust the plan as you go.
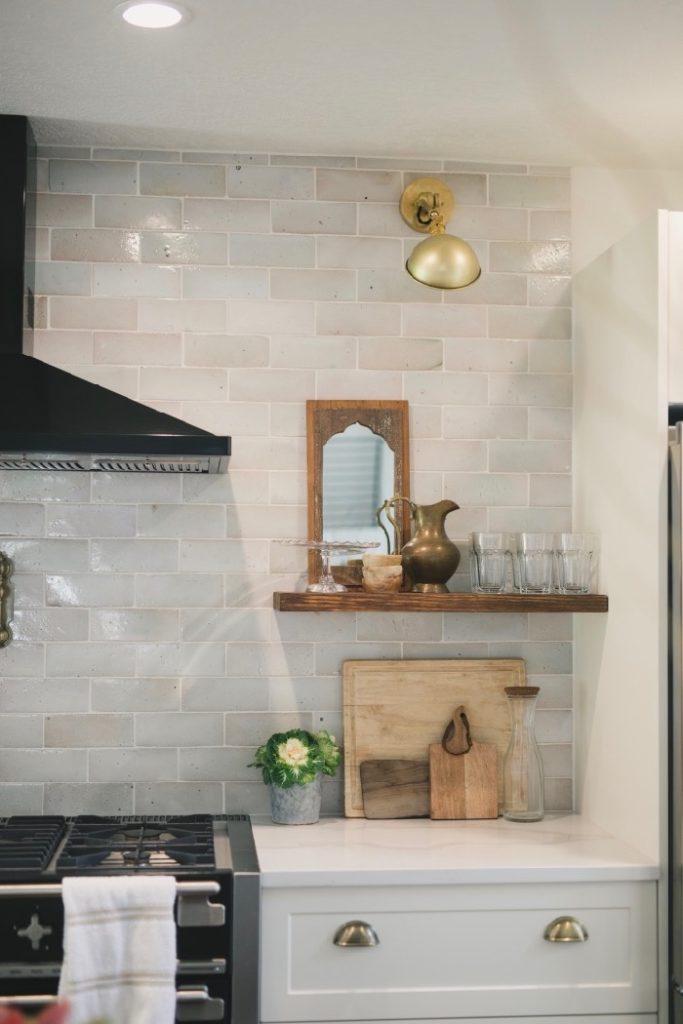
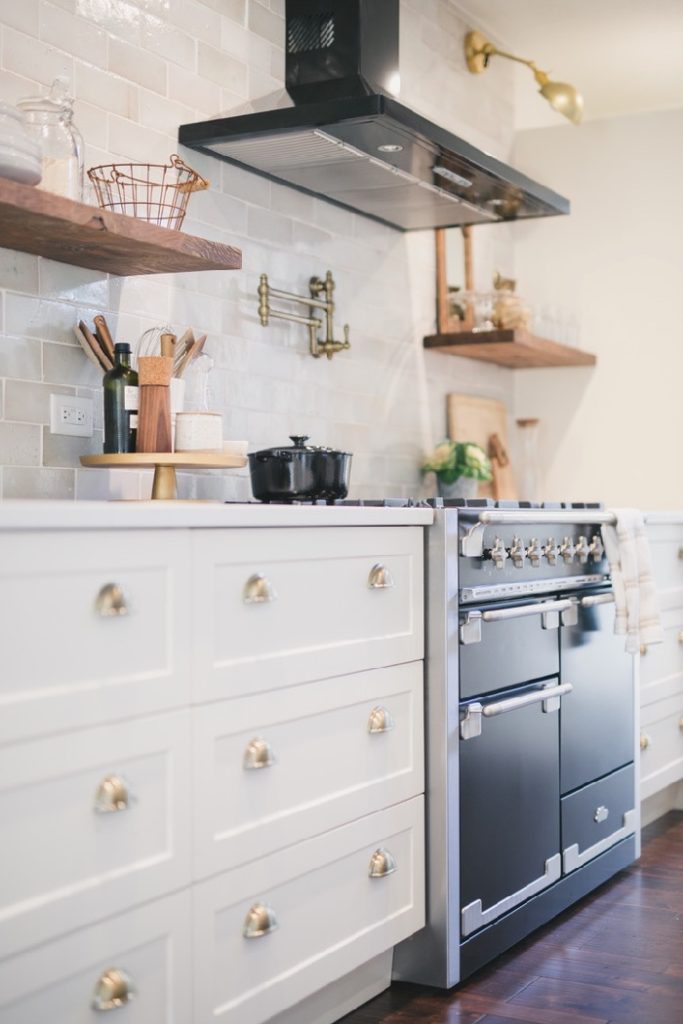
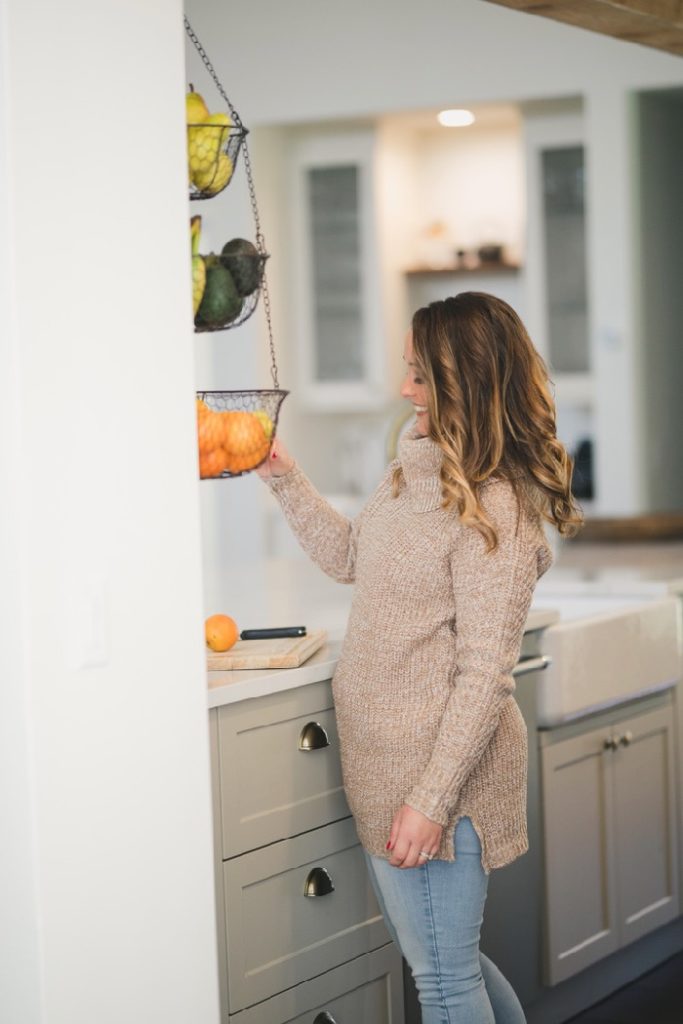
The glazed zellige backsplash tile from Cle is a stunner. I love the varying shades and imperfections.
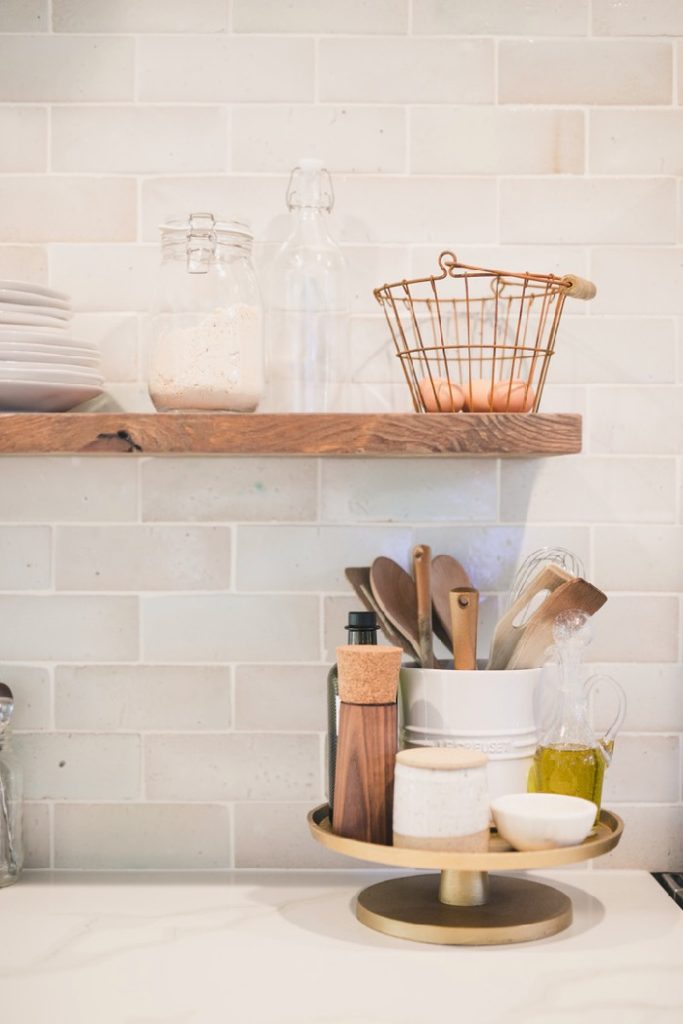
To the left of the range I used a cake stand as a catch-all to hold frequently used items like utensils, olive oil, butter, salt and pepper.
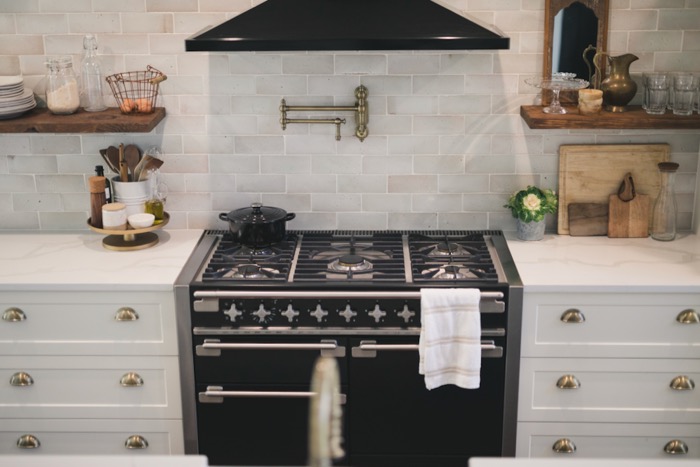
We went with a black Aga range and hood vent. I love the contrast of the black range and the creamy cabinets. We have a lot of black accents in our home so ultimately, we decided to be a bit edgy and complement those features.
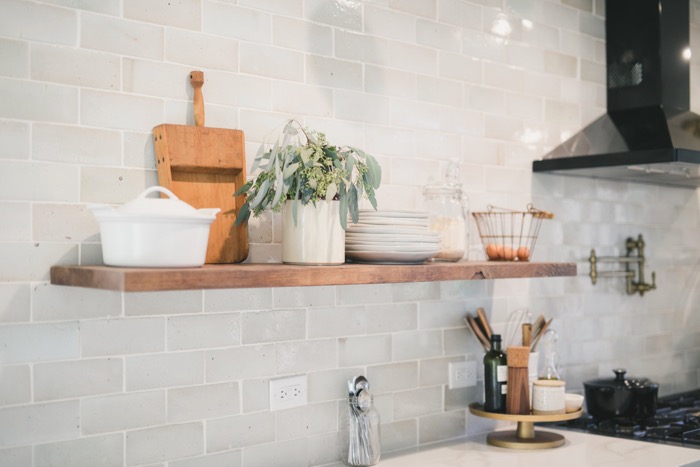
The open shelves were a DIY project. We cut the wood to size, sanded and stained and installed them ourselves. I’ll cover that in detail in a future blog post.

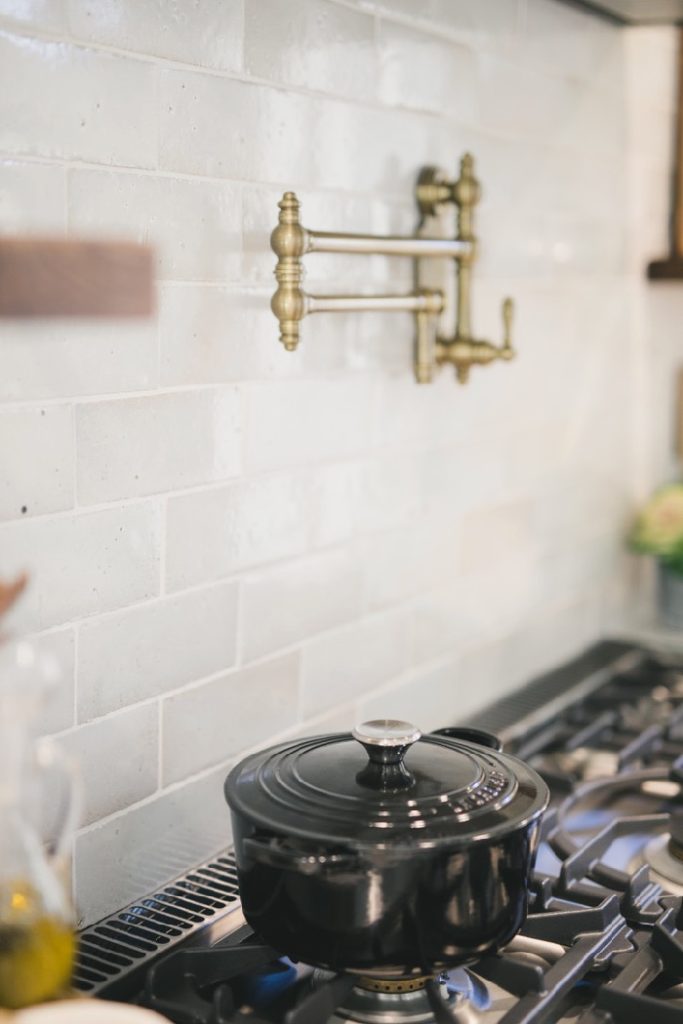
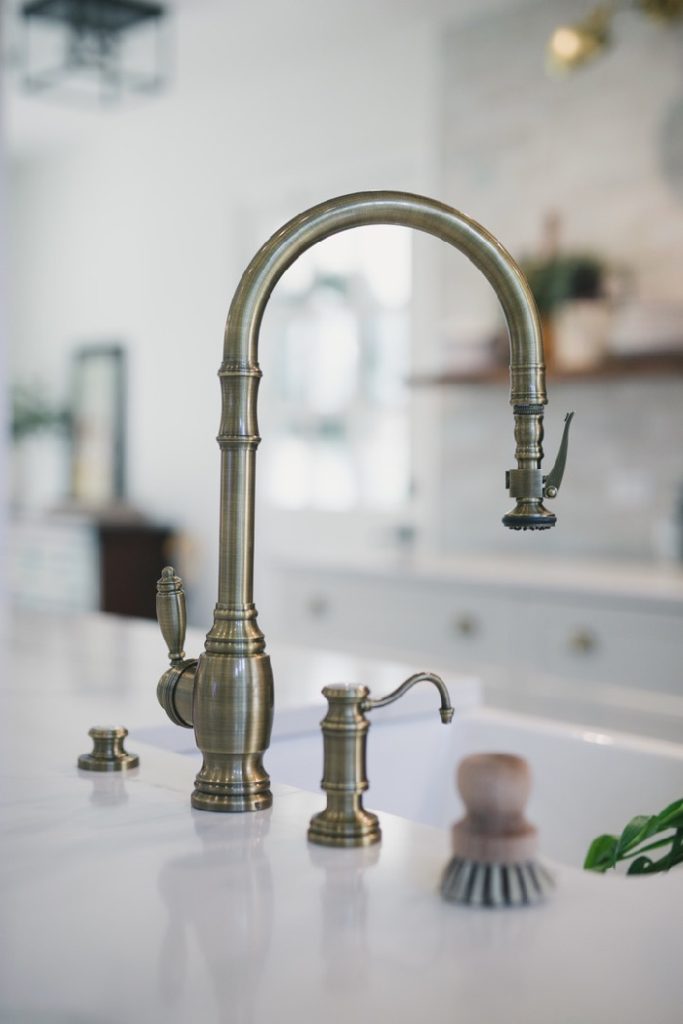
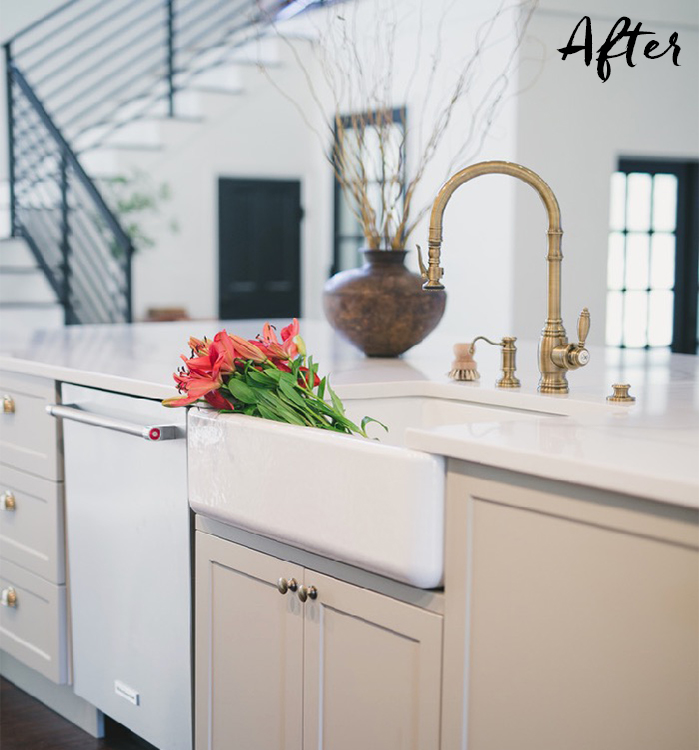
The pot filler and faucets are Waterstone and I love them so much. I chose to match the faucets with the hardware in an antique brass finish. We went with a matching soap dispenser and air gap (dishwasher button) and it looks so pretty against the quartz countertops.
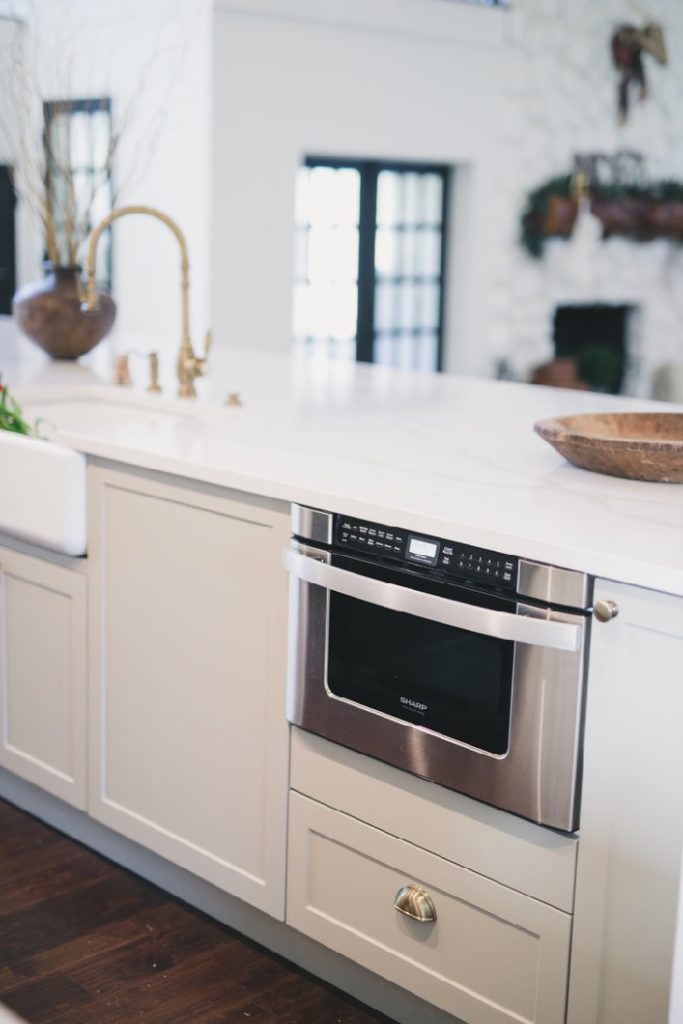
We hid the microwave on the interior of the island. We went with the Sharp microwave drawer and love it.
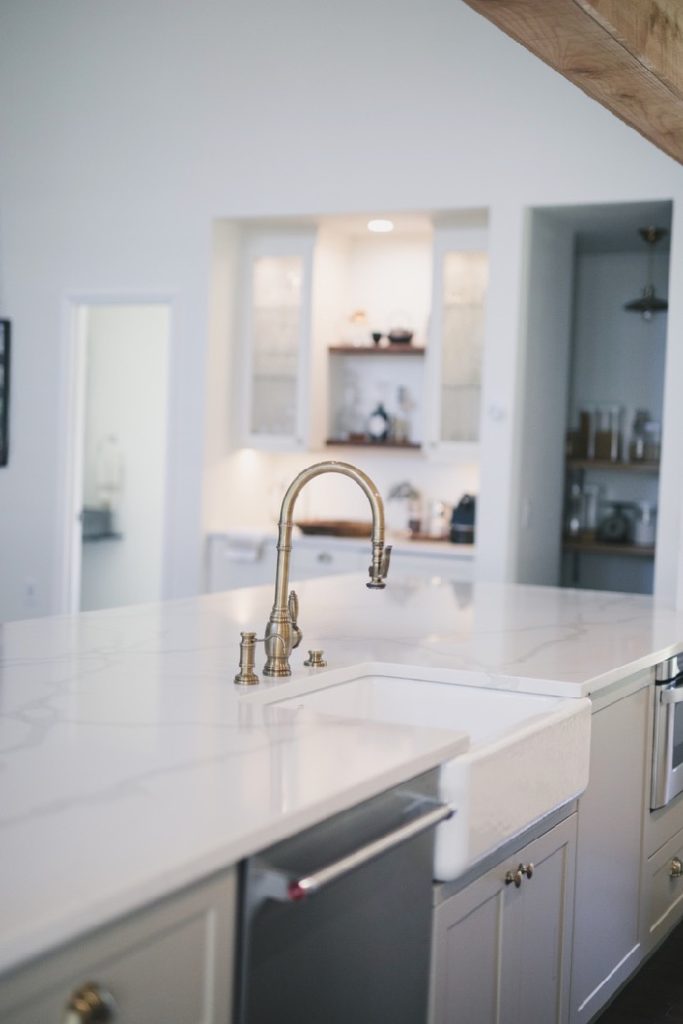
I chose a classic white apron farmhouse sink by kohler.

There ya have it! Our farmhouse kitchen remodel reveal! What do you think???
Farmhouse Kitchen Remodel Before & Afters
Everyone loves a little side-by-side before and after so without further adieu:

Thank you to my friend Rana of Roohi Photography for capturing the kitchen reveal so well!!
Farmhouse Kitchen Remodel: Get the Look

Cabinets / 1. Cabinet Doors (Supper-matte Shaker in Antique & Clay) / 2. Backsplash Tile (White Peony 3×8) / 3. Knobs (Elegant Brass) / 4. Sink / 5. Sink Rack / 6. Cup Pulls (Elegant Brass) / 7. Countertops – Quantum Quartz Calacatta Classic procured through Stone Saver, fabricated & installed by Dreamstone / 8. Pot filler (Antique Brass) / 9. Wall Sconces / 10. Microwave / 11. Hood Vent / 12. Faucet (Antique Brass) / 13. 3-Tier Produce Basket / 14. Egg Basket / 15. Bar Stools / 16. Range / 17. Utensil Crock / 18. Pepper Grinder / 19. Butter Bell / 20. Le Creuset Cocotte / 21. Gold Cake Stand
This post contains affiliate links. If you make a purchase using my link, I may receive a small commission for the referral at no additional cost to you.
For anyone local, here are some of the vendors we worked with that I’m happy to recommend:
- Drywall – Ace Custom Drywall
- Plumbing – The Clean Plumbers
- AC & Ductwork – IERNA’S
- Hardwood Flooring – S&M Hardwood
- Flooring Removal – EZ Out Flooring Removal
- Propane Install – Sunrise Propane
- Quartz Showroom – Stone Saver
- Quartz Fabrication & Install – Dreamstone Surfaces
- Tile Install – Ceramictec
There is a lot of kitchen related content in the coming weeks as I dive deeper into our farmhouse kitchen remodel so let me know if you have specific questions. I couldn’t help but include a few shots of the construction process.

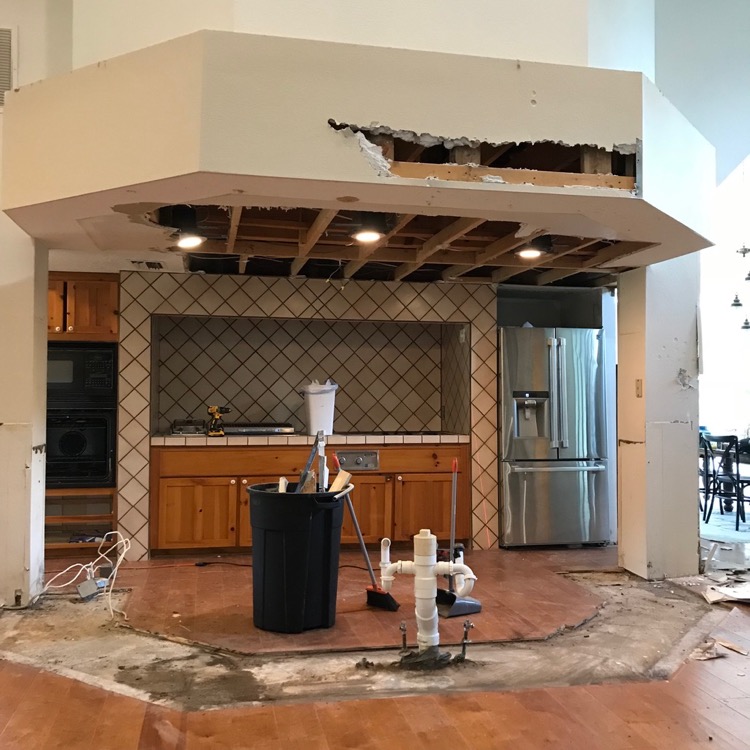
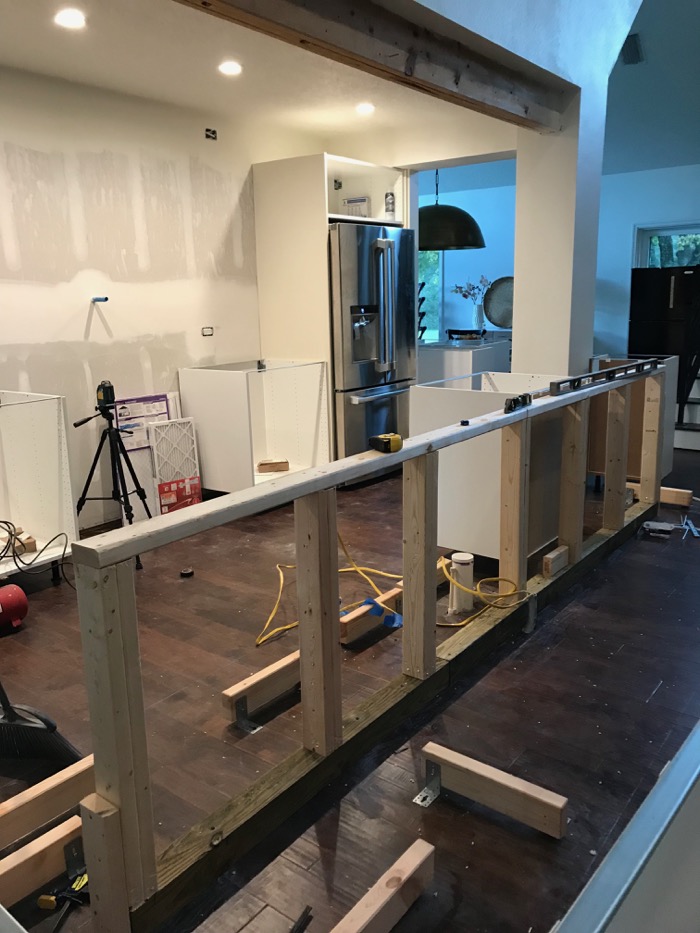
Remind us never to buy a fixer upper again! 😉


11 Responses
Dude. I am in love. What an AMAZING transformation. Our last kitchen reno wasn’t photo ready for at least a year after we started. Your vision was SO freakin awesome on that. I can’t wait to see what you do on that big wall above the kitchen.Cheers to being COMPLETE!
Thank you so much. We’re so happy to be done! We’re not doing anything with that wall though. 😉
It looks amazing, what a transformation!
Thank you so much, Julia!
Holy cow, Becky, it is SO good!!!! You had a vision and you did it so well! And SO much demo, I can’t imagine–that’s commitment! Amazing job!
Thank you so much, Suzannah! It was a LONG 5 months but we’re so happy this project is behind us!
okay but like I actually cried. this is EVERYTHING
Haha, Carmen! Thank you for checking out the kitchen! It’s made me cry a lot too!
Hey!! Would you mind answering a few questions about how the installation of your zellige time went? Did you have to make sure it didn’t interfere with your window casings or countertops or range? It’s so thick, i was surprised when I received the samples. Also, is your color weathered white or sea salt?