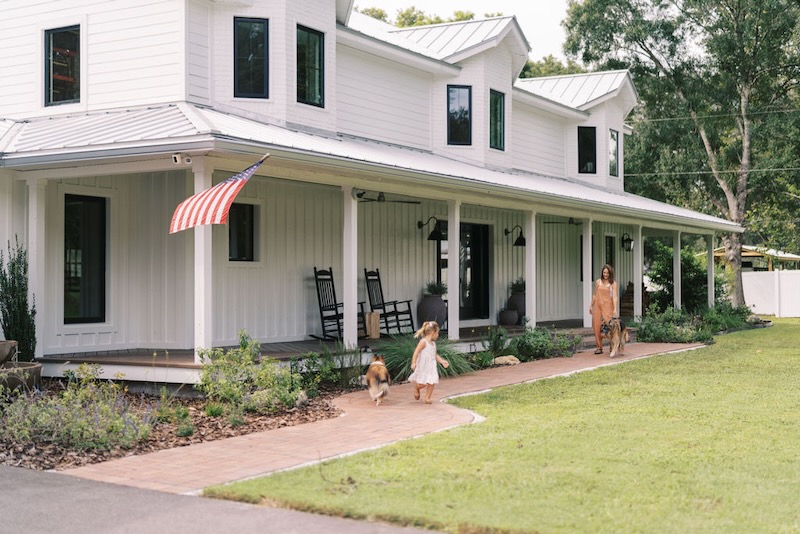
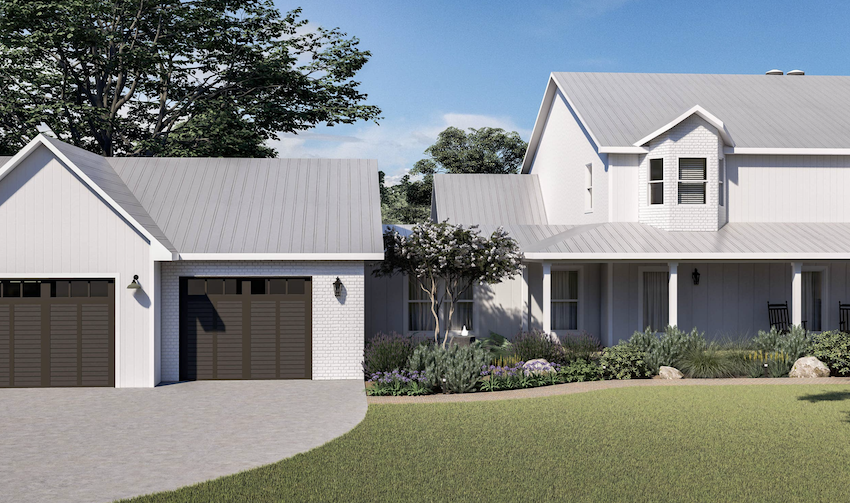
Earlier this year we kicked off a custom yard makeover with Yardzen, the leading online landscape design platform and it’s time for our yard makeover reveal! I talked a lot about the process of working with Yardzen – from onboarding to the conceptual renderings – in this post and this post. Since my last update, we have had phase 1 of our landscaping installed and it has completely transformed the exterior of our home.
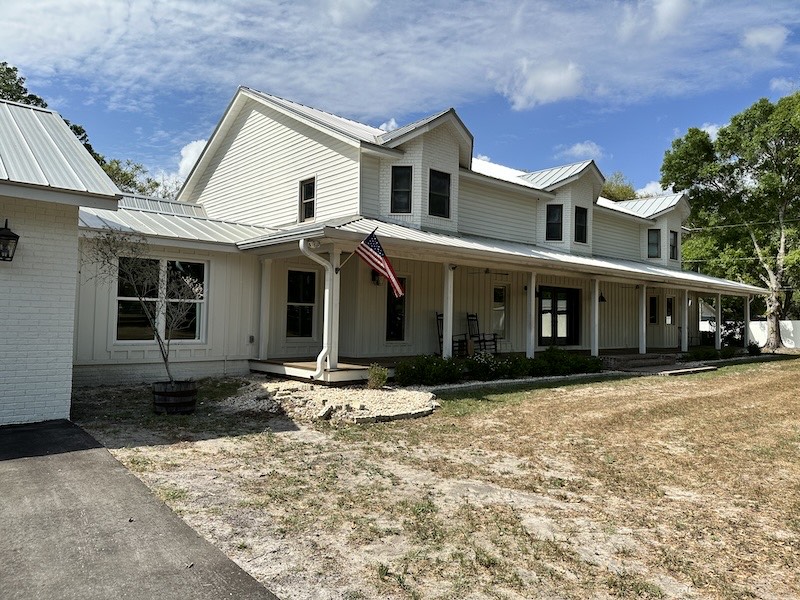
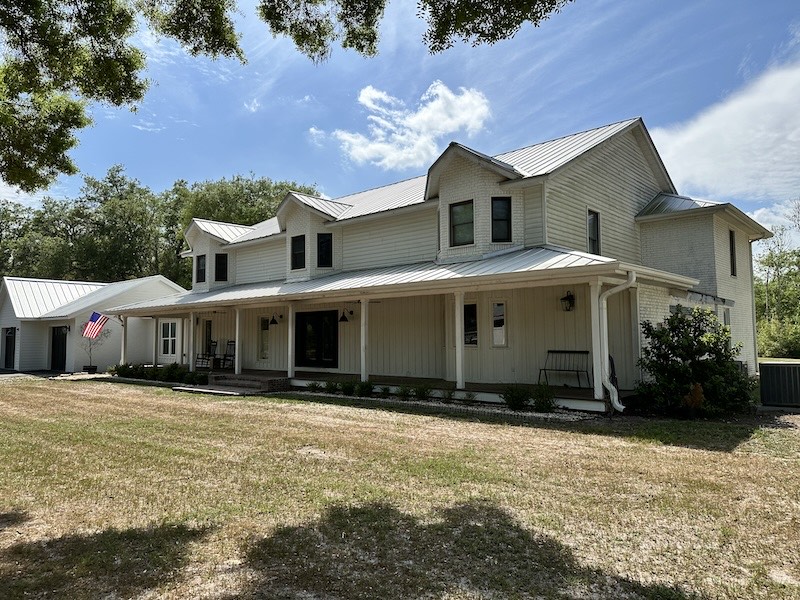
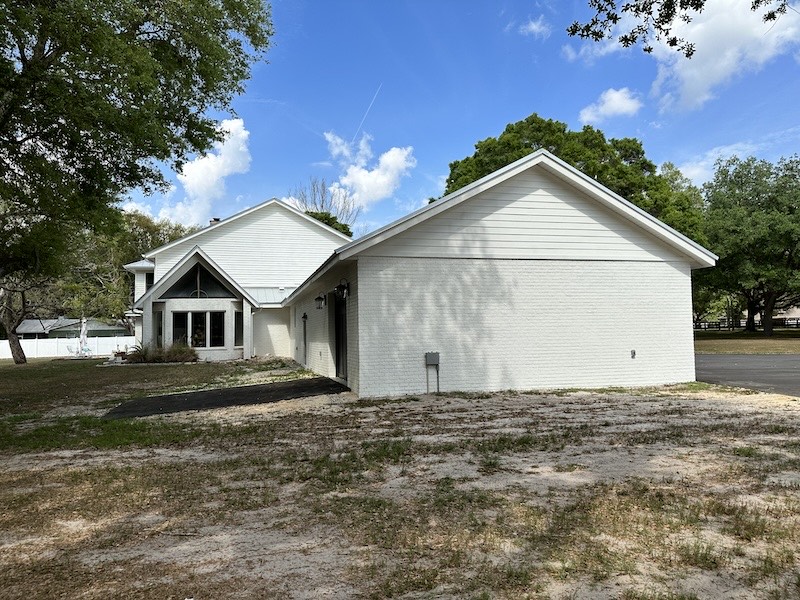
Before
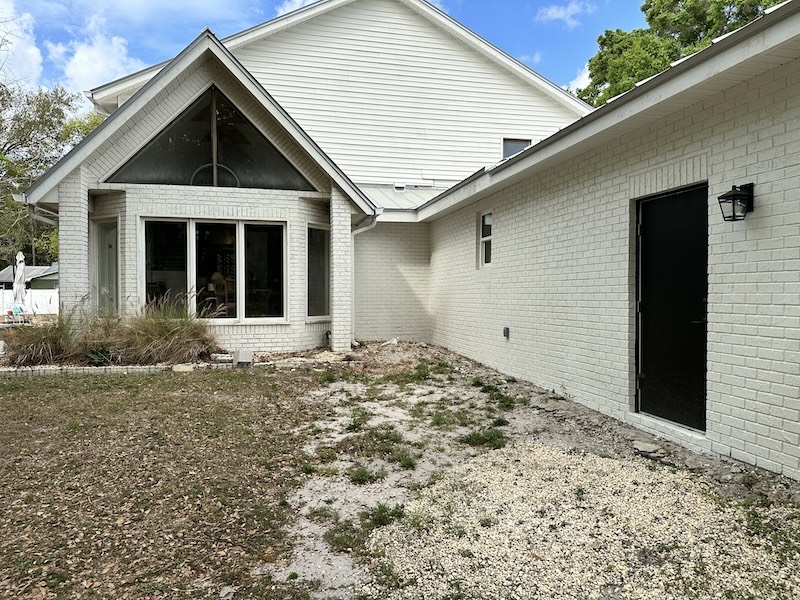
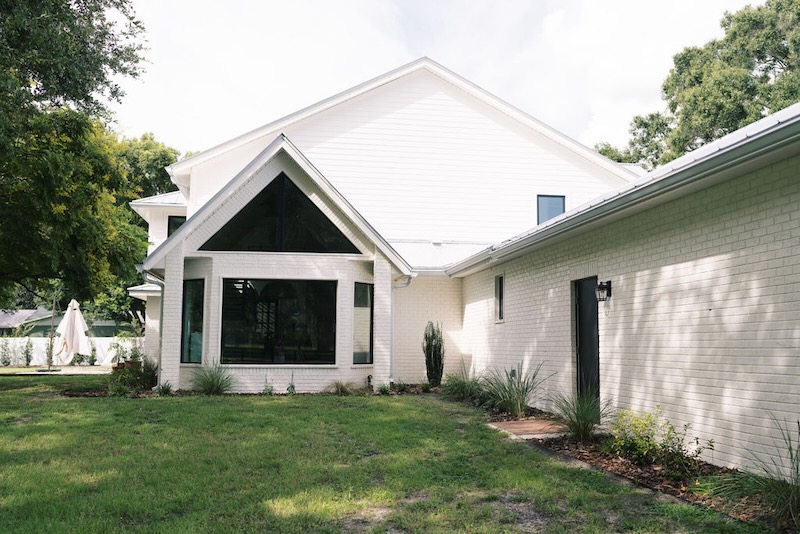
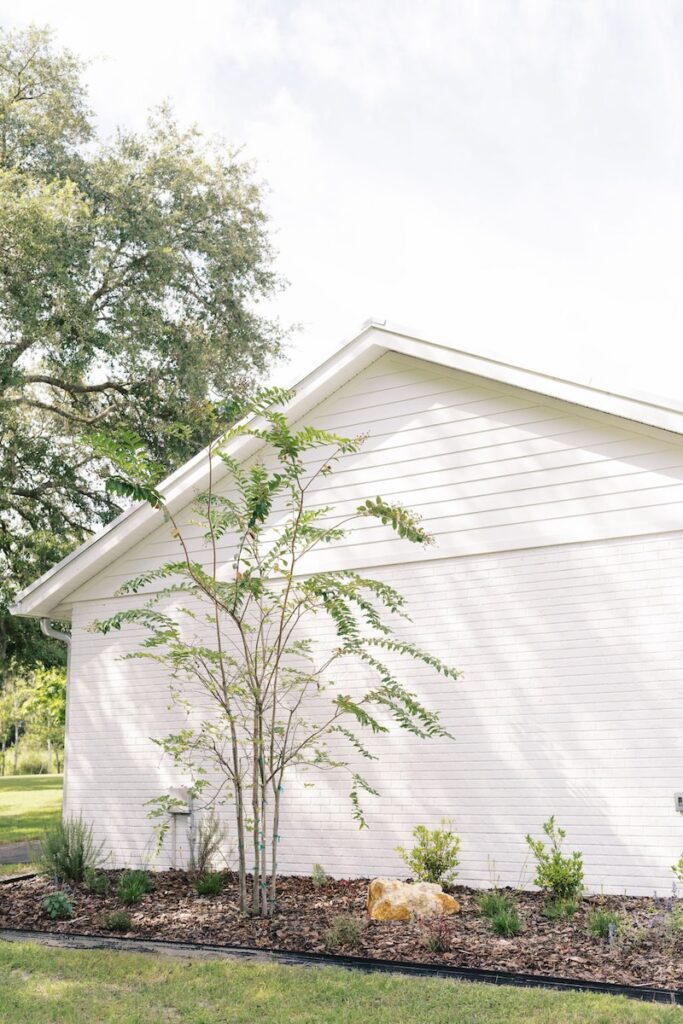
After
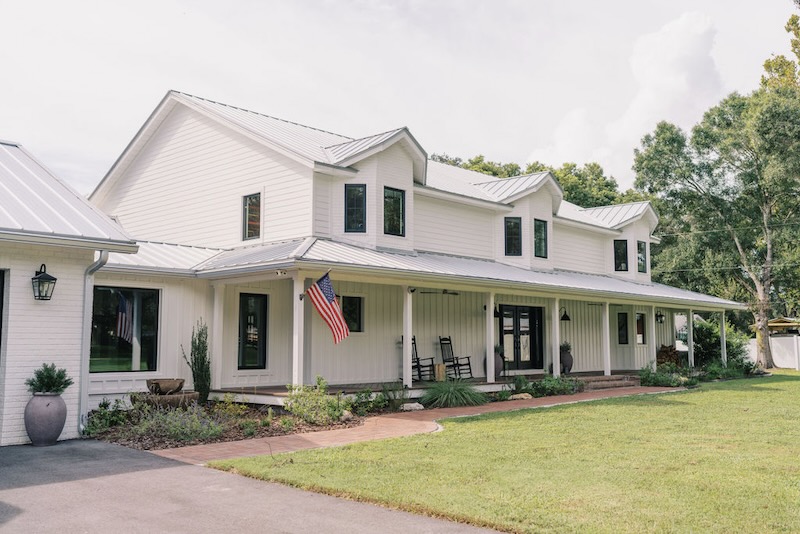
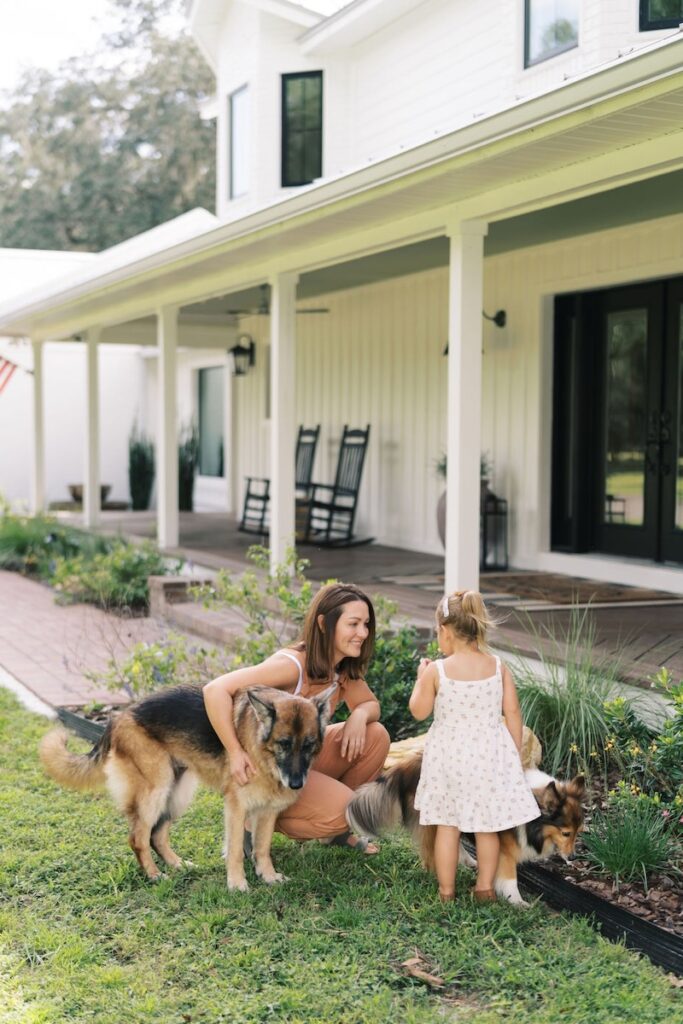
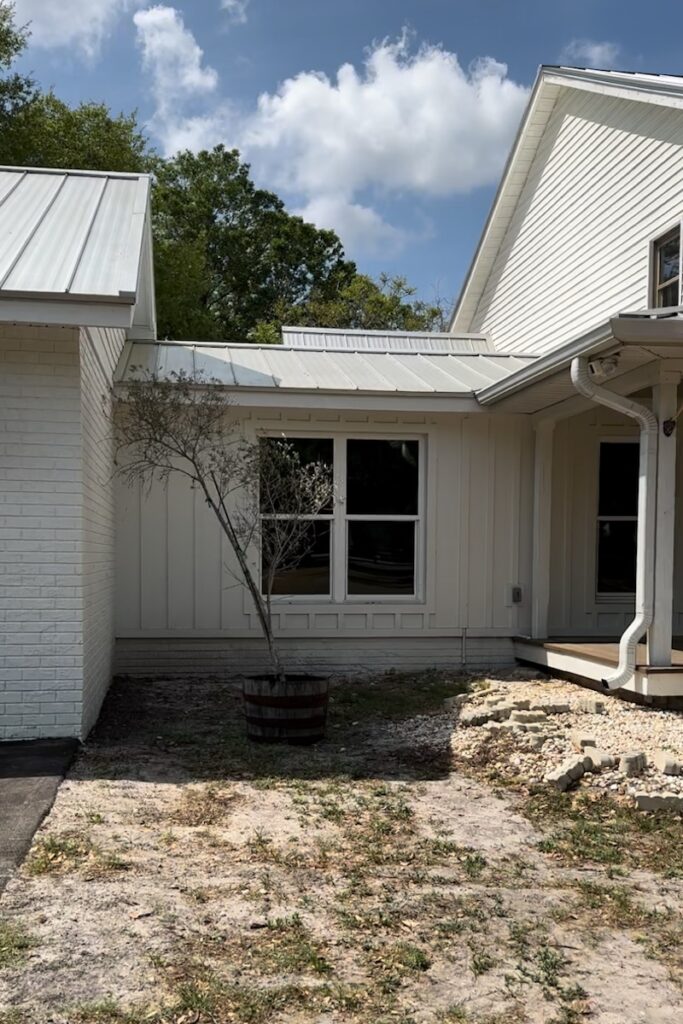
Whoa! Can you believe the transformation? The exterior of the house was quite a mess following the construction of our garage addition and driveway installation. Prior to that, we had planted some greenery and added rocks with a border so we had something, but it left a lot to be desired. Once construction around the house and yard was complete, we could finally install proper landscaping, irrigation, and landscape lighting. Yardzen and our local landscape company knocked it out of the park.
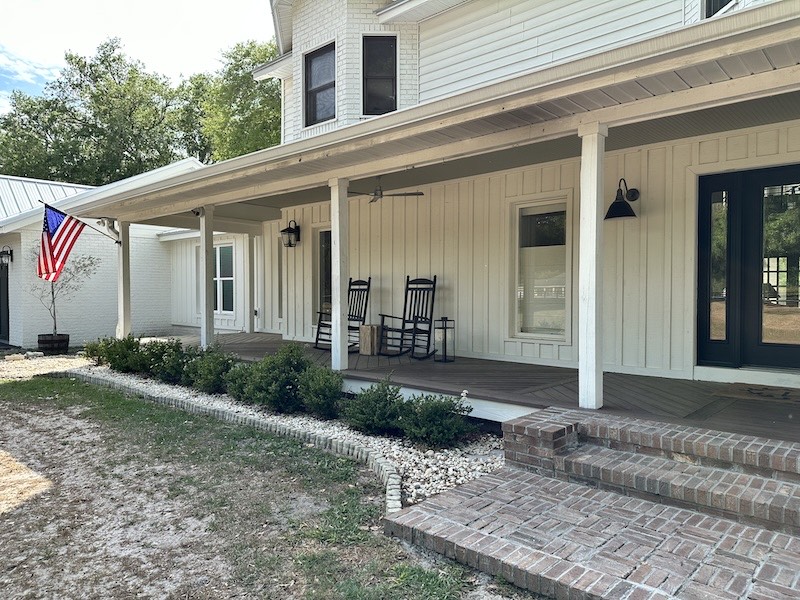
Before
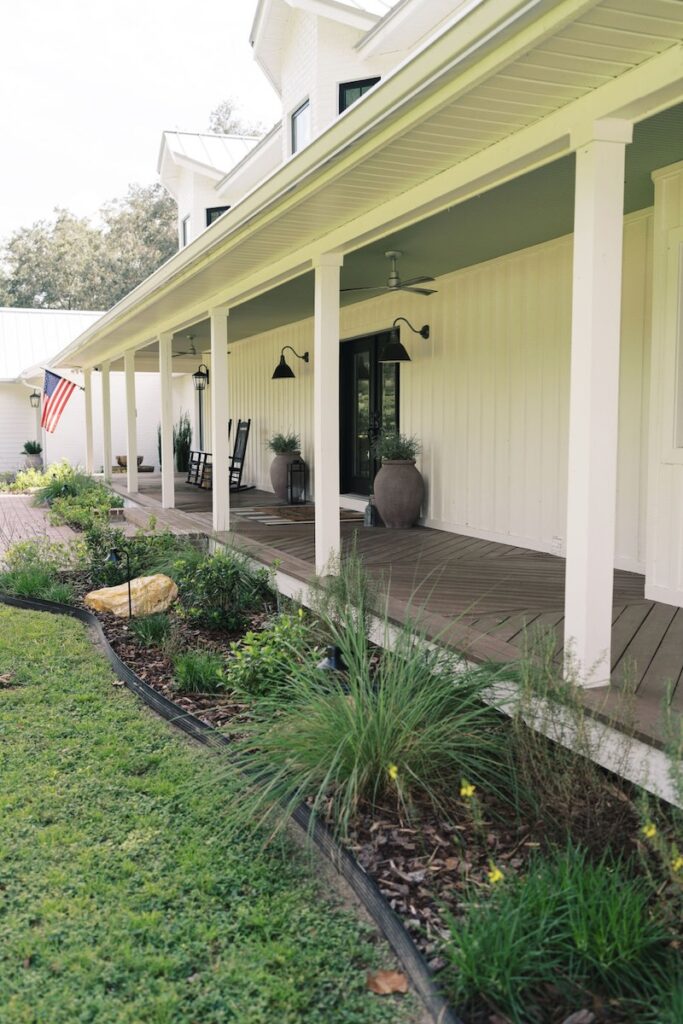
After
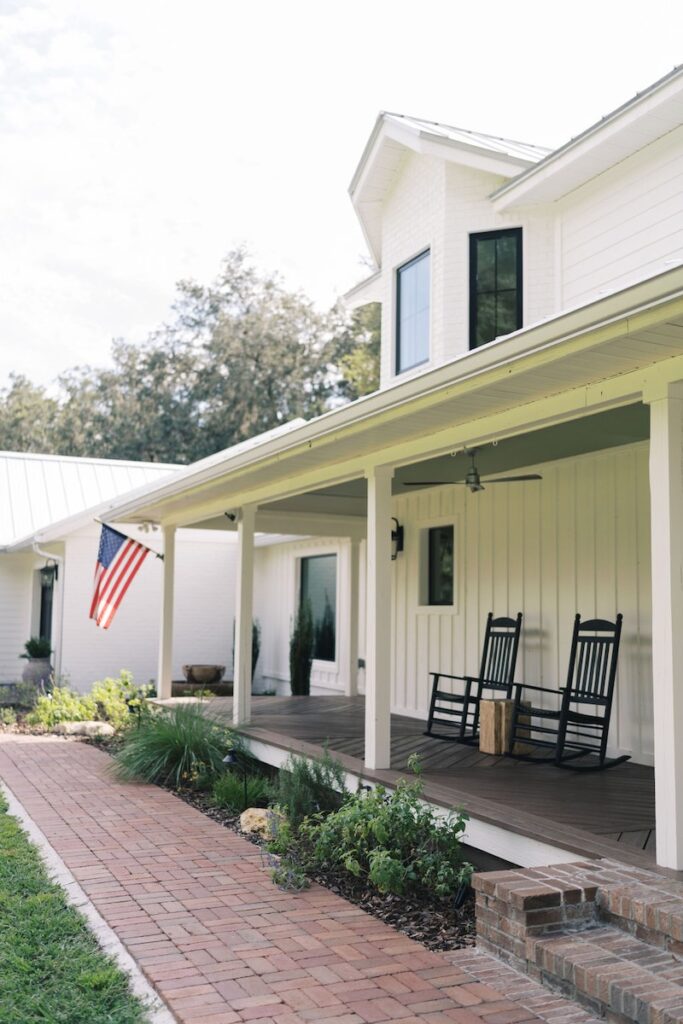
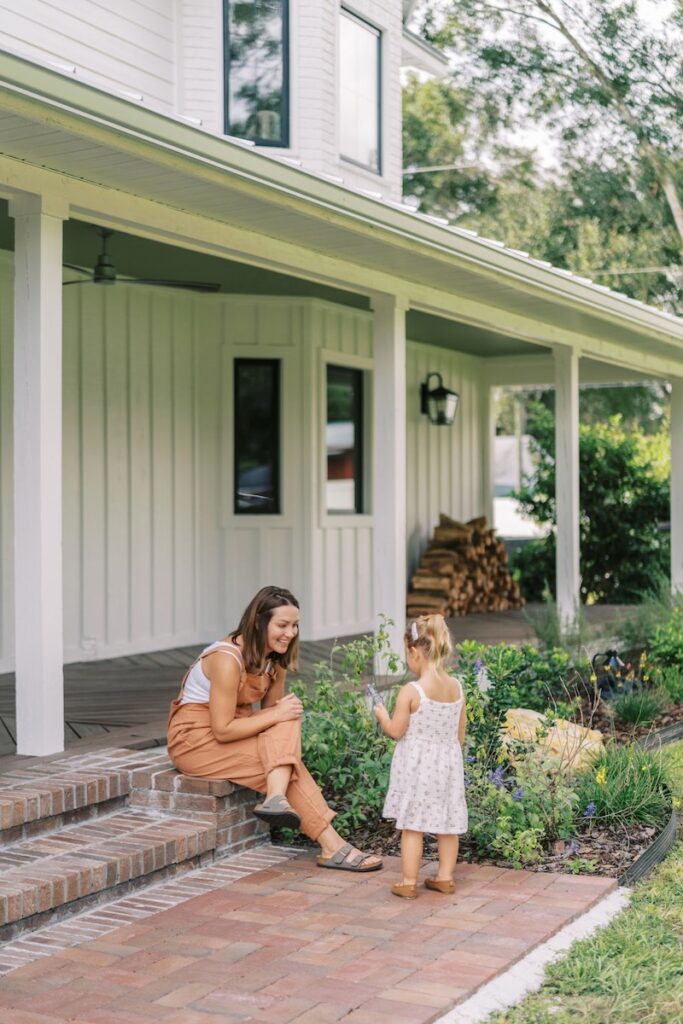
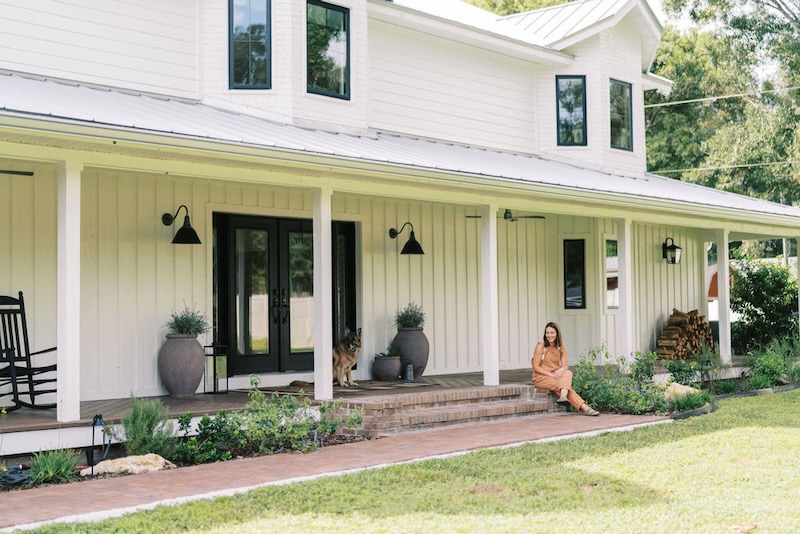
In addition to the planting, we had irrigation, landscape lighting, and the brick paver hardscape path installed. Connecting our new driveway to our pre-existing front steps has made a world of difference.
Before
After
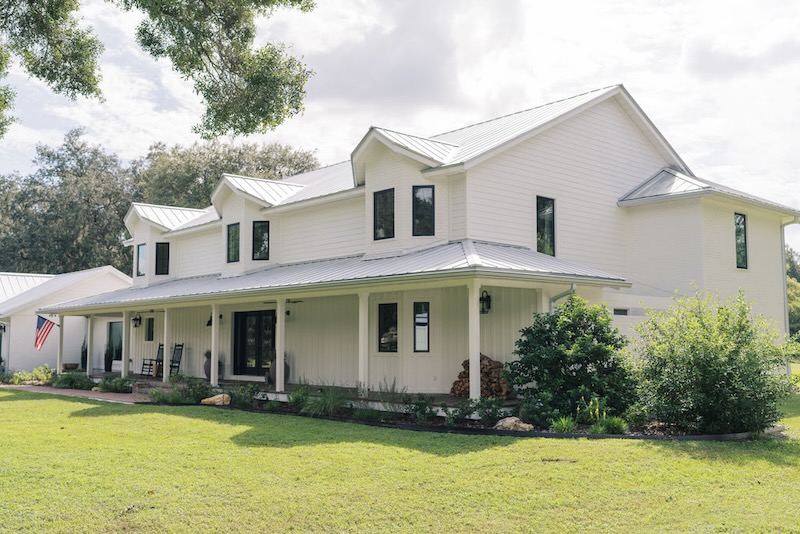
Have you noticed the new widows, gutters, siding, and paint? We have done quite a lot to the exterior this year. The landscaping is the cherry on top!
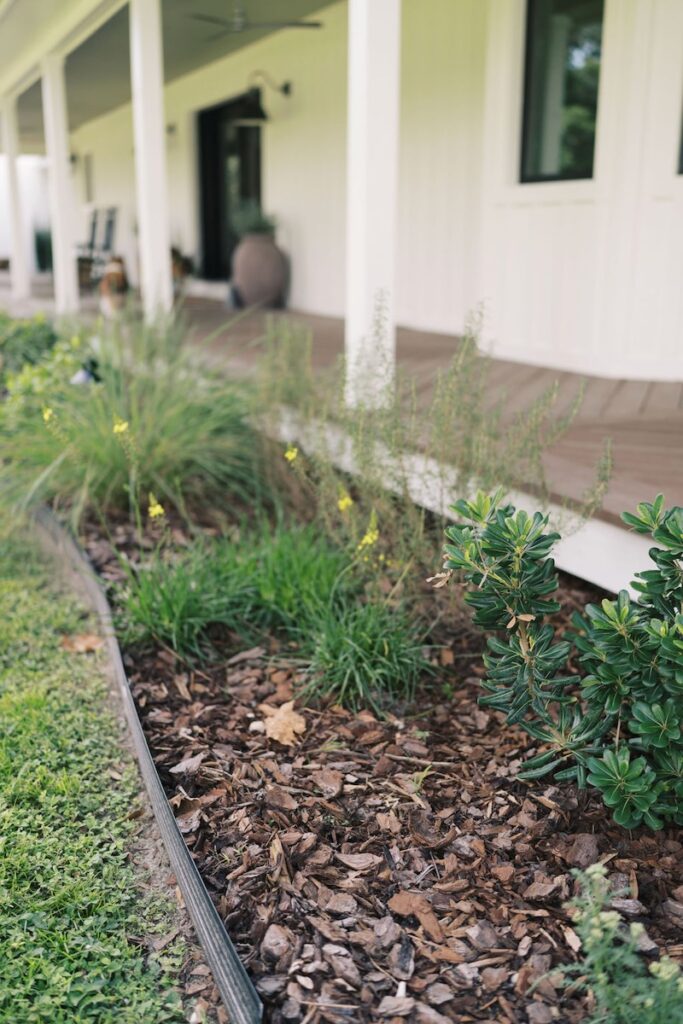
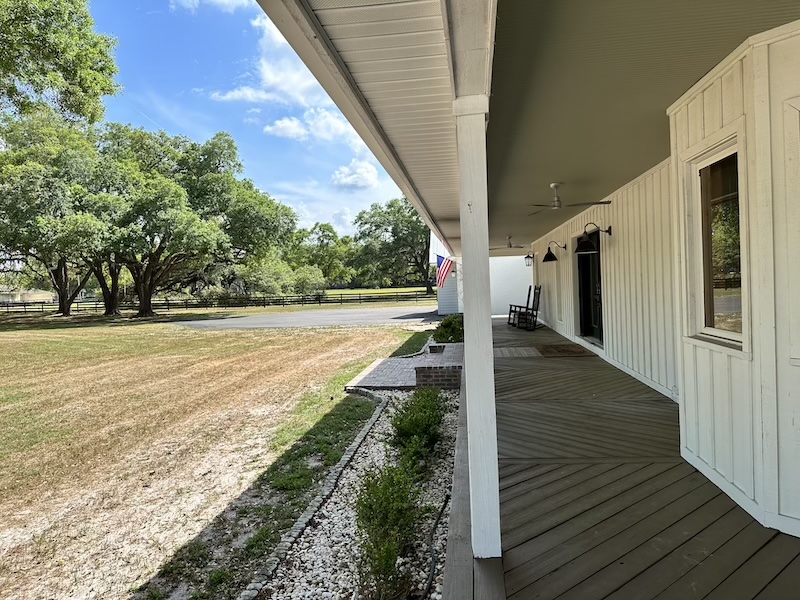
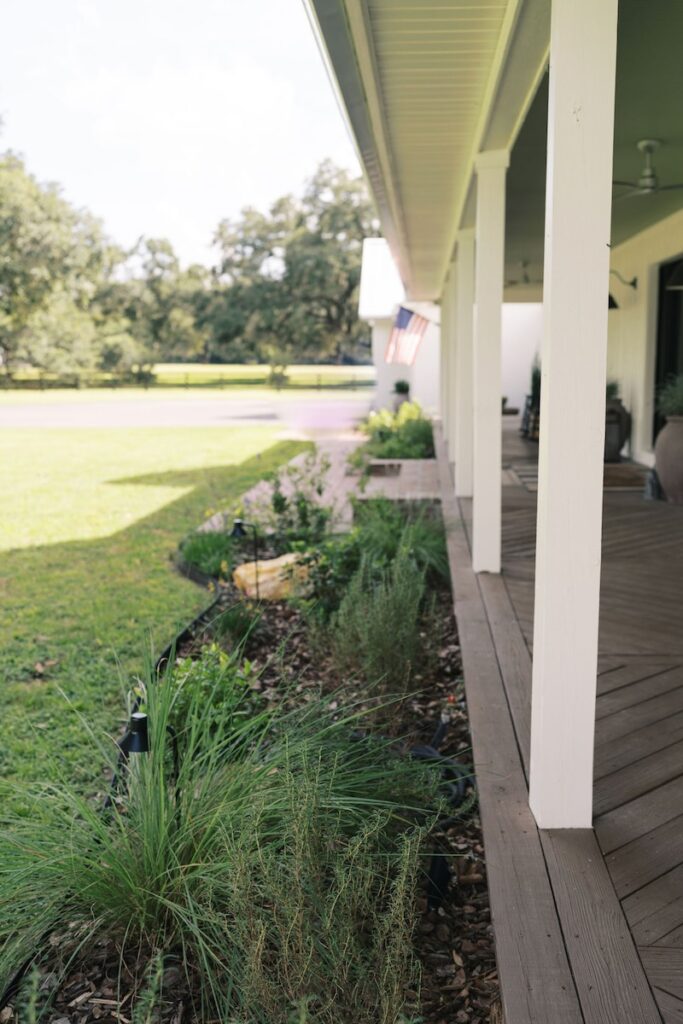
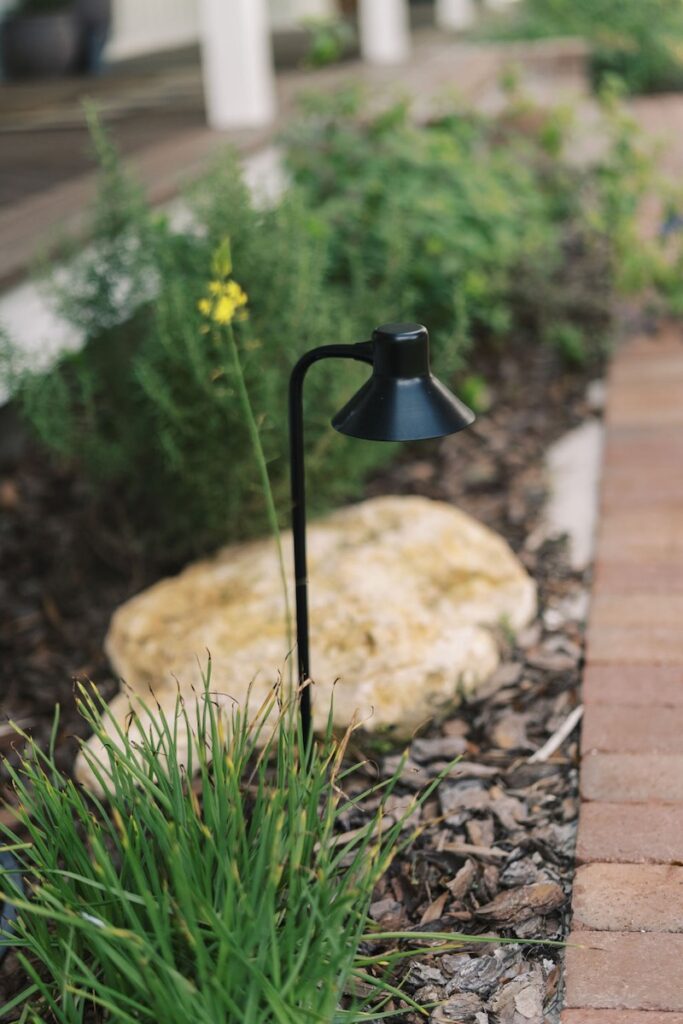
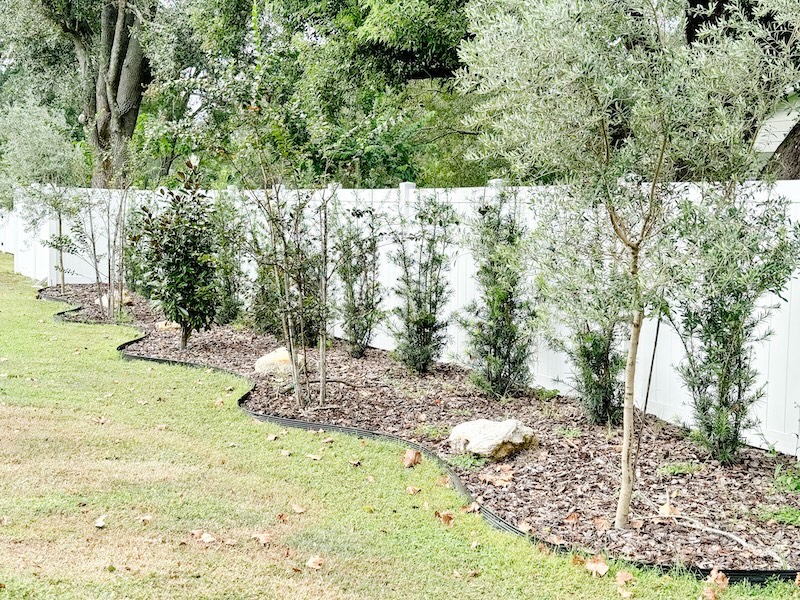
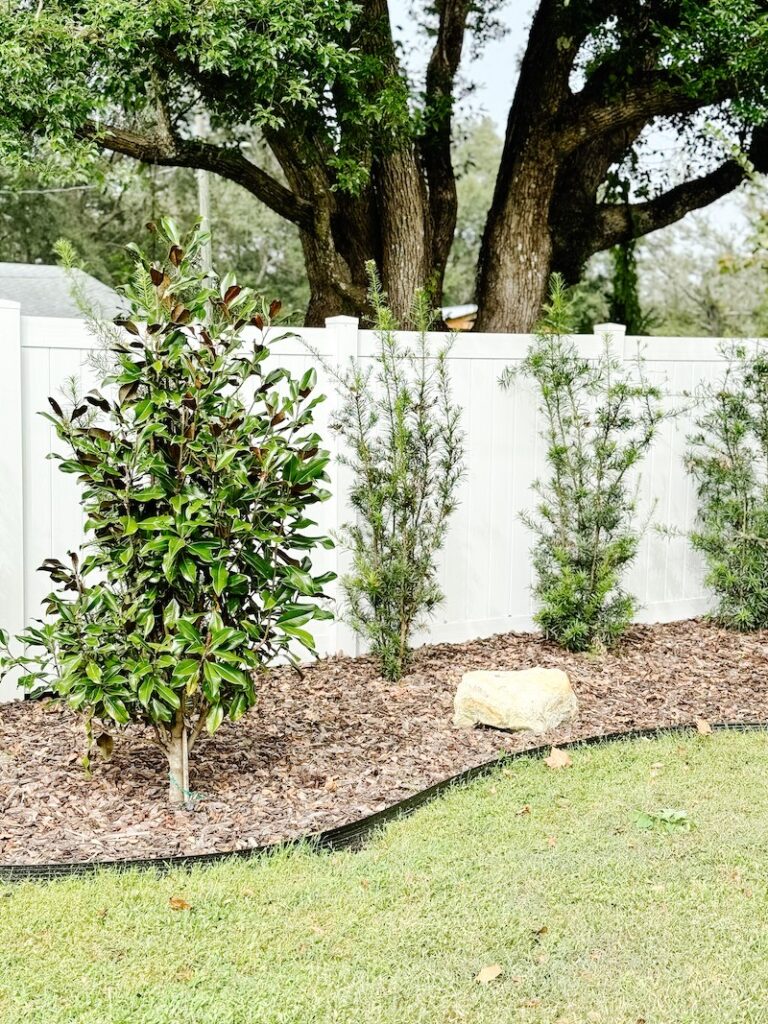
In the backyard, we added privacy landscaping (shrubs and trees) that will eventually grow in and conceal the neighbor’s house.
The Breezeway Nook
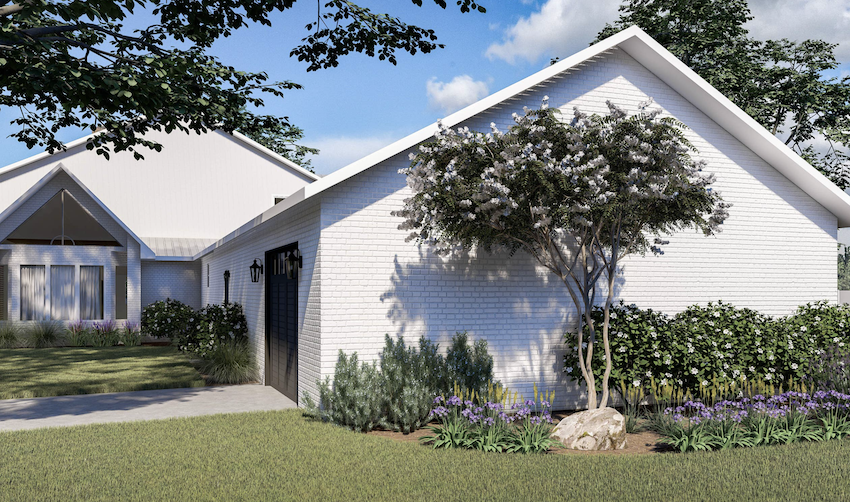
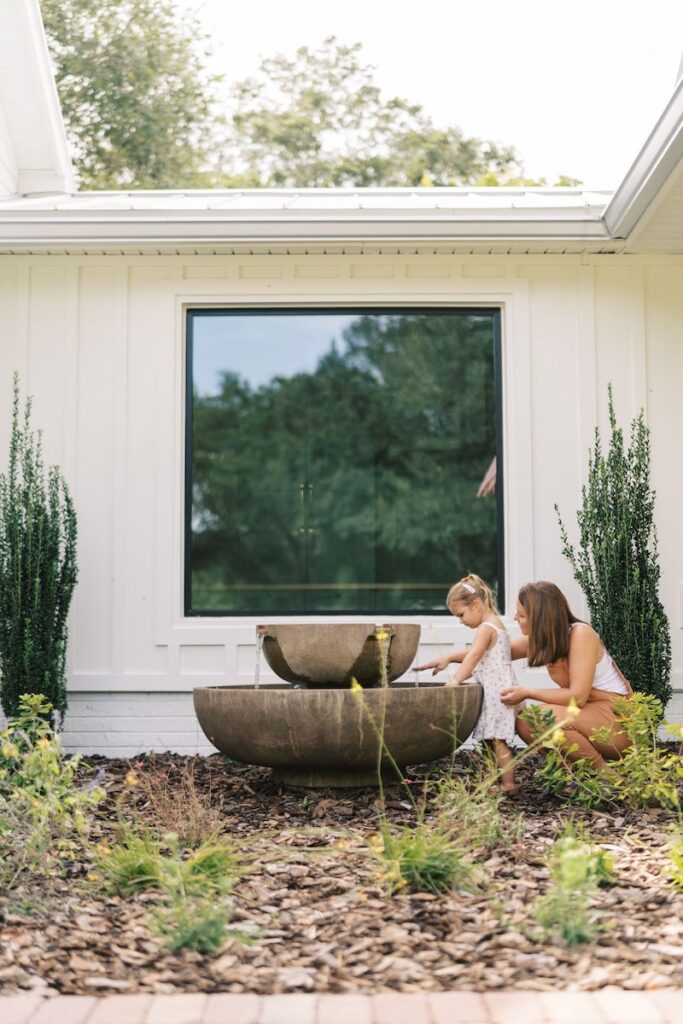
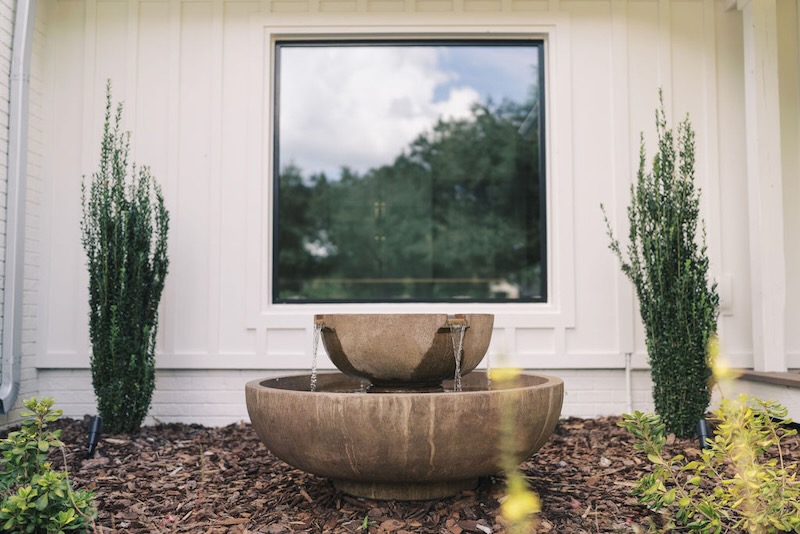
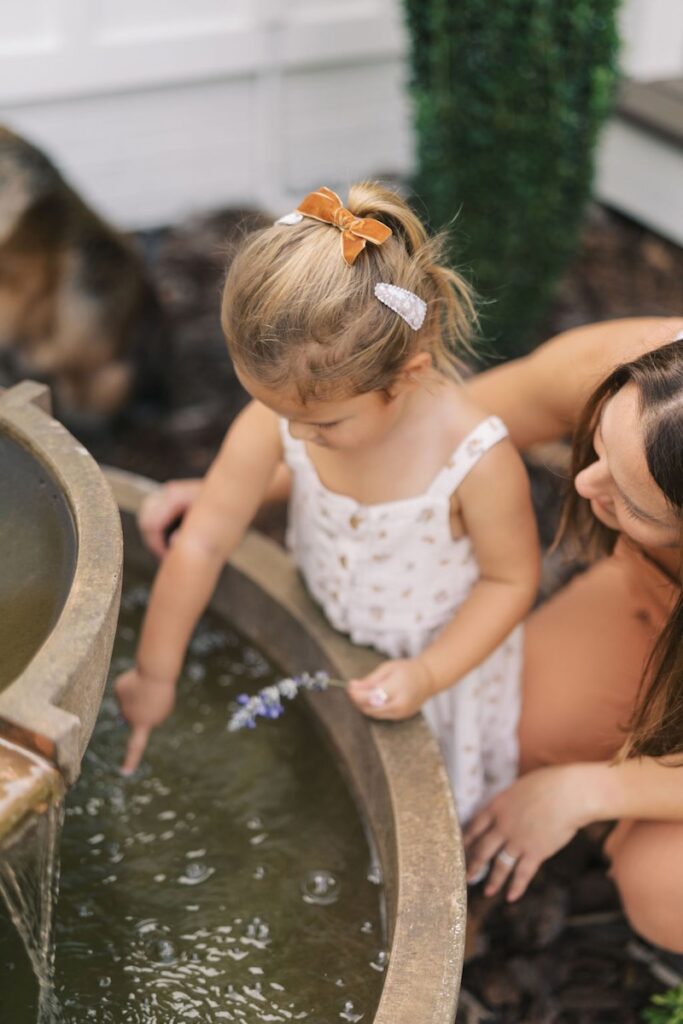
I knew early on that the nook between the house and the garage -in front of the breezeway- was an opportunity to do something great, potentially a water feature. I mentioned this during onboarding with Yardzen and they included a crepe myrtle with a tall fountain. We didn’t love the idea of a tree. We didn’t want to block the view, block our new large picture widow, or deal with droppings from the tree, so we opted for a larger, statement fountain. It’s so gorgeous in the nook, not to mention the relaxing ambiance.
Budget
The all-in estimate that Yardzen predicted for our project was $14,300-35,400. It’s a wide range and includes things like outdoor decor and furniture. The furniture and elements (planters, lighting, etc.) they chose for our design were pretty high-end, so if that’s the case, you can shop around for options that suit your budget. We ended up spending $34,000 on our project. That includes the removal of pre-existing rocks, landscape lighting ($4,500), irrigation ($3,500), limestone boulders, mulch, brick pavers, paver path installation, aluminum edging, planters, and all of the plants, trees, and shrubs.
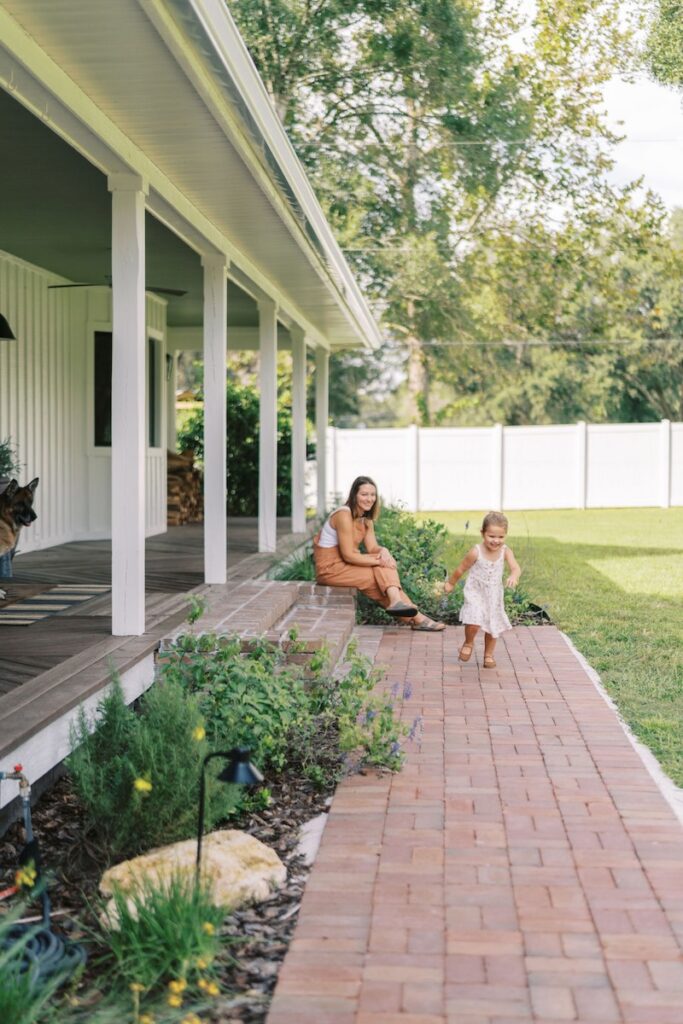
What Plants Did we Use?
Here is a mood board of all the plants and elements that make up our landscaping design.
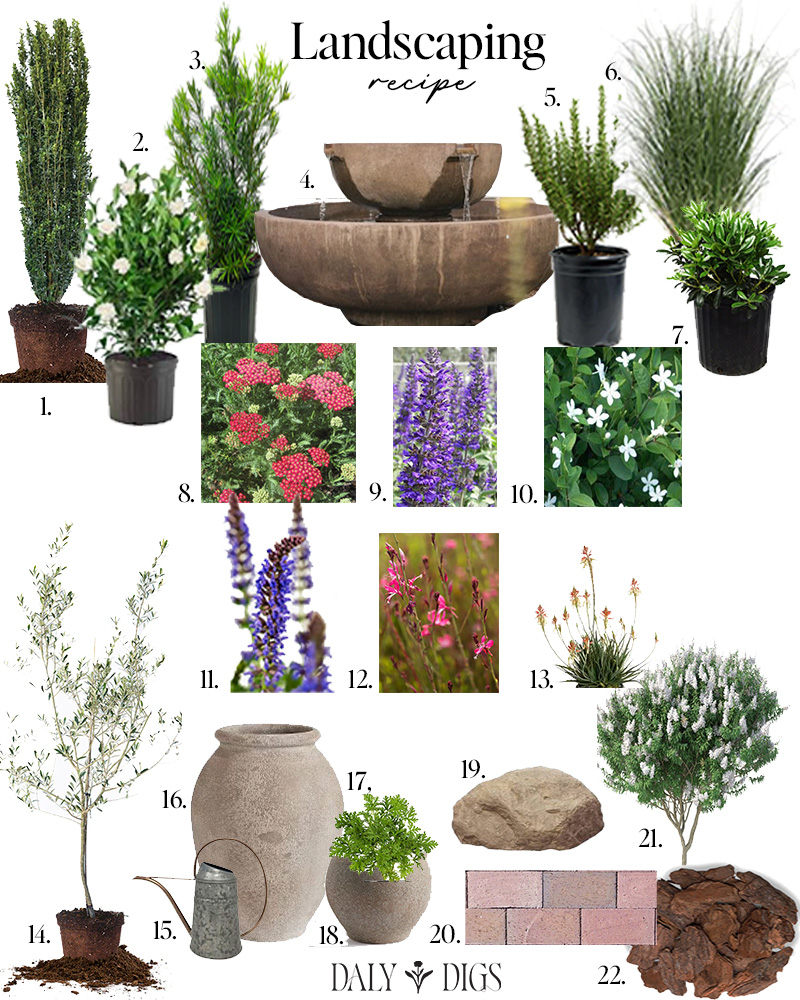
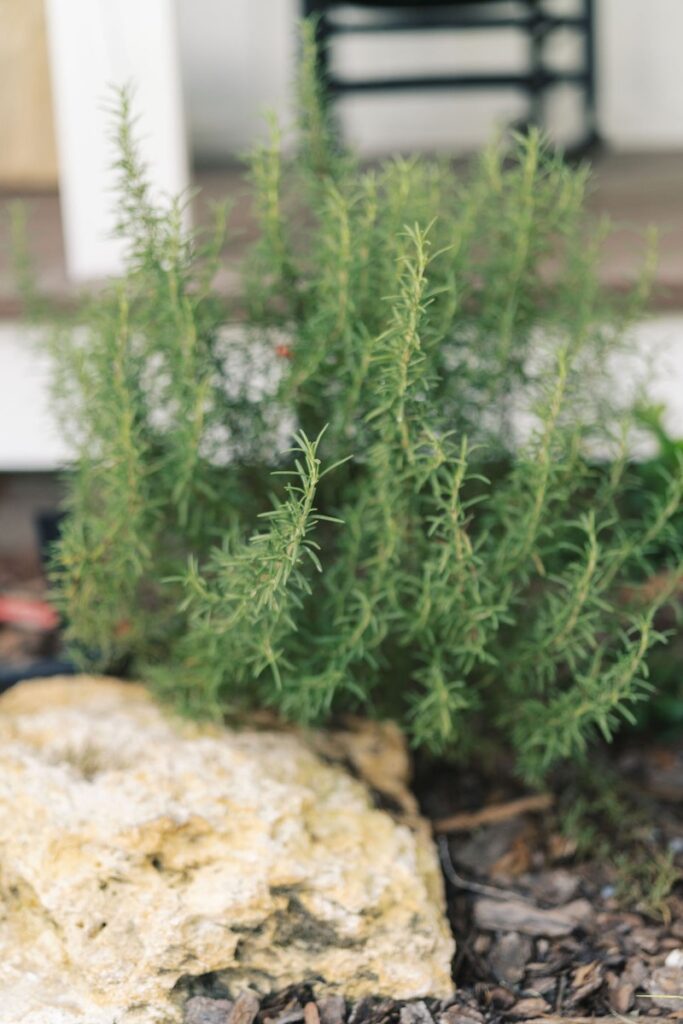
1. Sky Pencil / 2. August Beauty Gardenia / 3. Podocarpus / 4. Fountain / 5. Rosemary / 6. Dwarf Fakahatchee Grass / 7. Wheeler Dwarf Japanese Mock Orange / 8. Yarrow (vintage red) / 9. Sallyfun Deep Oceal Salvia / 10. Arctic Snow Bush / 11. Salvia Haematodes / 12. Belleza Dark Pink Gaura / 13. Bulbine Frutescens / 14. Olive Tree / 15. Watering Can / 16. Tall Planter / 17. Citronella Plant / 18. Small Planter / 19. Limestone Boulder / 20. Pine Hall Brick Rumbled Rose Pavers / 21. Crepe Myrtle / 22. Pine Bark Mulch
Phase 2
When we had our landscaping installed, we were racing against the clock for a huge party I was hosting for Mike’s Birthday, so there were a couple of things we put on the back burner. We met with our landscape company last week to discuss phase 2. So, what will that entail? We’re adding an additional ~60′ bed of shrubs and trees in the front yard for additional privacy, concealing the neighbors’ barn, and breaking up the white fence. It will mirror the same plants and shrubs we used along the fence in the backyard.
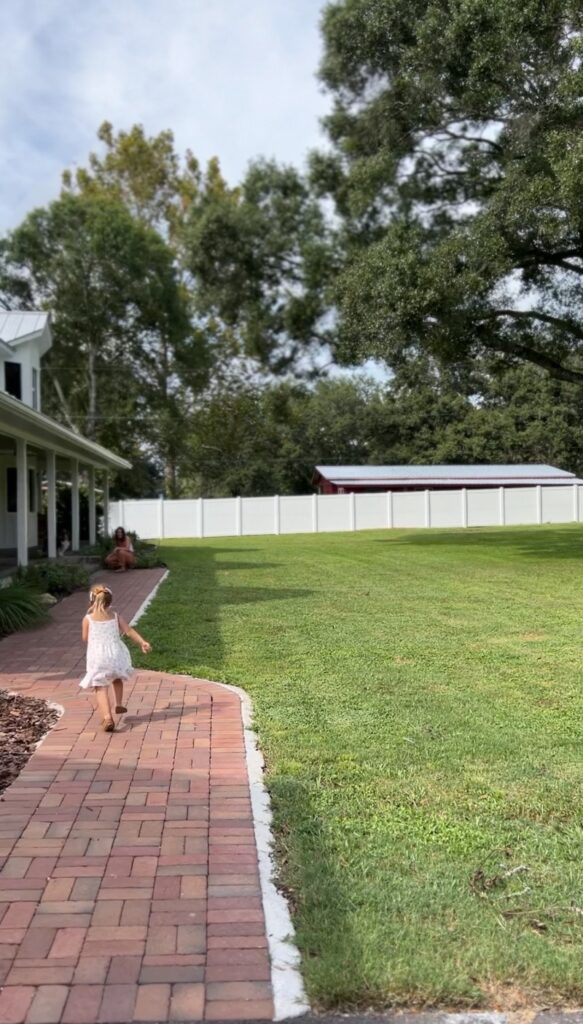
We are also going to remove the pre-existing tree and shrub we have in front of our AC units (on the right side of the house) and replace them with a trellis for vining jasmine.


We are also adding additional lighting to the garage and underground drainage for our gutters so rainwater doesn’t wash our plant beds and to protect the foundation of the house.
Working with Yardzen: A Review
I want to wrap up this post by talking a little about the pros and cons of working with Yardzen. First off, it was such a fun and thorough experience. Yardzen does so well in the onboarding phase to understand your goals, vision, and vibe. They offer a variety of packages from the front yard only to the entire property including exterior design elements beyond plants. Their team of horticulturists custom selects plants based on your planting zone that will thrive in your specific area. They develop a 3D model of your property and create a detailed custom design and visual renderings. There is one round of revisions built into the process and you can purchase more if needed. I found that the one round was sufficient even though we made some plant modifications with our local landscaper. One downside I found is that the plants in the renderings were much more grown in than the plant gallon sizes they recommended purchasing. Our renderings look more full and grown-in than our landscaping does and certainly did when it was first planted. One more suggestion I would make is to pay attention to whether the plants in your plan are annuals or perennials. We had a significant amount of one annual in our plan (dwarf Lily of the Nile) that looked gorgeous for some weeks, but once the flowers died off it looked like a weed. I ended up ripping them all out and replaced them with perennials. Overall, I’m very happy to recommend Yardzen! I found that after meeting with several local landscape companies that were unable to grasp what I was trying to achieve, it was actually great to work with someone with fresh eyes, not local to my area that prioritizes design and still be able to create a custom planting plan appropriate for my region.
