When we kicked off the nursery bathroom makeover, I mentioned we chose to reglaze the bathtub and tile surround to save time and money, especially since it was all in good shape, just ugly. The tile was discolored due to water stains and the tub was a dark biscuit color. Bleh. You guys were so interested in this project so I’m going to share what I can. We outsourced the work and we were not involved in every step, so keep that in mind. I don’t have any pictures of the application process, unfortunately.
This post contains affiliate links. If you make a purchase using my link, I may receive a small commission for the referral. Thank you for your support!
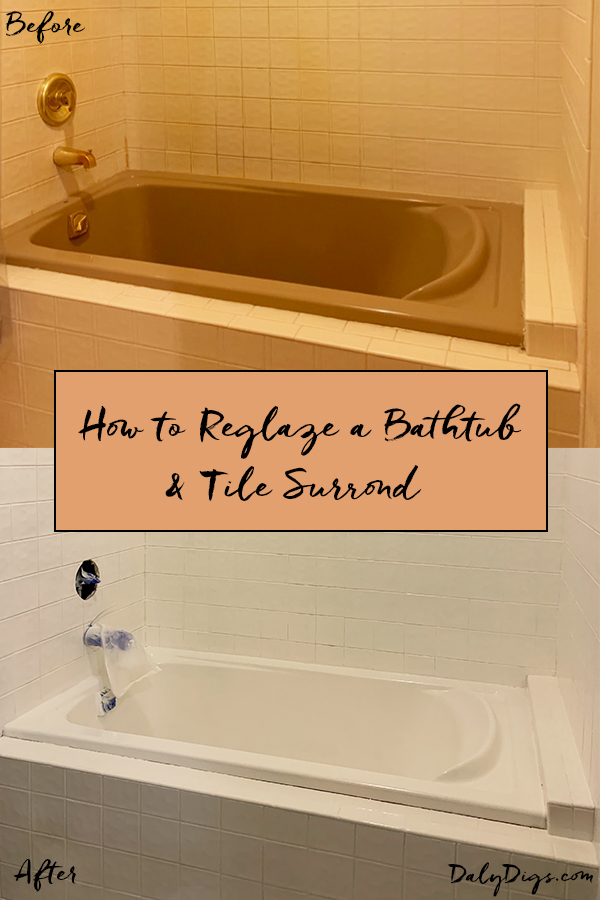
How to Reglaze a Bathtub and Tile Surround
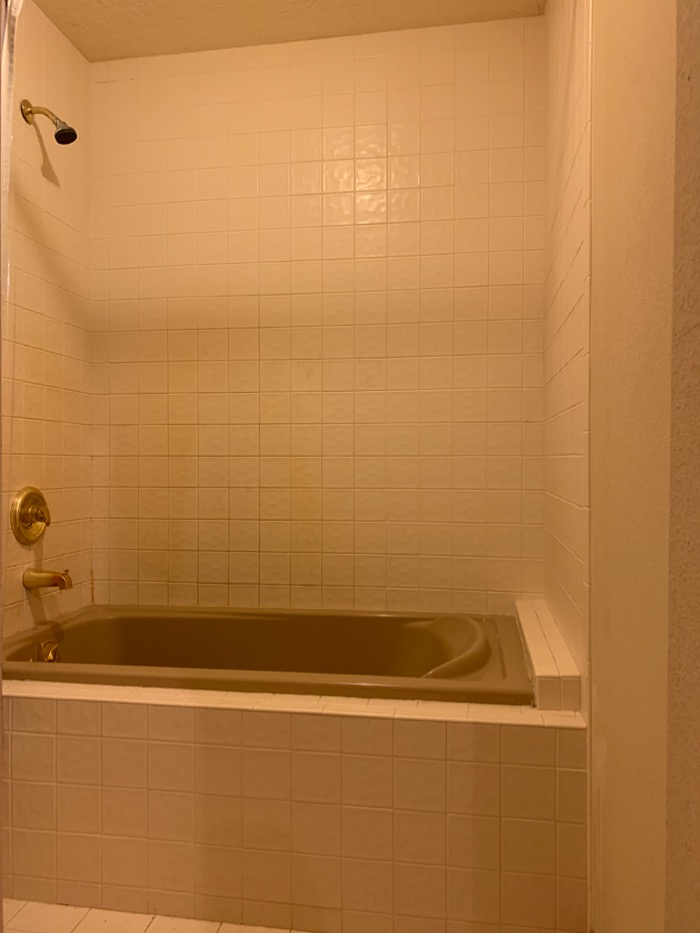
Check out our tub and tile before and after the reglazing application:
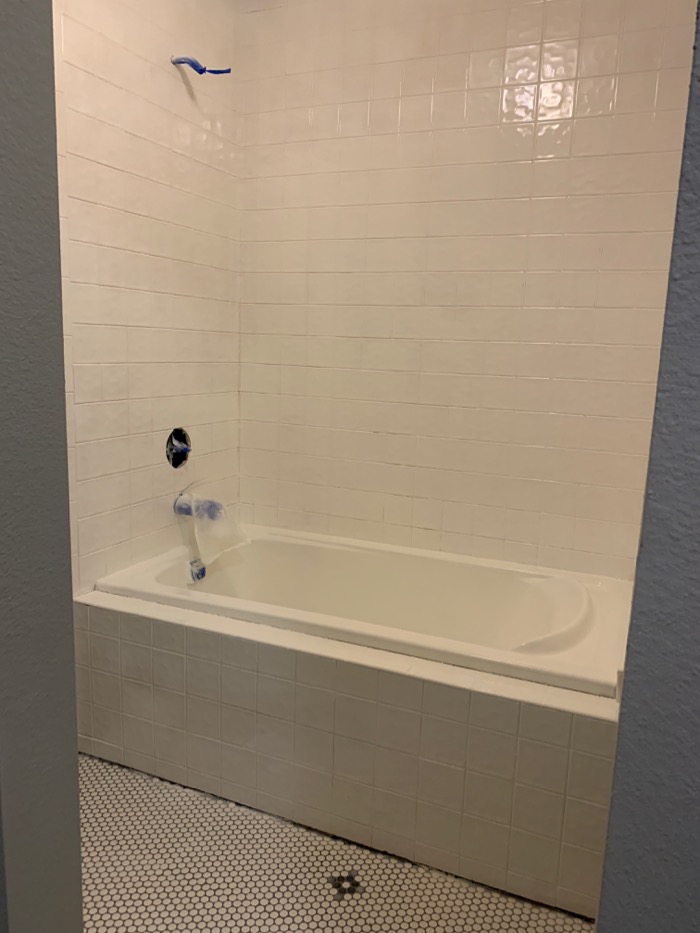
As you can see that there are a few spots in the grout that are not perfect. However, what a huge difference.
How to Reglaze a Bathtub & Tile: The Product
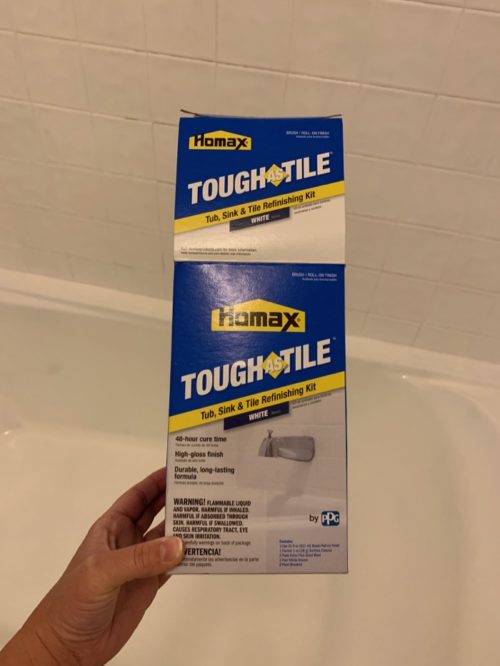
To reglaze the tub and tile, our handyman used this spray-on epoxy kit for the tile and this brush-on epoxy kit for the tub. You can use this product for sinks as well, and you can choose to spray or brush on. Our handyman preferred to use the spray-on for the tile and the brush-on for the tub since it required greater coverage. The kit includes the epoxy paint, gloves, steel wool, surface prep cleaner and instructions. The chemicals emit strong fumes so we avoided the room, especially me since I’m pregnant. I would highly recommend getting everyone out of the house, including the pets, if you decide to take on this project. The vapors were very strong, took over the whole house and took hours to go away. If you’re applying, you will definitely want to wear a respirator paint mask.

Other materials you may need include painters tape, plastic or cloth drop cloth, caulk and a respirator painters mask.
How to Reglaze a Bathtub & Tile: The Process
This product page has a great instructional video. First, you want to prep the surface. Remove all plumbing fixtures and any caulk around the tub. Tape off walls and ceiling to protect from overspray. Clean the tile and tub thoroughly and scour the surface with the provided steel wool. The process can require a few coats depending on the color of your tile/tub and discoloration from water or mildew. Our tub was a dark biscuit color so it took more coats and labor than we anticipated. It’s recommended to let dry 3-6 hours between coats but one of our coats dried longer than that so we’ll see what happens. After the final coat, it has to cure for up to 48 hours. It looks like glossy porcelain when it’s done.
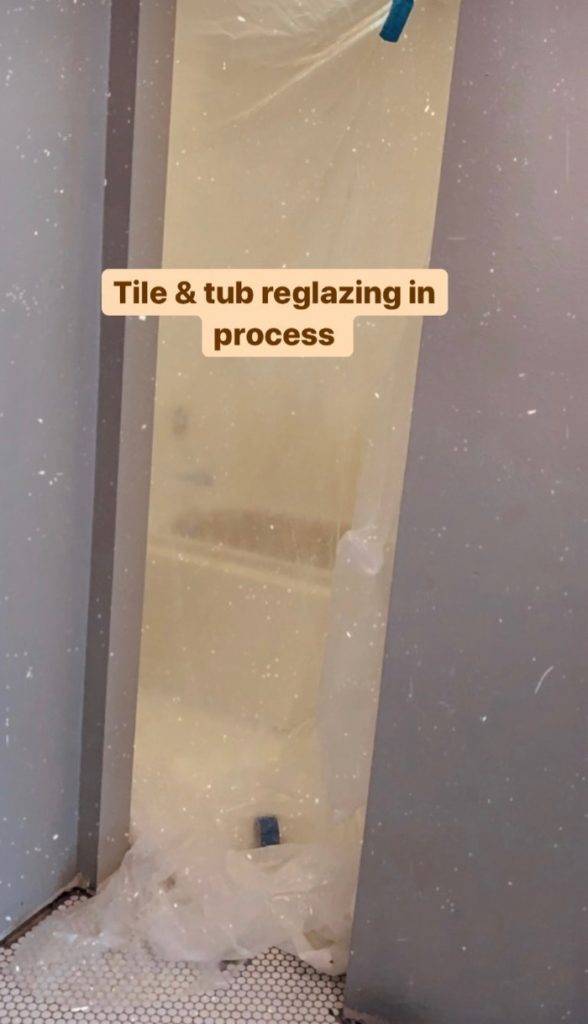
I snapped this photo during the process and posted it to Instagram so excuse the filter, but it’s the only one I have. Even after blocking off the area with plastic, the vapors were still strong so keep that in mind.
Q&A:
How long did it take?
It took our handyman 2 days plus an extra day for the tub and touchups. You could likely do this yourself in a weekend unless you have damage to repair or a dark tub/tile in our case.
How much did it cost?
Our handyman was already installing our floor tile so for the reglazing he charged us $150 for labor plus materials, which cost around $250. He used 5 of the Tough as Tile kits. Our tub needed more than we anticipated since it’s so dark. I received a separate quote for the tub/tile refinishing for a local company and it was $499. If you need to do just a tub, it’s less expensive.
How long does it last?
I couldn’t find a specific claim by the product for longevity, but basic reglazing is rumored to last at least 10 years. I had a few followers reach out with experience to say the glaze started to wear down after a few years. I think it depends on how well the surface is prepared, what type of surface you’re applying to, etc.
What kind of surfaces can you reglaze?
According to product details, you can use the Tough as Tile product on bathtubs, bathroom sinks, ceramic tile, porcelain, fiberglass and showers. It works on fiberglass, porcelain, glazed ceramic tile and acrylic composite surfaces.
Overall, here are my thoughts on the pros and the cons of the tub/tile reglazing.
Pros:
- Easy.
- Fast.
- Way more budget-friendly than replacing with new tub and tile.
- It could be DIY’d with proper preparation.
I think this is a great option for a band-aid that you don’t necessarily need to last a lifetime. In our case, it was a good fit. We didn’t have the time nor budget to redo the tub and tile but we plan to in the future. This will hold us over until then.
Cons:
- It is messy.
- It is an extremely smelly application. Do not underestimate the vapors. The epoxy is way worse than paint. We found that the brush-on product did not emit any fewer fumes than the spray-on.
- It may not be a flawless finish. Even if you prep the surface you may still end up with rough spots that have a sandpaper feel. We did. I read that rough spots are caused by overspray i.e. spraying the surface before the prior coat was dry. The good news is, you can use fine-grit sandpaper or epoxy thinner to smooth out the rough spots.
- It’s not going to look like a new tub/tile. There is no replacement for a beautiful tile and a shiny, new tub. Can it vastly improve an ugly tub/tile situation? Sure. But it’s not going to be a design feature of the space.
If you have additional questions, comment below. I’m happy to answer the best I can! I’ll keep you guys updated as we begin to use the tub.
Shop the post:

Pin for later: