It’s here folks! This week I’m finally unveiling our big kitchen remodel! I’ve already shared the other areas we did as part of the kitchen remodel including the mudroom and powder room, and today I’m sharing our wet bar.
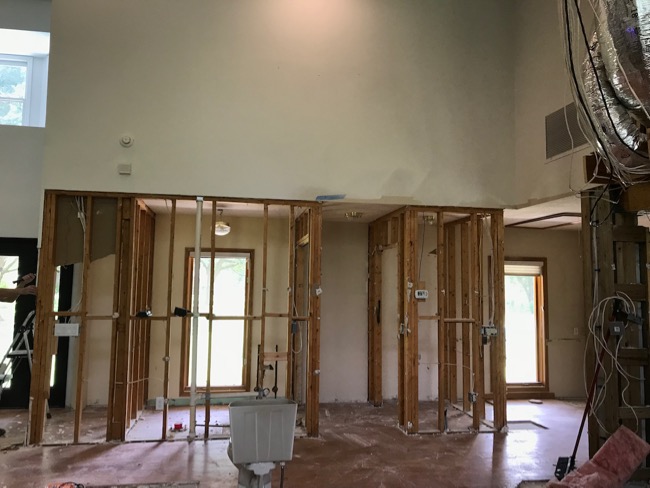
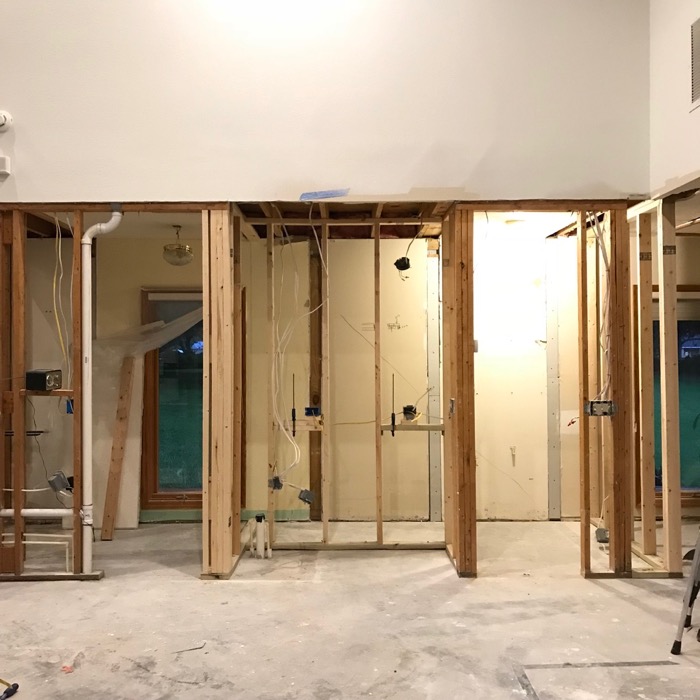
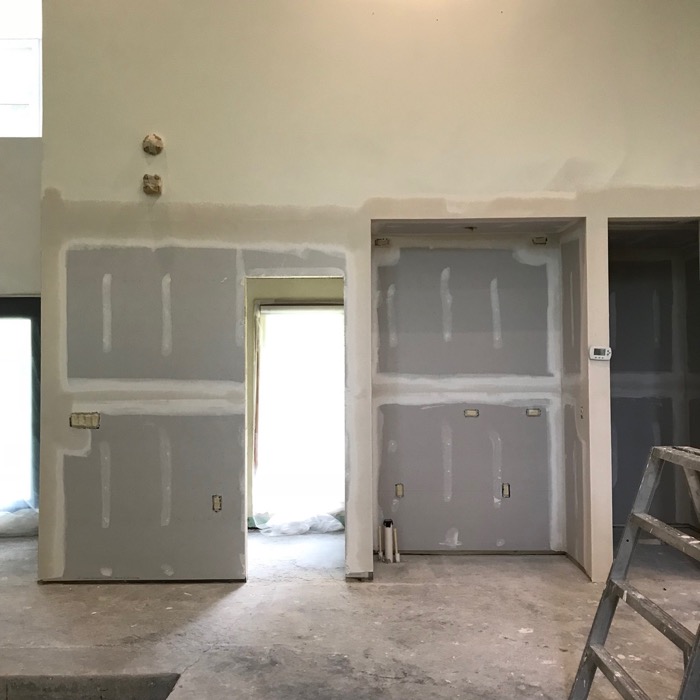
You may recall that mid-way through the remodel and design process we reconfigured the area off of the kitchen, which prior to the remodel included a coat closet, the powder room, pantry and an office nook. We moved walls and changed the footprint but something wasn’t feeling quite right. Then it dawned on me to carve out a little nook for a wet bar/coffee bar. I loved the idea of having a designated area for our bar stuff and to reduce the foot traffic in the kitchen when entertaining. I pulled some inspiration and developed a design plan for the wet bar, which I laid out in this post.
Here’s a look back at the area during construction.


The Wet Bar Reveal!
Finally, here’s what our wet bar/coffee bar looks like now.
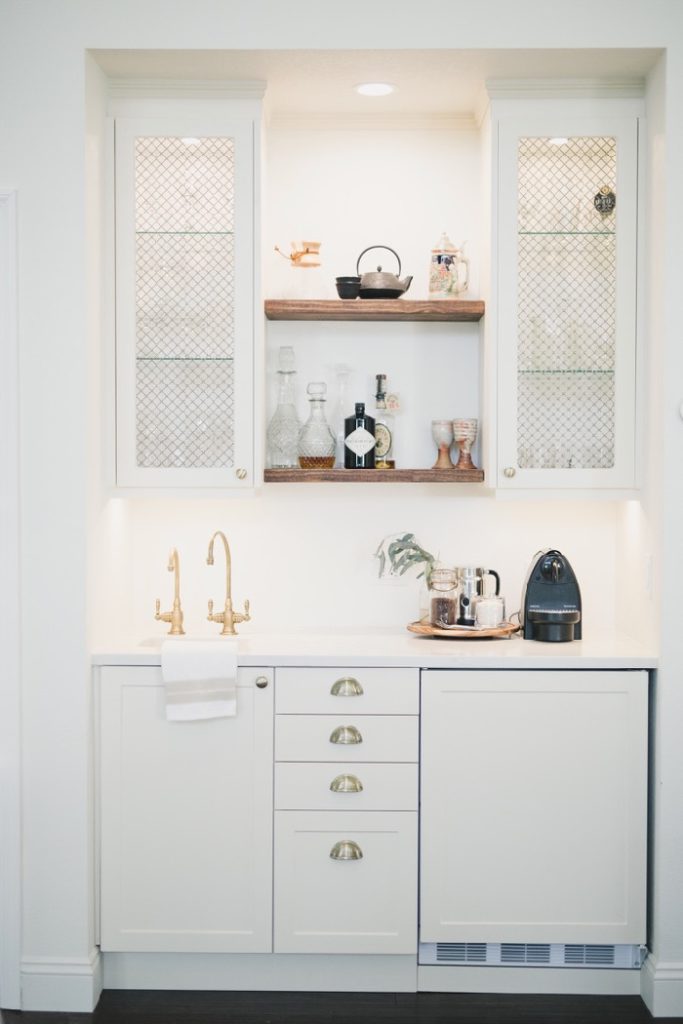
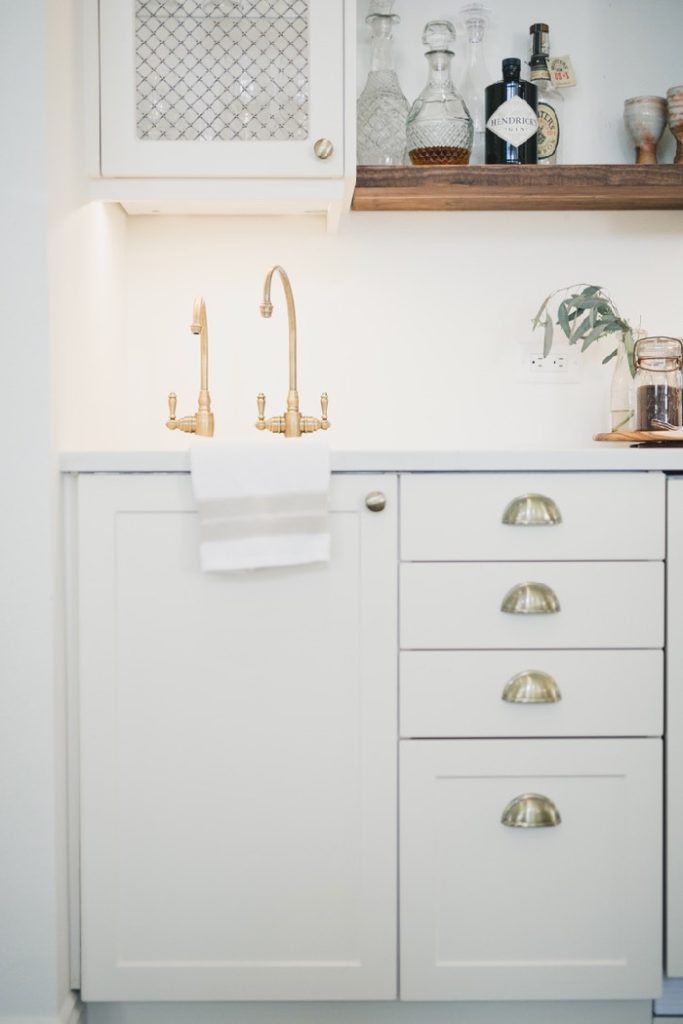
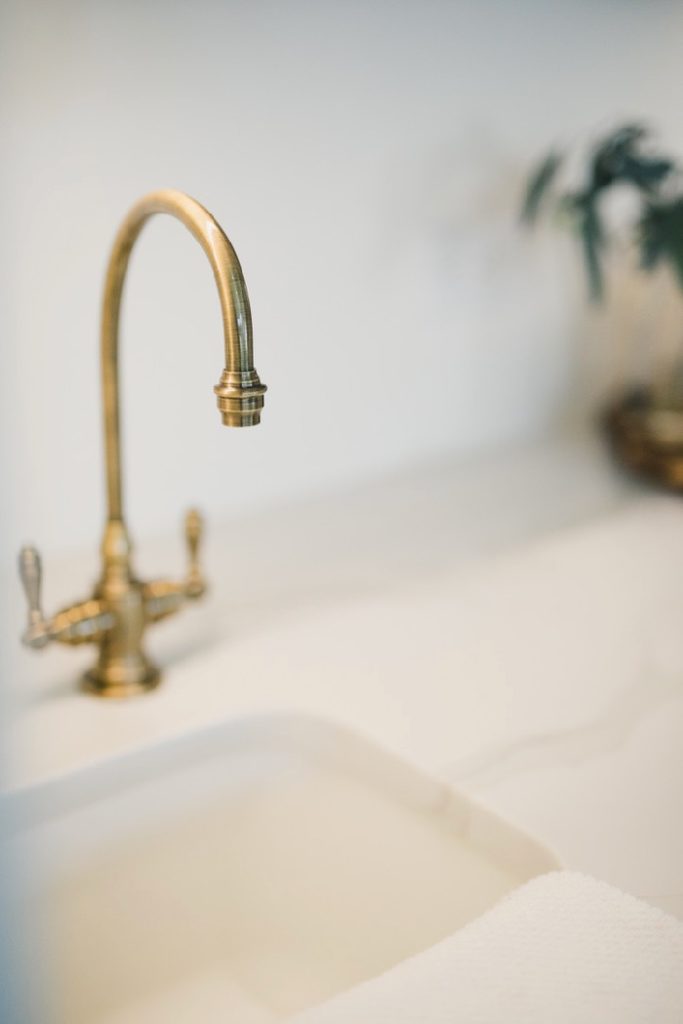
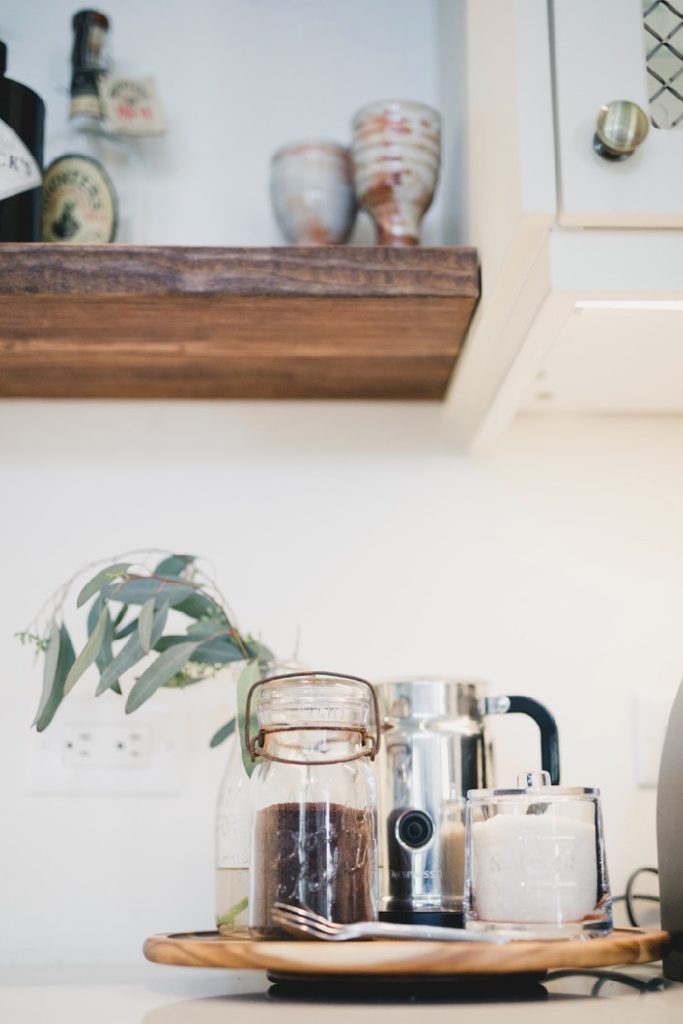
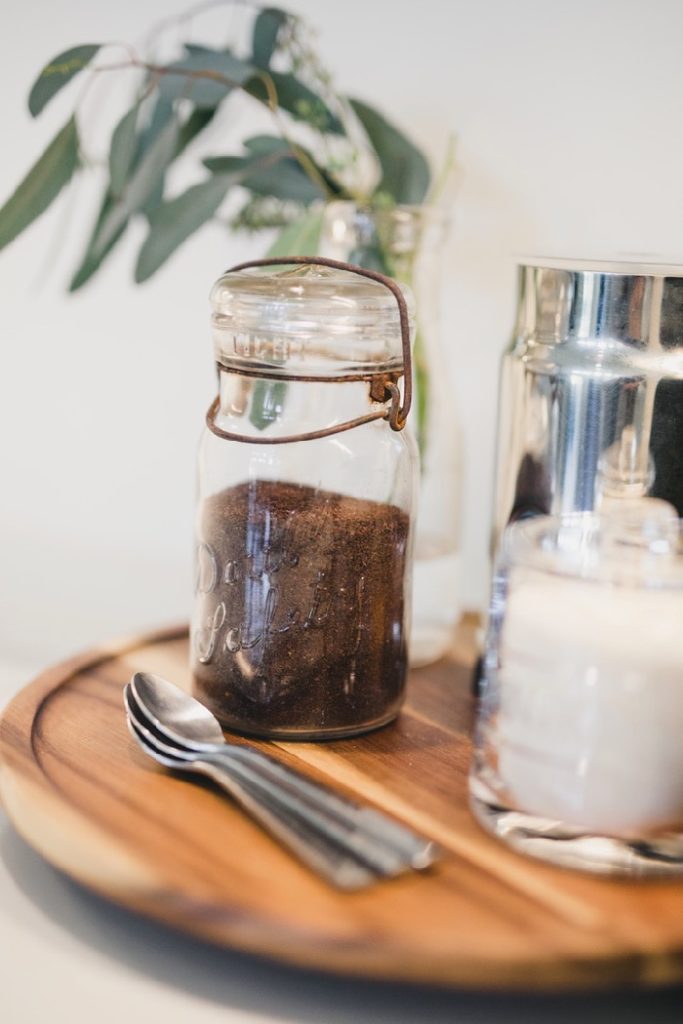
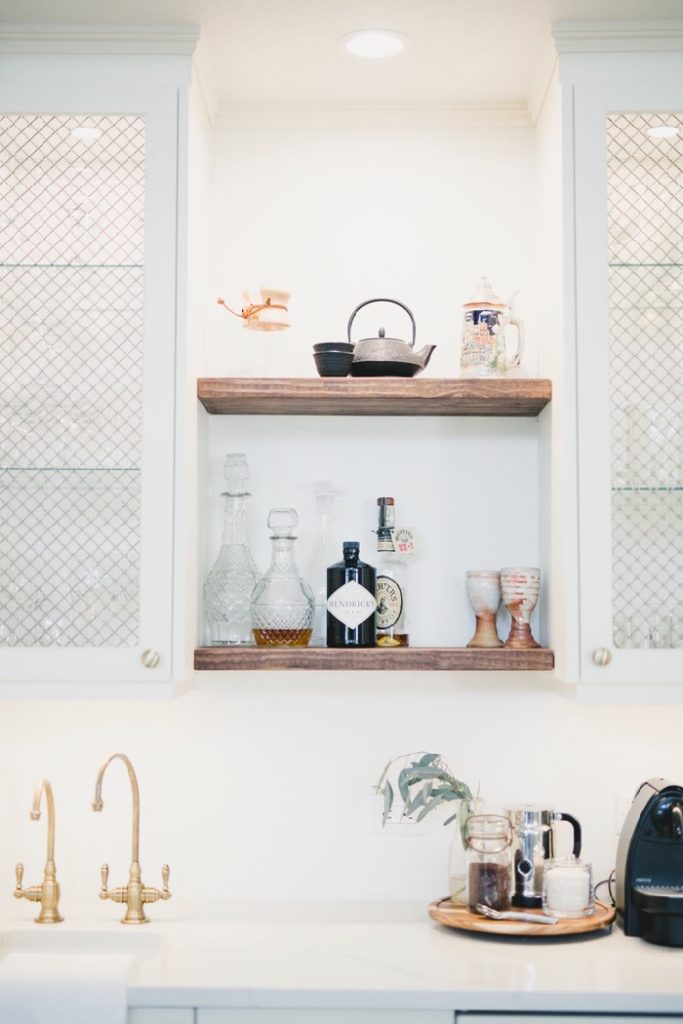
The wet bar is small but mighty. It’s about 58″ wide and has a mini fridge, a sink with a faucet and hot water dispenser, drawers that house coffee and tea accouterments, bar accessories and 15-20 liquor bottles. The upper wall cabinets store glassware and the open shelves leave room to display some things such as our vintage decanters. I’ll share a look inside the cabinets in a future post.
The wet bar gets SO much use and I’m so glad we made the decision to work it into the design of our kitchen. We use the hot water dispenser every day and love having an extra fridge for beer, soda and overflow.
Although I’m pretty happy with how it turned out, I do think I’m going to add a tile backsplash. I am mulling over some samples so stay tuned for that update later on.

Cabinet Shells – IKEA / Cabinet Doors – Semihandmade SM Shaker (antique) / Wire Mesh Cabinet Panel Inserts / Panel Ready Mini Fridge / Cup Pulls (Elegant Brass) / Knobs (Elegant Brass) / Countertop – Quantum Quartz Calacatta Classic procured through Stone Saver and fabricated and installed by Dreamstone / Waterstone Hampton Bar Faucet / Waterstone Hampton Hot Water Filtration Faucet / Wood Lazy Susan / Sugar Dish /
Big thanks to my friend Rana with Roohi Photography for capturing the reveal images!

19 Responses
I love this! How did you remove the handle from the fridge? Are you going to add a pull on the fridge door?
Hi Morgan! We got a panel-ready mini-fridge that was made for a panel to be attached. Yes, we finally did add a handle to the fridge door we just custom ordered one and it wasn’t here at the time we photographed the wet bar. 🙂
Hello! What color did you paint your door fronts with semi-handmade? LOVE the color!
It’s a now out of stock color called “antique” from Semihandmade. It’s a gorgeous creamy white.
Hi! How wide are your upper cabinets?
15″
Love this! Can you tell me specifically which size Ikea shell(s) you used? And also which sizes were all the semi-made pieces for the bottom portion? So the fronts, trim, drawers etc. I don’t need the upper cabinet info. Also, this may be a dumb question, but what is the purpose of the separate hot water faucet, vs. just doing the one faucet with the standard cold/hot temps? Trying to figure out if this is something we want to do as well or not. Thanks SO much!!
18″, 15″ 24″ panel-ready fridge. Semihandmade sends 5″ trim pieces with your order that can be ripped down for toe-kicks. I wanted my faucets to match the ones in my kitchen and Waterstone doesn’t offer an insta-hot and cold tap in one. So we have an insta-hot water tap for hot tea, etc. and a regular faucet with hot/cold.
Thanks for the response and info! Did you use one of these for the fridge? https://www.ikea.com/us/en/p/sektion-base-cabinet-frame-white-30265386/ If so, do you know the size? Or did you not use a base? Now that I’m looking at the pic again maybe that part is not needed when doing the fridge as you did…🤔
The fridge is just the fridge, no cabinet. You just use filler on the sides to make it look integrated. And we had a custom panel made for the fridge.
That makes sense abs what I was gathering! Thanks again!
Hi there! Could you share who did the raw wood shelves for you or where you sourced them from?
We DIY’d them using raw 2x12s. We custom stained and drilled for the shelf brackets. I did a blog post about the install: http://dalydigs.com/our-home/kitchen/how-to-install-kitchen-floating-shelves/
LOVE it!! Struggling to find which base cabinets you used from Ikea…could you pretty please tell us the exact ones? Absolute perfection!!!
Hi Janis, I’ve answered this question before, check out the other comments on this post. 🙂 It’s an 18″, 15″ drawer cabinet and 24″ panel-ready fridge (no IKEA cabinet).
Hey, Becky!! I am so excited to see this as it has similar bones to what we are doing in our bar area. I was curious if the mesh you used stayed together well during install? We got ours in, and the edges were missing or really loose. Also, it looks like you installed glass behind your mesh….can you confirm that? Thanks!!! Love it all!!
Hi Kate! We did install plexiglass behind the mesh but should have done it in front. The mesh was a little tricky on the edges where we cut it but we used some adhesive and it has held up just fine.
Hi! Your project is beautiful and is inspiring my husband’s and my current wet bar project.
This is such a specific question but we hit a snag in our project. Where did you get your sink bowl? And/or, what dimensions is it? We are trying to fit two faucets in our small wet bar sink and we are struggling with fitting them both. Yours look so perfect:)
Thank you!!
It’s a really inexpensive one from Lowes and I turned it long ways to better accommodate 2 faucets.