
A couple of weeks ago I shared the plan for our whimsical farmhouse nursery. We have been BUSY and major things have happened in the space! Installation of the vertical paneling and wallpaper is complete and we chose a paint color! It’s the most delicious shade of green. A green girl’s nursery, great for someone like me that is not a big fan of pink and purple. It took us 12 paint samples to settle on the color, but it’s perfect!!
Progress on Our Green Girl’s Nursery
Trim & Paneling
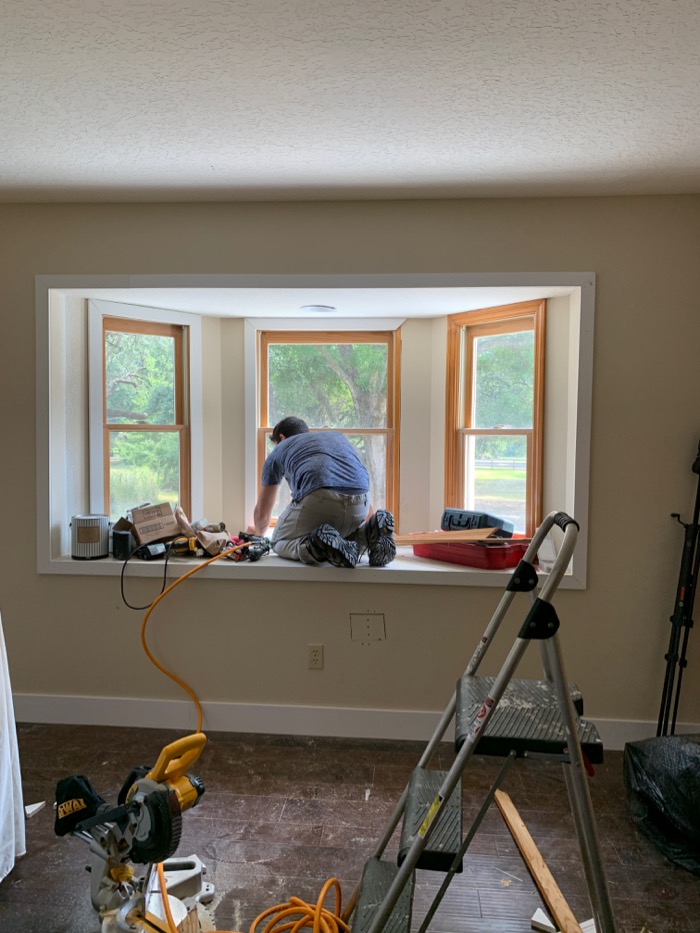
The first thing we did was remove all of the old window and door trim and replace it with simple 1×3 trim (actual 11/16 X 2-1/2 ). For baseboards, we opted for a flat 1×5 trim (actual 9/16 X 4-1/4). With the trim in place, we could start installing the vertical paneling. We used these 3-9/16-in wide x 8-ft long tongue and groove wall planks. I plan to blog a paneling installation tutorial so I will save additional details for that post.


Painting
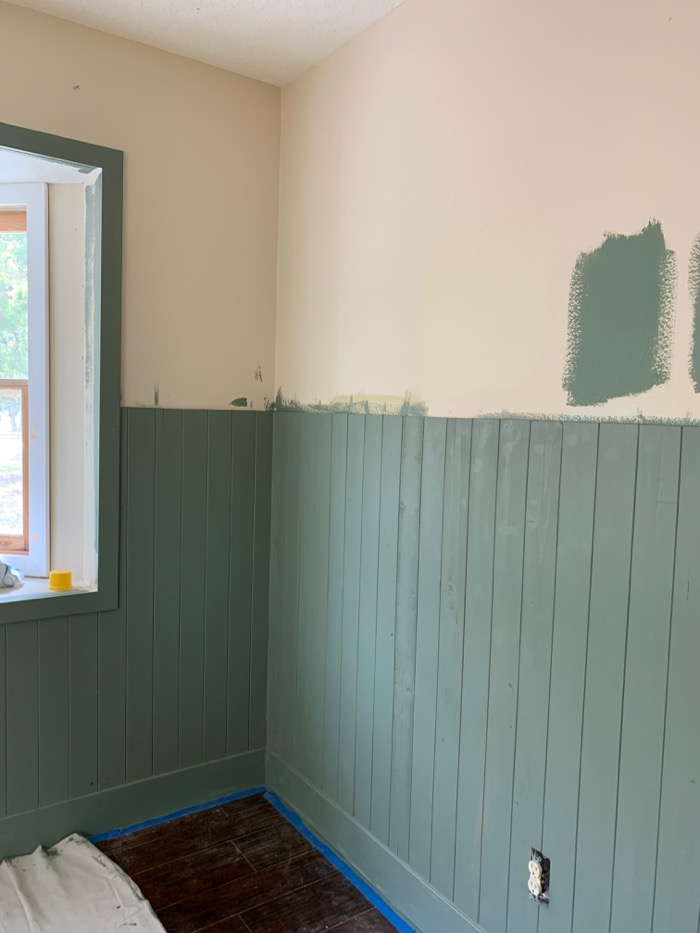
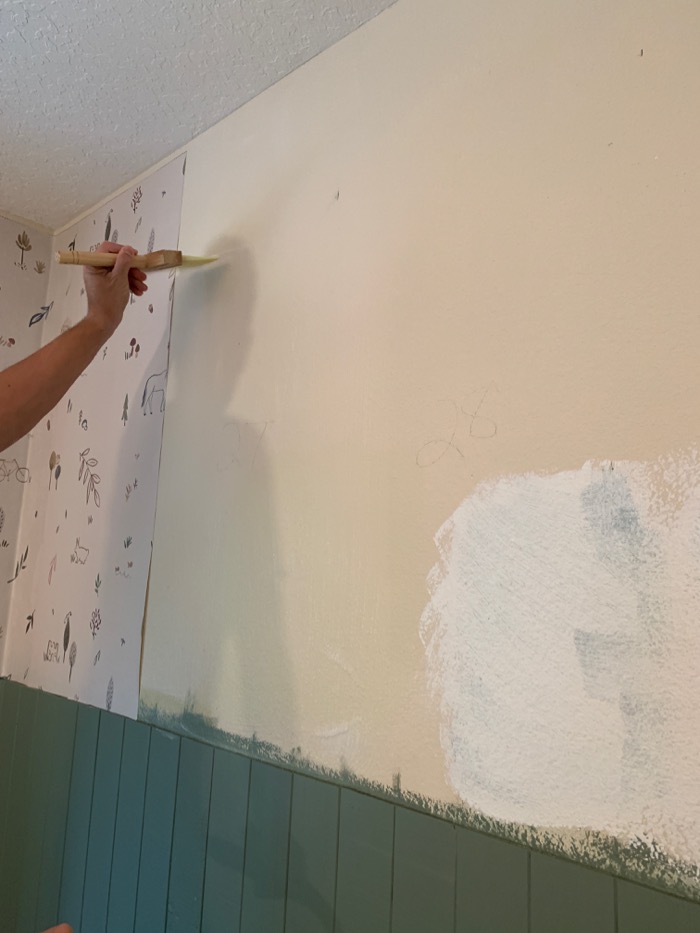
After installing the tongue and groove paneling, patching the nail holes, and sanding, it was prepped and ready for paint!
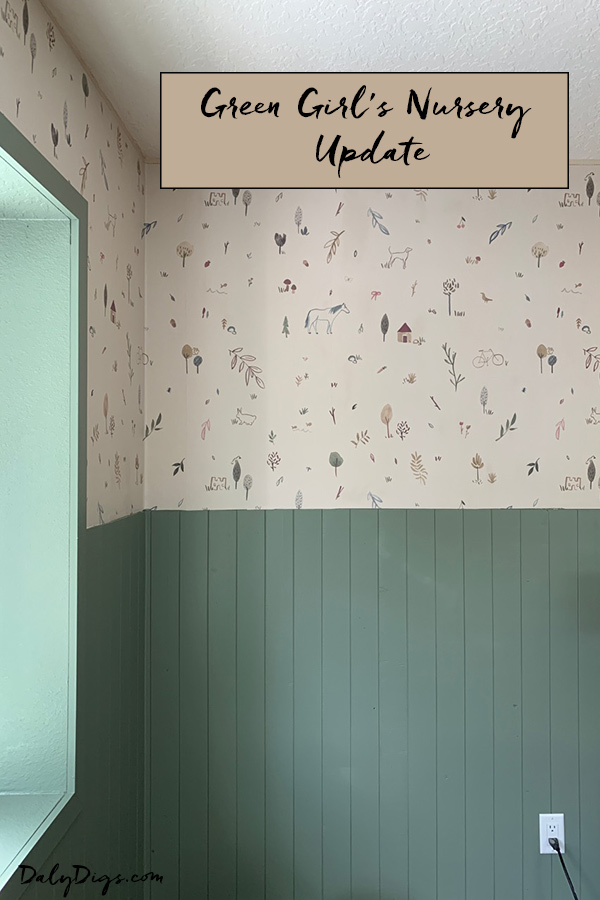
The paint color we decided on is Eden from the Magnolia line, at 80% strength in satin finish. It is the perfect shade for our green girl’s nursery and complements the wallpaper so well.

Then I got to work painting the windows.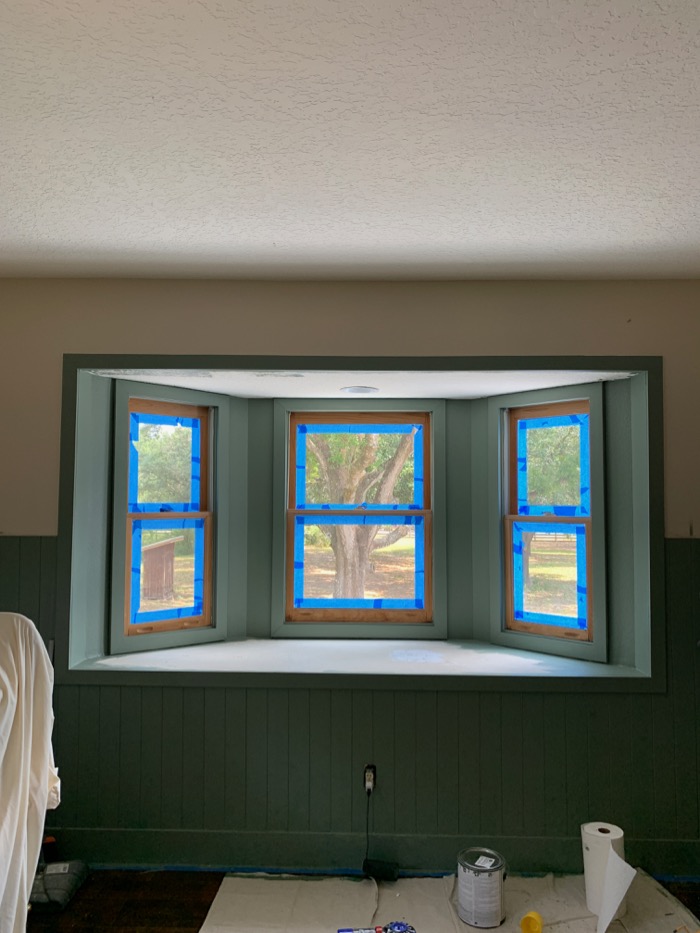
Wallpaper
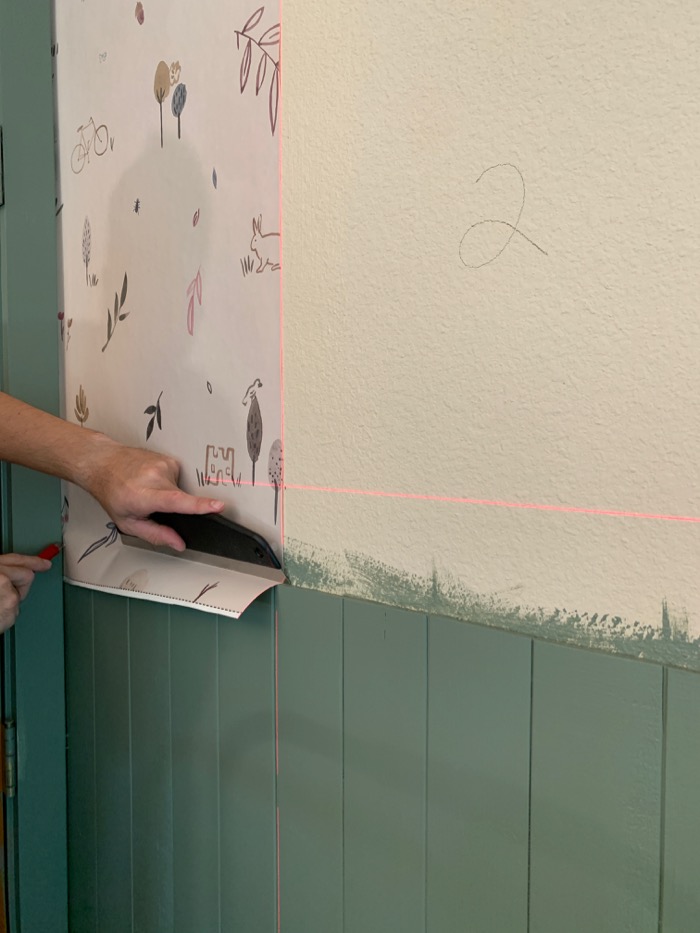
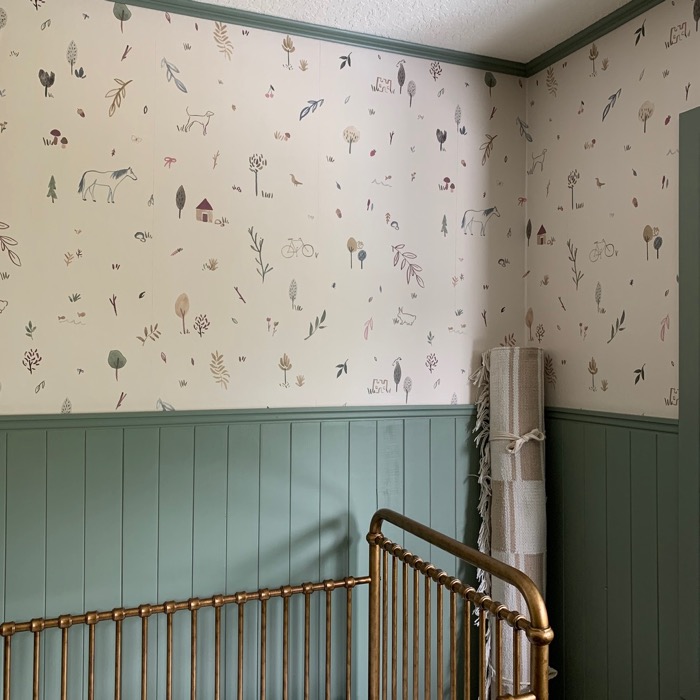
After we finished the painting, we were ready to move onto the wallpaper. We worked with Photowall on this super cute whimsical wallpaper. The pattern is made up of animals, leaves and foliage, bicycles, castles and much more. It’s an adorable pattern in muted colors. Photowall is unique because you’re able to customize your wallpaper sheets when ordering, so they arrive pre-cut and labeled, making install pretty easy. They provide the paste and offer convenient installation kits with all the tools you will need.

To install the wallpaper, we cut the sheets individually and lined them up. We pre-measured the wall and marked where each panel should start and numbered the wall so we didn’t lose track. For the first sheet and every few sheets thereafter, we used the laser level to ensure we were installing the wallpaper straight. Since we knew we were adding crown molding at the ceiling and chair rail trim above the paneling, we could be a bit less perfect with our top and bottom cuts.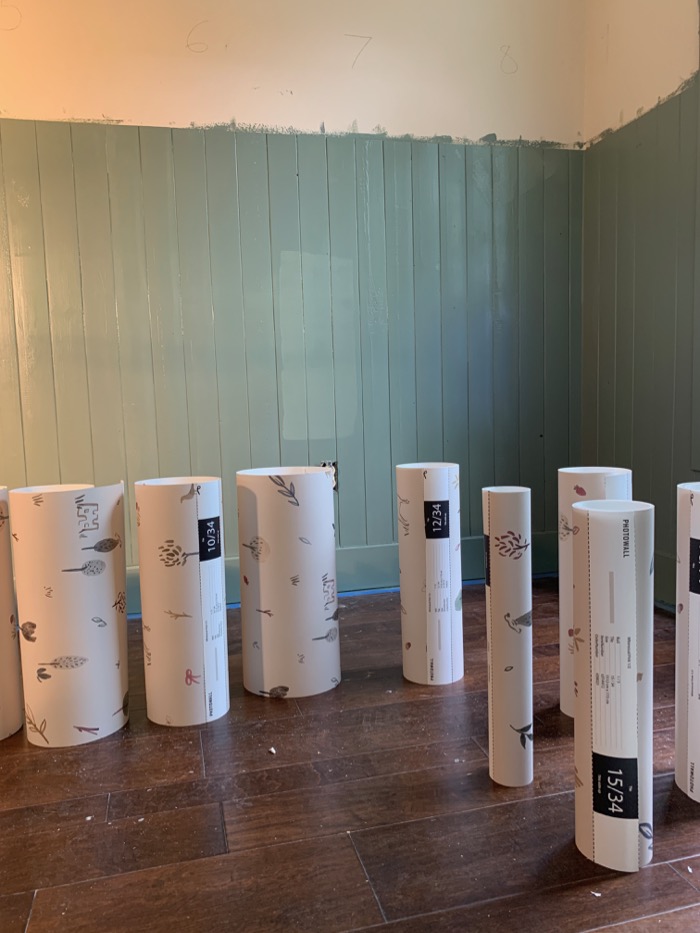
This was our first time installing wallpaper at it wasn’t that bad. Tedious and time-consuming, yes, but not hard. Photowall’s process for customizing the wallpaper, as well as their tutorial videos and instructions definitely helped make the process seamless. Hah – see what I did there? It also helped that we only covered less than half of the wall.
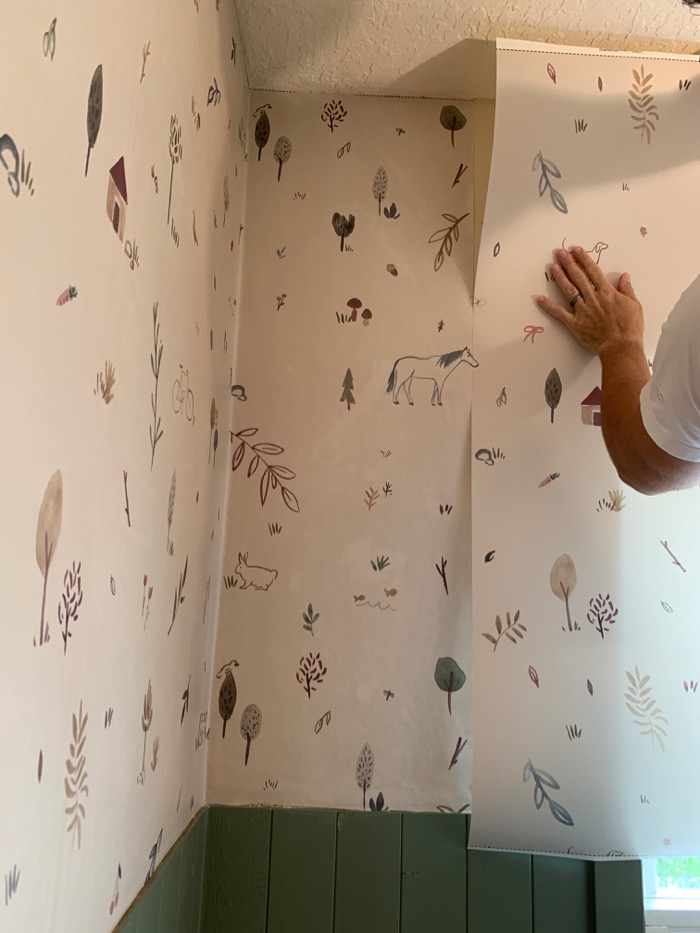

It took a whole day to install the wallpaper, but it was worth it! After allowing the wallpaper to dry overnight, we painted and installed the chair rail and crown molding, caulked the nail holes and gaps and touched up the painting. 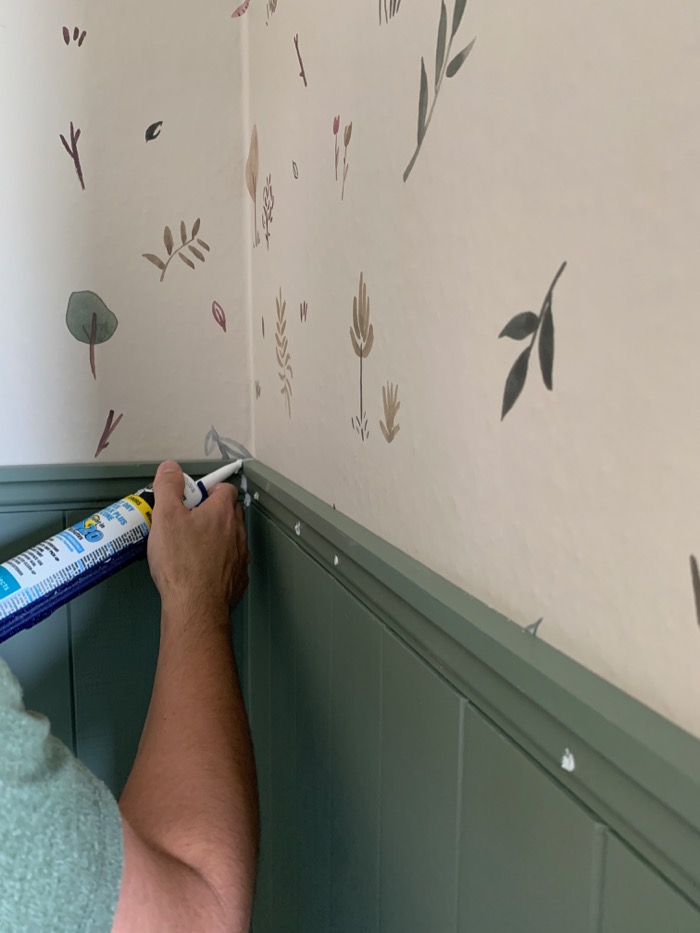
We chose to install the chair rail over the wallpaper which resulted in a clean, streamline look. For the ceiling crown molding, I wanted a simple crown as opposed to a thick, chunky crown.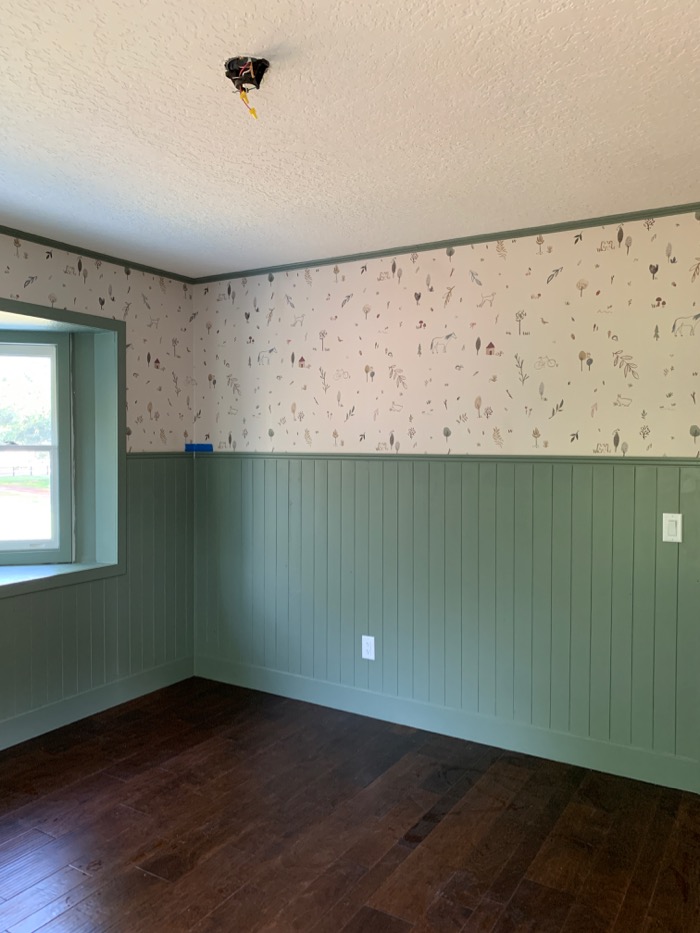
The room looks completely different than it did just 10 days ago!! Huge props to Mike who somehow has the skills to do all of this and went along with all of my design ideas!
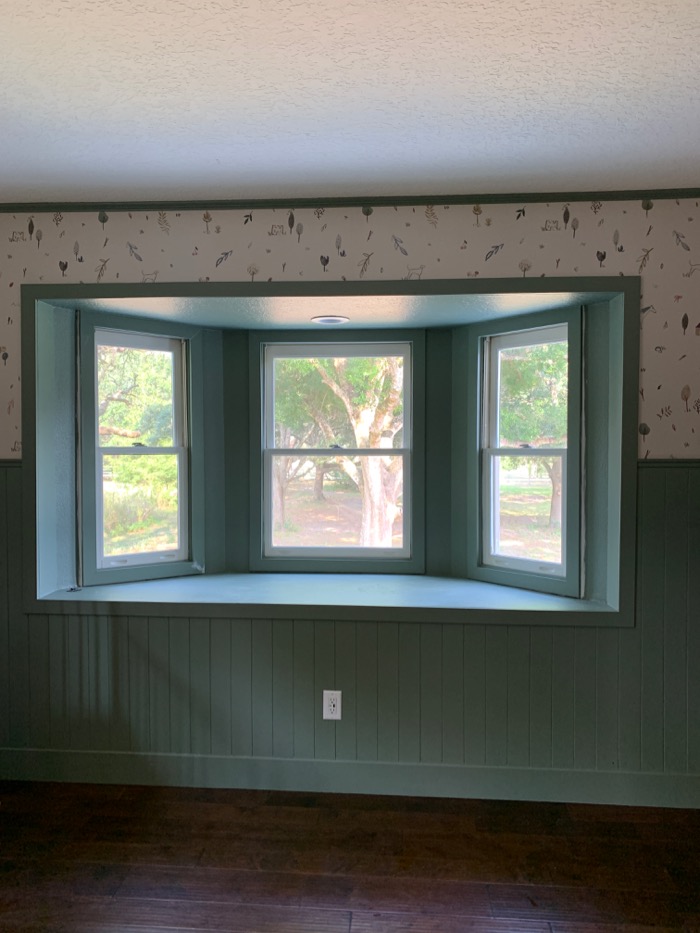
I decided that despite not being able to lower the window nook, I am going to style it like a window seat anyway. It is just such a cute spot that’s begging for a tufted cushion and throw pillows. So, I’m going to solve the height issue by sourcing a step stool. I have a custom French mattress style cushion on order and I’m excited about it!
To-Do List & Outstanding Decisions
- Finish paint touch-ups and clean the floors.
- Decide on window shades. I am leaning toward linen roman shades and I have about 15 samples on the way that should arrive this week. I am unsure at this point if I will do a shade and drape combo, but I am considering it.
- Install doors. The doors are on order but won’t be here for several weeks, unfortunately. When the new doors are installed, we will paint them green.
- Decide on a light fixture. I am so torn on the light fixture for the room. Originally, I planned on this one but I think it may be too traditional for my taste and the vibe of the room. I am still mulling over many different options.
- Chose a dresser. I am undecided on the dresser/changing table. I am leaning toward the IKEA HEMNES but unsure if we want to go the budget route, or go ahead and pull the trigger on an investment piece. Secondhand or sourcing a vintage piece could be an option too. IKEA store closures and limited shipping availability may influence the decision.
Remember what the room looked like when we started?
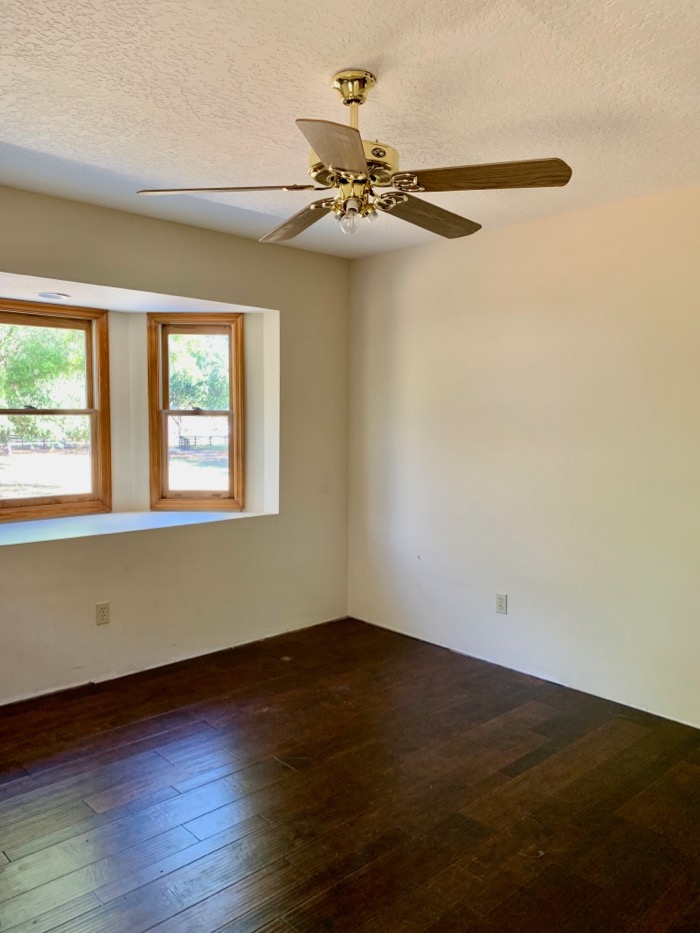
Now you’re up to speed! I love the nursery and although some were skeptical about the green, I think a green girl’s nursery is a great option! So tell me, what do you think?
Pin for later:


2 Responses
Nursery is adorable!! I love the whimsy. Great color!
I absolutely love your nursery! How cozy this is going to be for your daughter!