For our One Room Challenge patio makeover, we started landscaping along the house. If you recall from our 2018 project list, landscaping was something we planned to get to this year. We assumed we’d hire out but when the One Room Challenge forced us to get a move on the nasty weed beds beside the patio, we DIYed it and it wasn’t so bad…well, besides shoveling all those heavy rocks out of the truck. That was bad. Nonetheless, we successfully started our DIY rock landscaping so I today I’m sharing all the details.
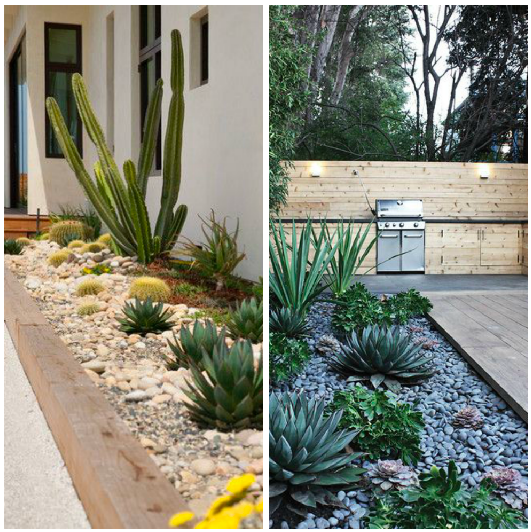
First things first, I am not a fan of mulch and we prefer rocks. While I love flowers, I prefer a simplistic landscaping look that doesn’t include a lot of flowers. Here are a couple inspiration images to give you an idea.
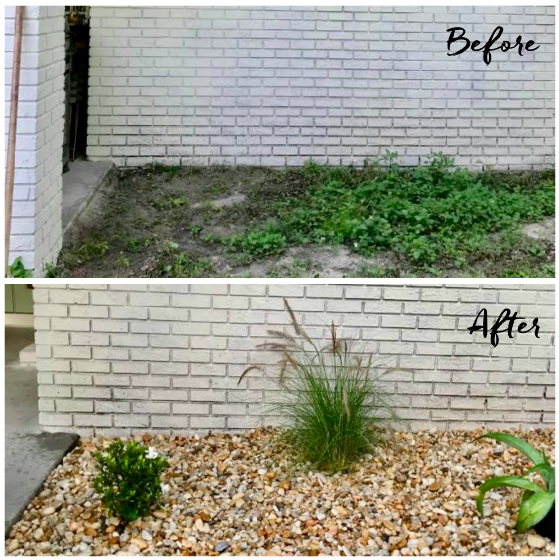
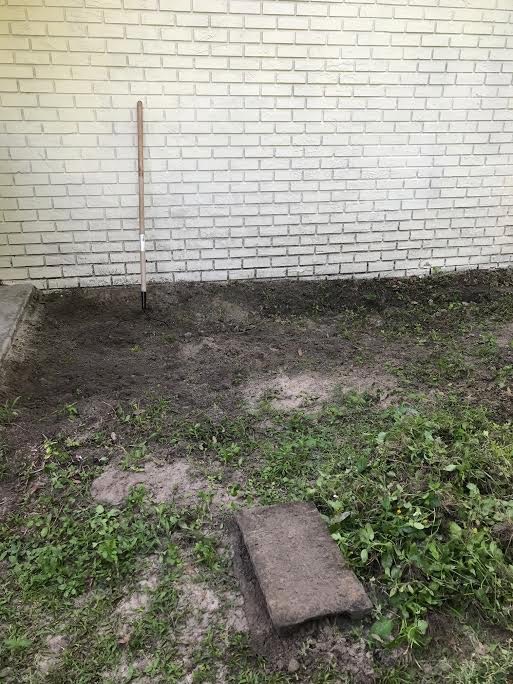
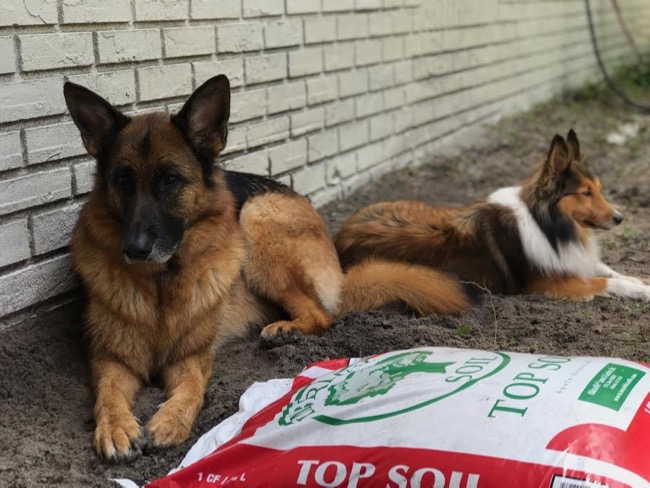
Here is where we started! The “flower beds” had been washed out and overrun with weeds.
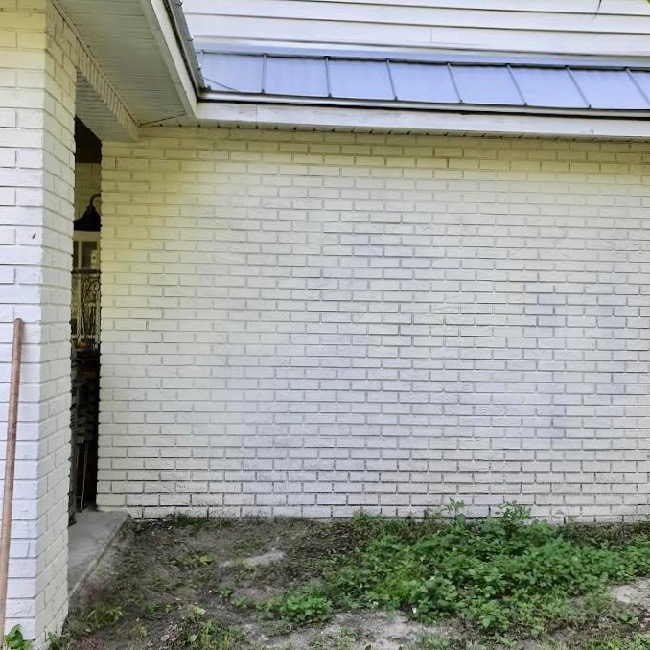
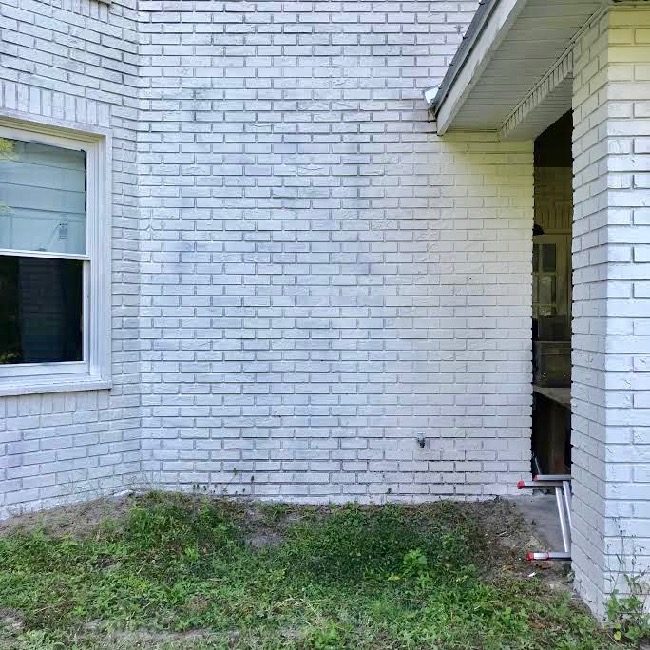
The first task in our DIY rock landscaping journey was to get rid of all those weeds.
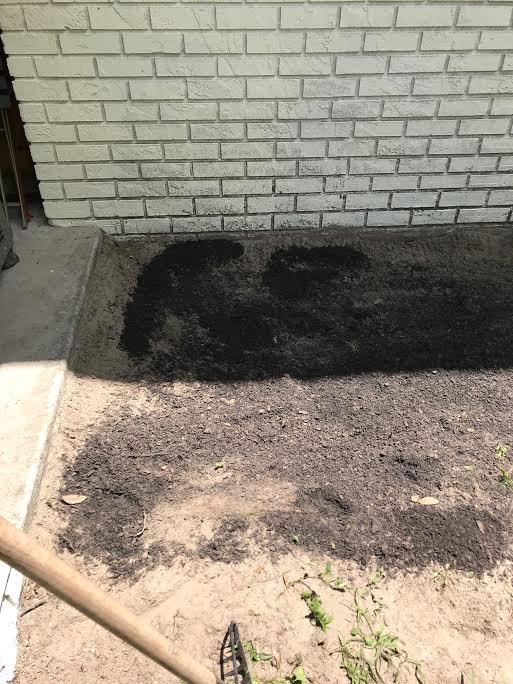
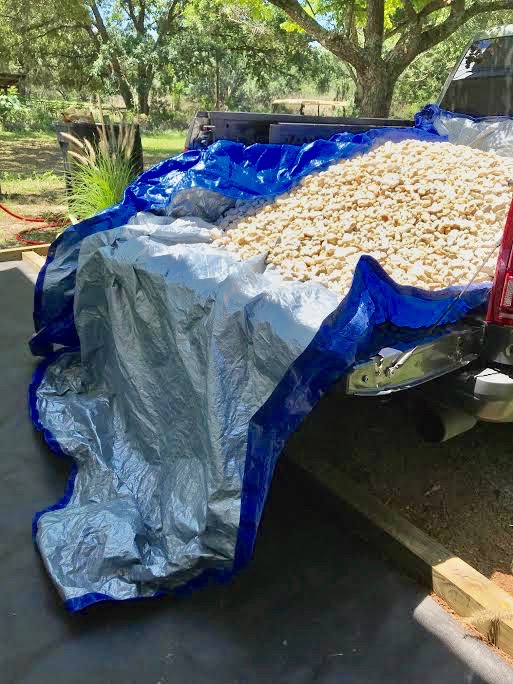
Next, we had to add some topsoil and mulch. We recently had a tree cut down and we had a lot of wood shavings from the stump grinding, so we actually used some of that “mulch” mixed with the topsoil to fill it in.

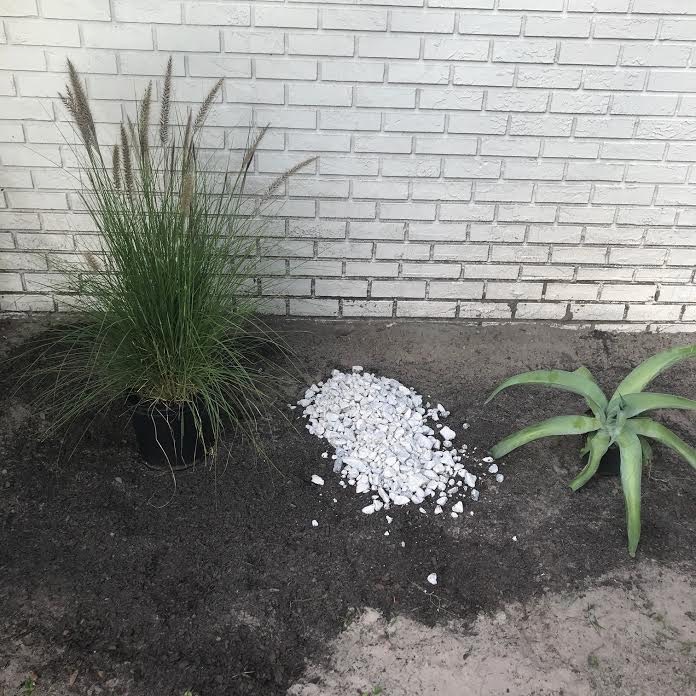
At this point, I had to lay out the plants I selected with the rock to get an idea of what it all looked like together.
My helpers were slacking.
For the landscape edging, we used pressure-treated 4×4 lumbar. I couldn’t find any edging I liked, and I loved the wood border from the inspiration image so that’s we went with.

We leveled the lumbar and hubby secured them to the ground by drilling holes and using 10″ heavy duty lag bolts that went through the lumbar and into the ground. Next, we covered the plant beds with landscaping fabric and then brought in loads of rocks.
I chose white 1 1/2″ river rock. Locally, it cost about $135/yard. Technically, I think you’re supposed to plant your plants before you spread the rock or mulch, but we were shoveling like madmen and didn’t want to mess up our plants so we opted to spread and level the rocks first, then plant the plants.

We used a rake to level the rocks, keeping the back area near the house a bit higher to encourage water runoff. After the rocks were leveled we set out the plants and once I was happy with the placement, we cleared the rocks, cut a hole in the landscaping fabric shoveled out some dirt and planted our plants.

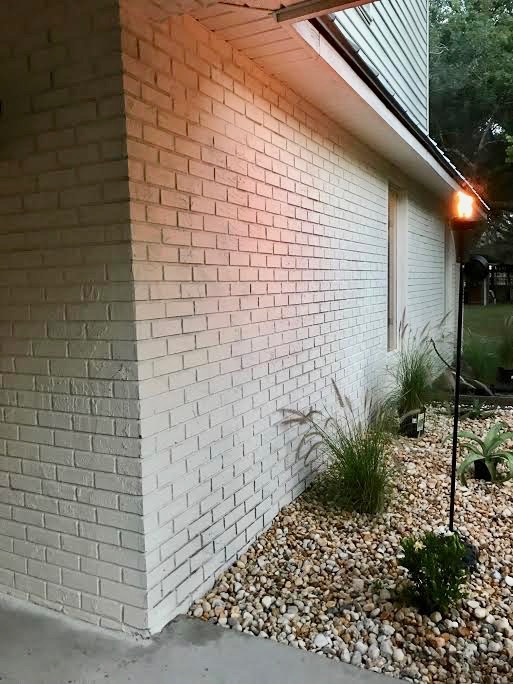
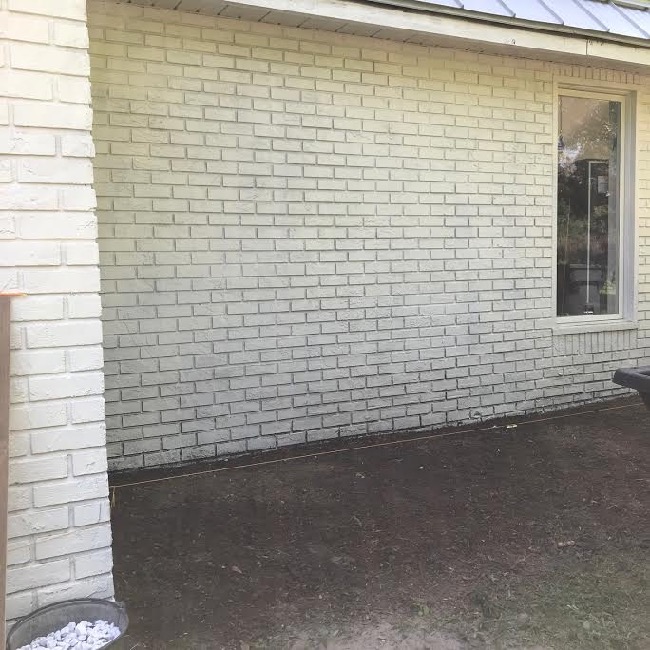
As you can see, we did about 20′ on either side of the patio for One Room Challenge reveal purposes, but we’ll continue on along the rest of the house in the coming weeks.
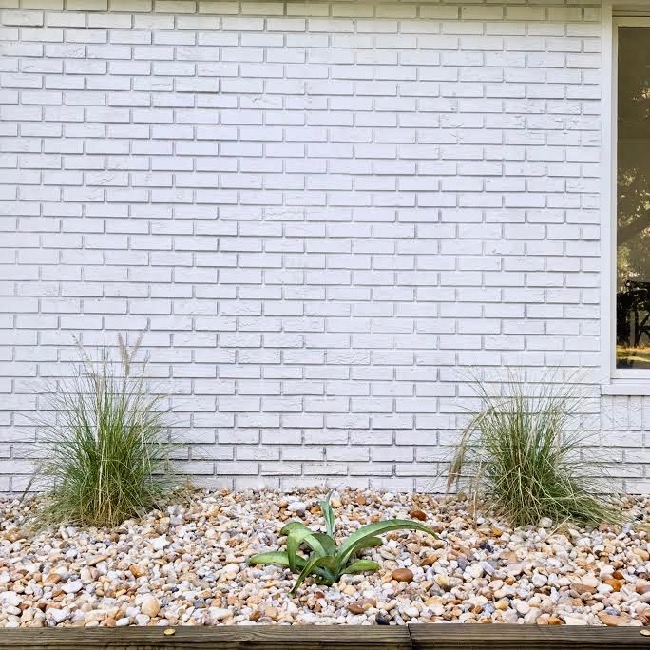
And here’s where we ended up! I kept the plants simple and minimal and used gardenia, white fountain grass, agave and aloe plants.

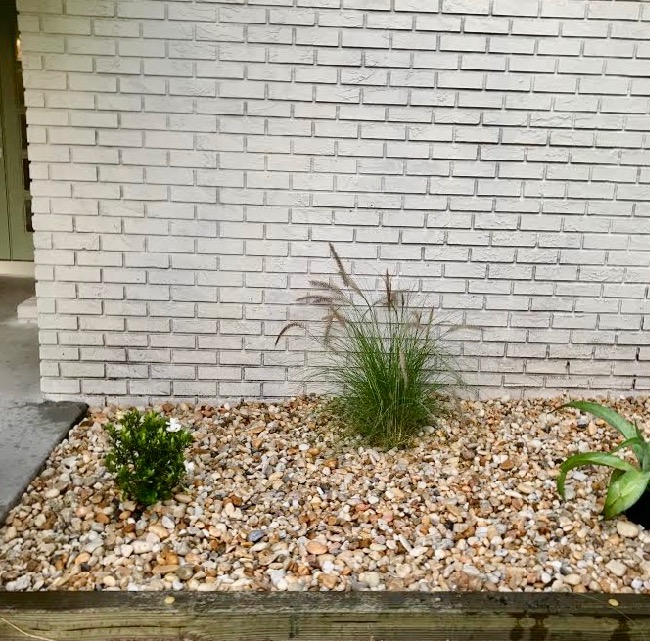
Our DIY rock landscaping was a success if you ask me. I love the look of the river rock and the simple plants we selected.