We finished this project a while ago but I realized I never blogged it! The porch ceiling project is wrapping up so I thought I’d break up the posts. Today I’m going to share all about our farmhouse porch with brick steps including the staining process.
FYI, there is a highlight folder dedicated to the “porch makeover” project on my Instagram profile with videos detailing the project from the start.
Farmhouse Porch Deck Staining Saga
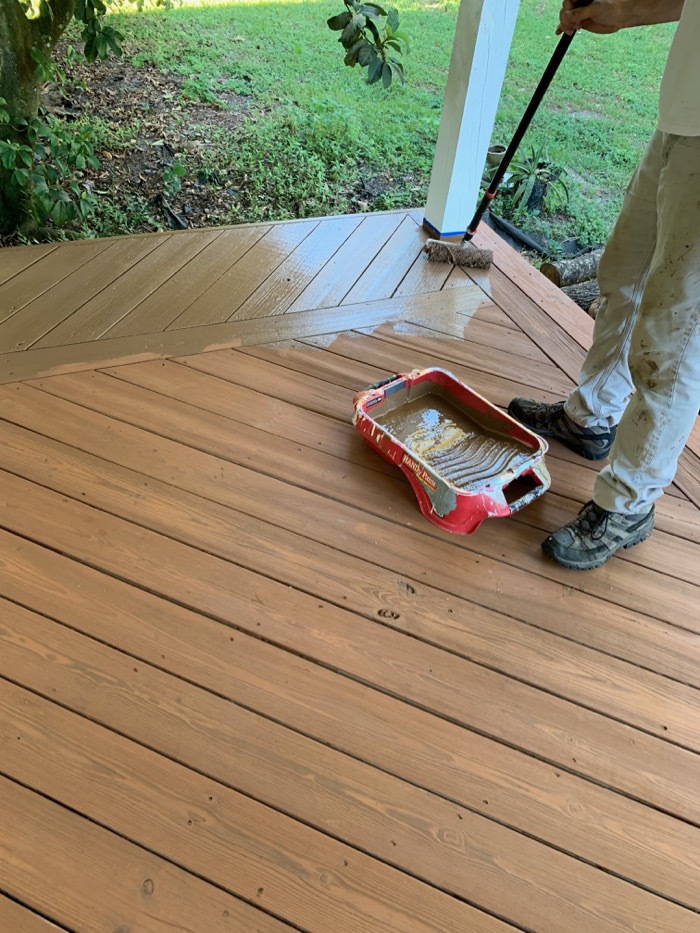
The first thing we did as part of our porch makeover was staining the deck. The porch deck boards are installed in a cool herringbone-like pattern, a detail we really love. But the boards were never sealed so the porch was looking a little drab and may of the boards needed to be replaced due to age and weathering.
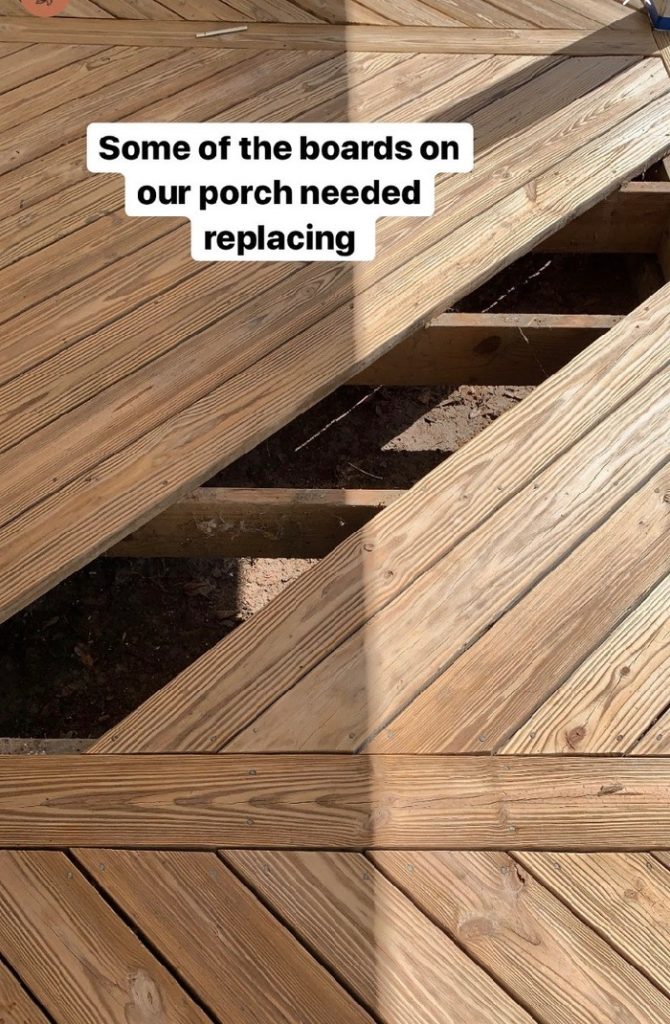
The first thing we did was pressure was the porch and replaced worn boards. If your deck is in bad shape you may also want to opt for a deck cleaner. After the boards dried completely, we taped off the siding of the house and began the staining process using a roller. We used Cabot semi-solid stain in chestnut brown. I made the rookie mistake of choosing a stain based on the swatch without sampling.
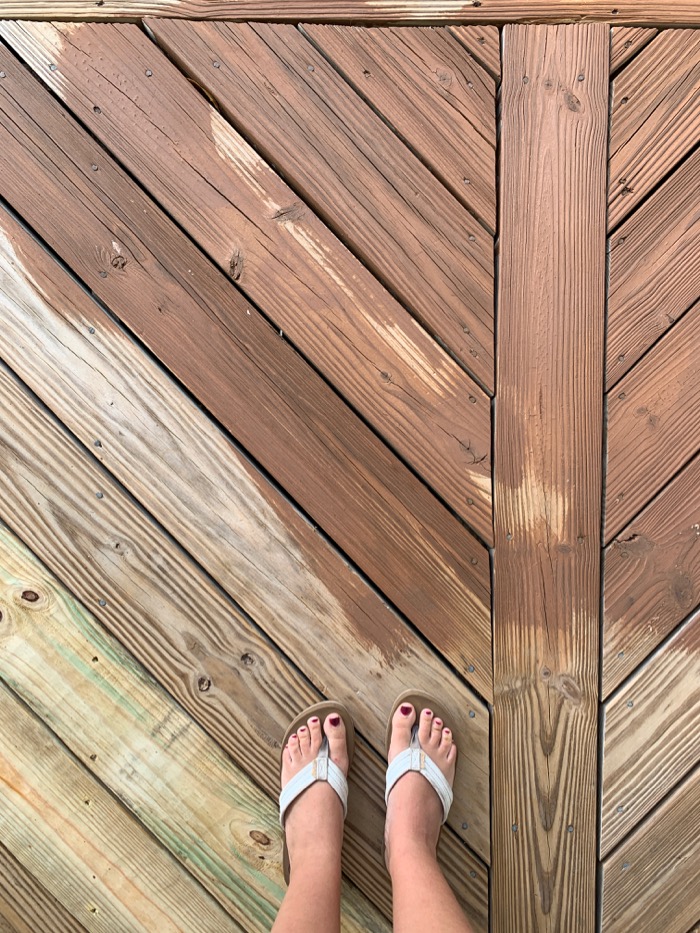
This is why I absolutely recommend everyone test swatches. I should have known better. After purchasing over 5 gallons of stain and staining the entire porch, I hated it.
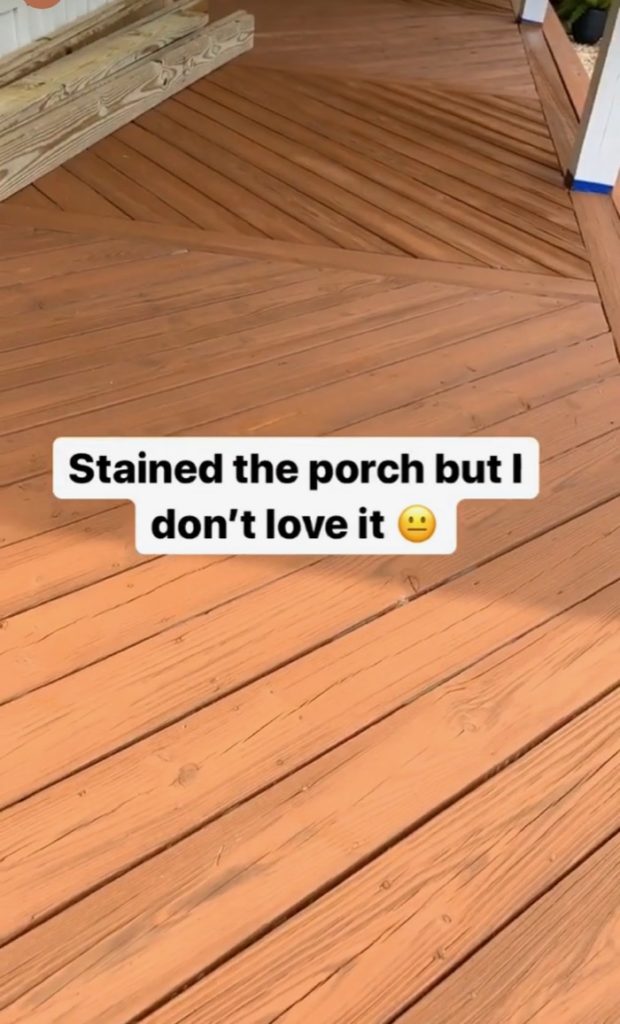
It was much different than the swatch and had an orange undertone that I couldn’t get past. Back to the drawing board. Since we used a semi-solid stain the first go-round, we decided to go over it in a solid stain after it cured. The opacity of the stain determines how much of the wood grain is left after the stain. Stain typically comes in at least semi-transparent, semi-solid, and solid opacity options.
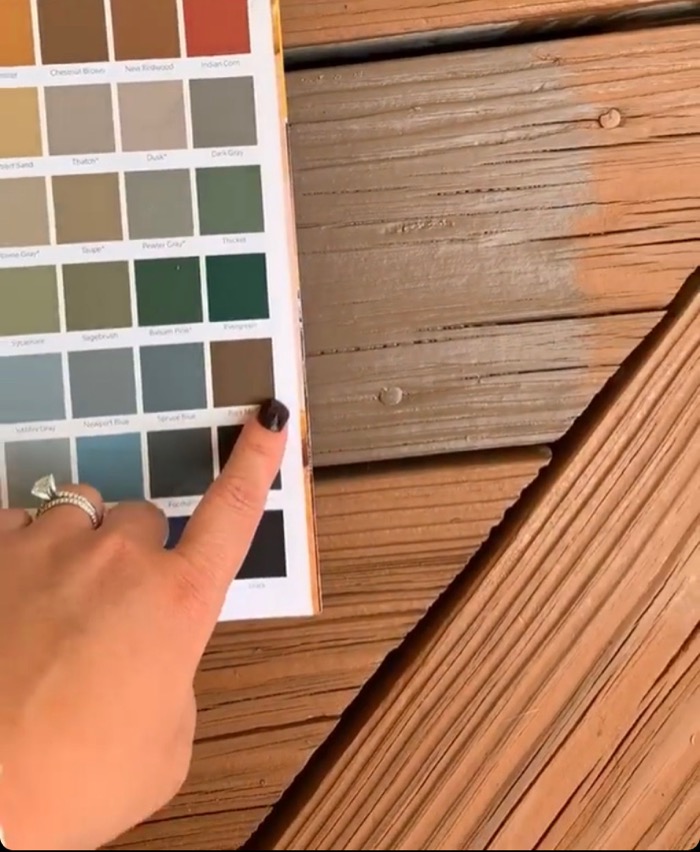
After properly testing a few samples, we chose Cabot’s “bark mulch” solid stain and painted over the first stain. You can see how it is richer in color than the chestnut brown.
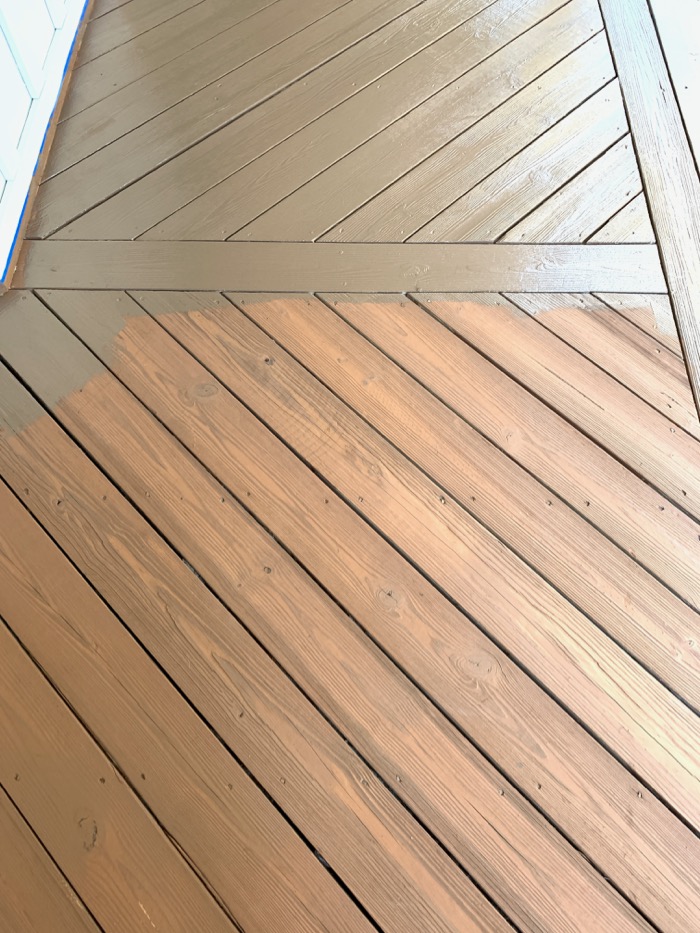
The solid stain covered the grain of the wood a bit more than a semi-solid stain, but it turns out we were ok with it since it helped fill some of the cracks and imperfections in the aged boards that we didn’t replace.
Farmhouse Brick Steps
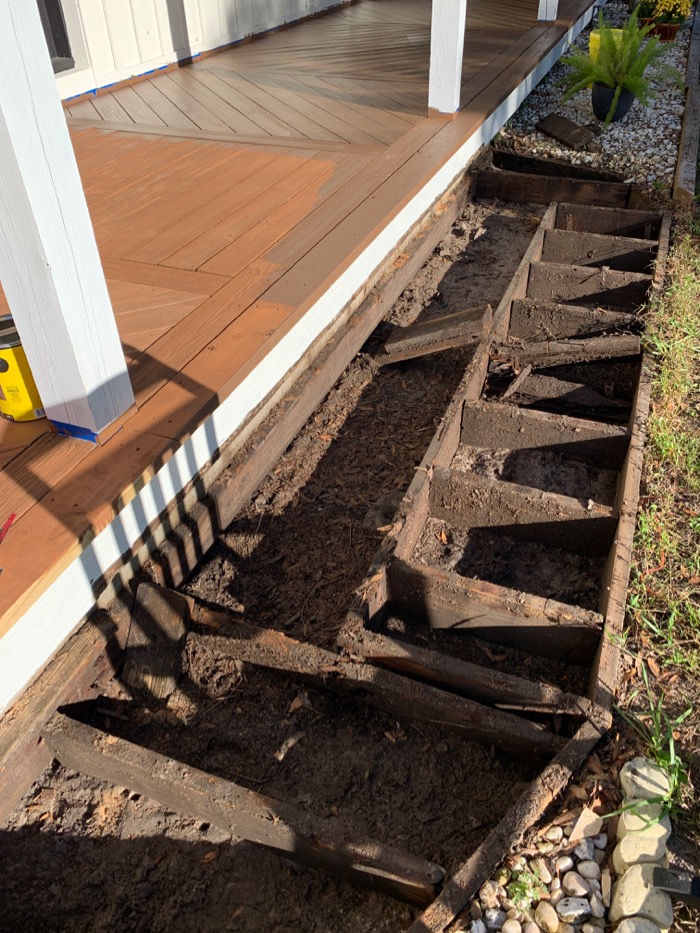
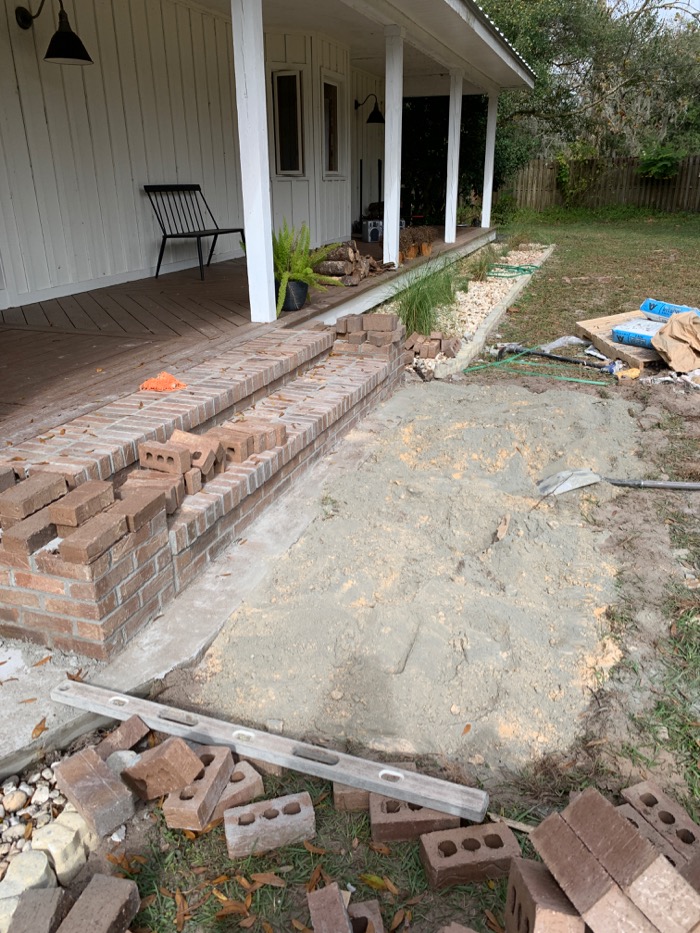
While we were replacing the worn boards on the porch and steps we learned that the support under the wood steps was rotting. I always loved the idea of a farmhouse porch with brick steps and this was the perfect opportunity to install what I wanted. We tore out all of the wood steps and had custom brick steps built.
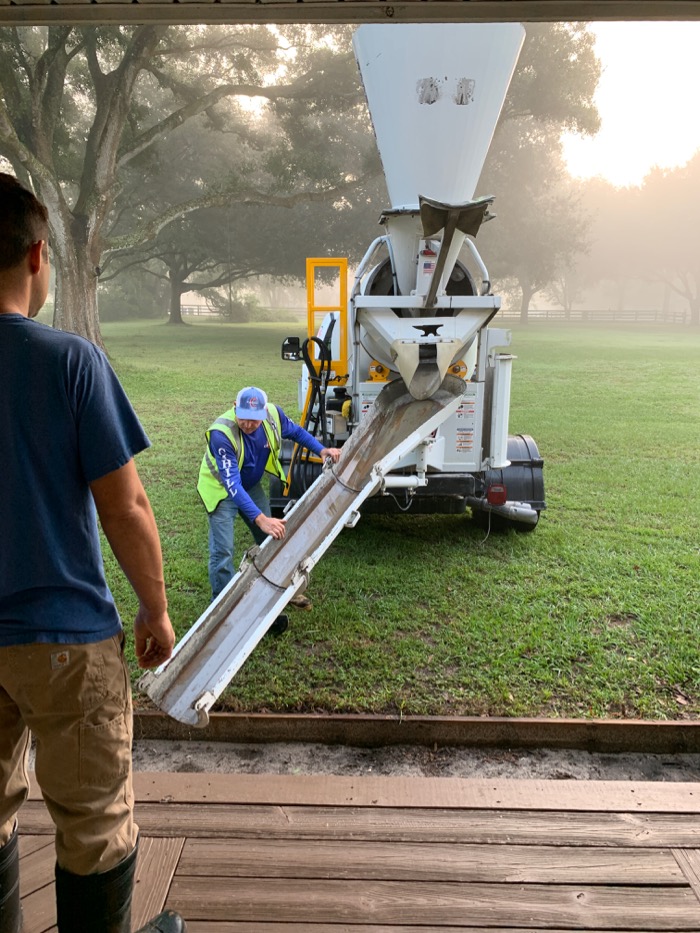
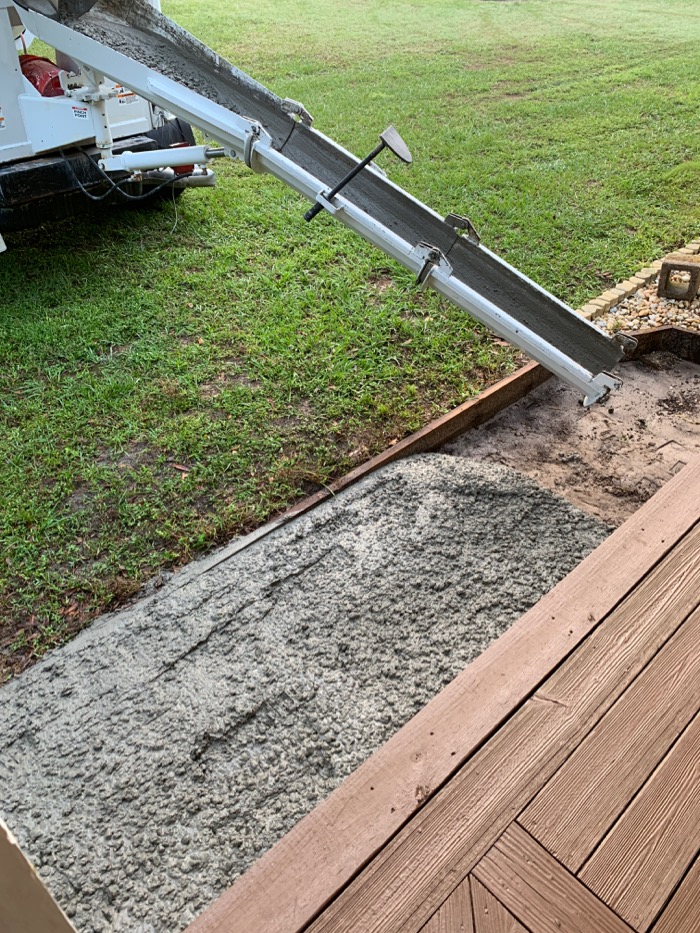
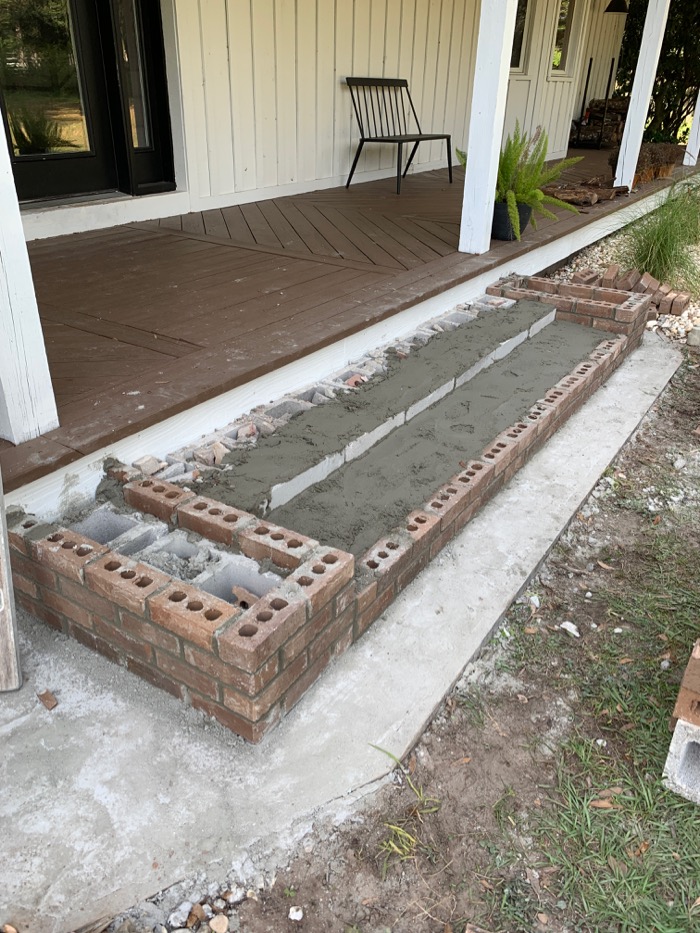
The first step was filling the base with concrete so we had a nice solid foundation for the brick steps.
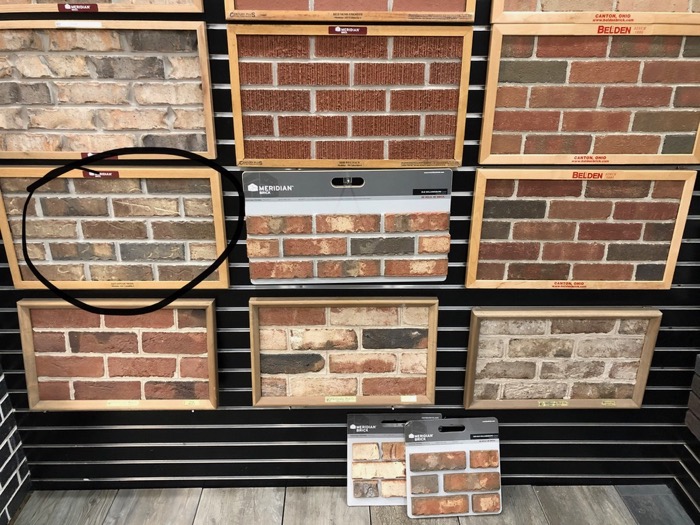
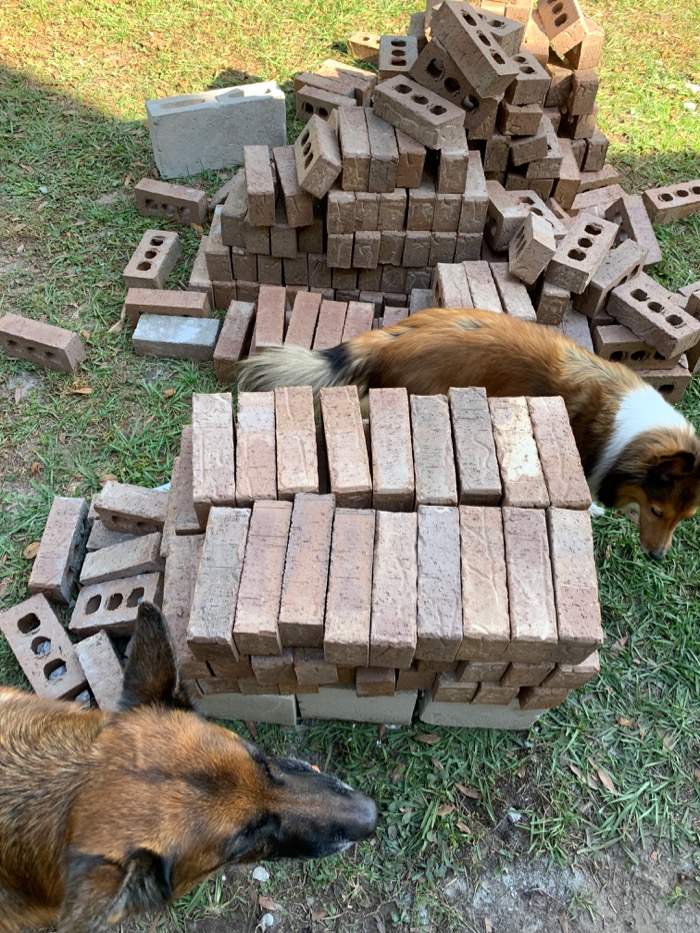
We chose the Savannah moss brick color by meridian brick.
We hired a brick mason to build our steps and a matching mailbox. I designed the brick steps to have a platform on either side for a custom look and a place to display plants and decor.
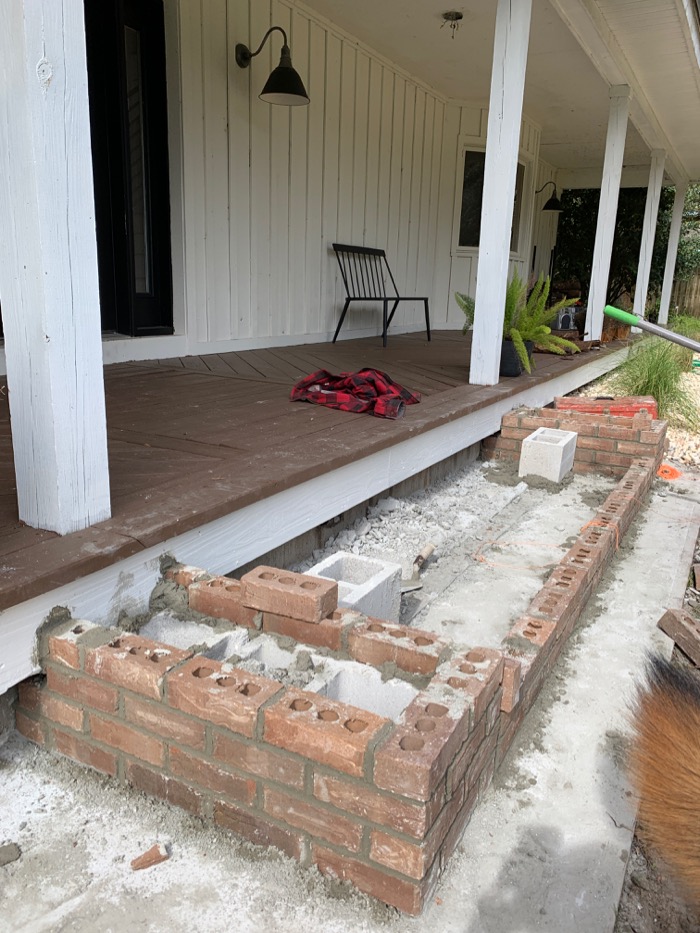
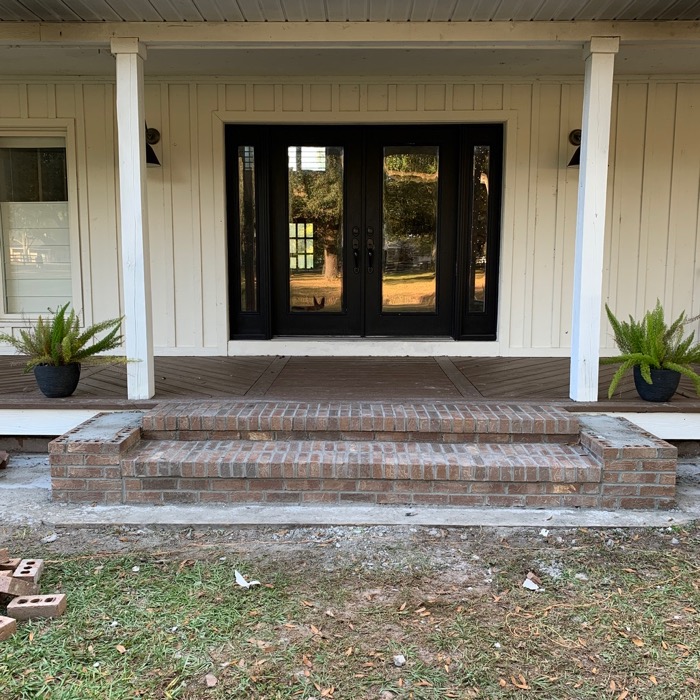
In front of the steps, he built out a 4′ brick paver platform. Eventually, when we install a driveway, we will install a sidewalk to meet up with the brick platform.
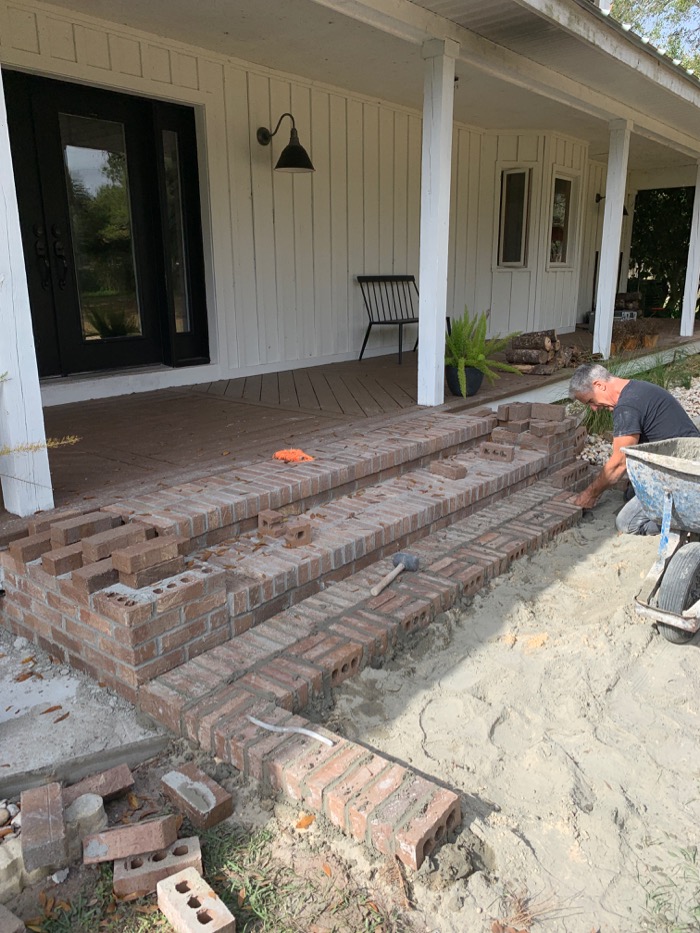
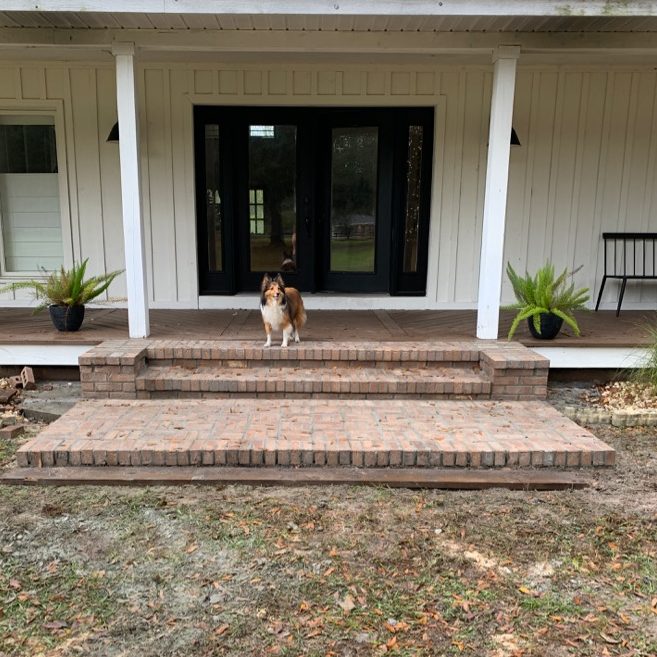
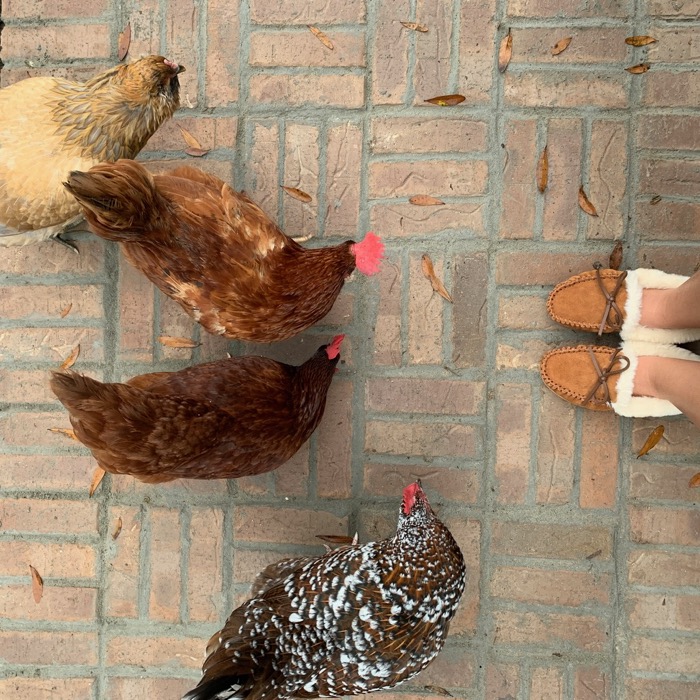
The brick mason suggested we alternate the direction of the bricks to create this pattern and I love the way it turned out!
Project Cost Breakdown:
Deck Stain & Supplies: $500 (failed attempt included)
Concrete Fill: $250
Brick Materials: $300
Brick Masonry Labor (hired out): $2600
I love the way our decking and steps turned out! Even after a failed attempt. Hah. TEST YOUR SAMPLES PEOPLE!
More on the porch ceiling tongue-and-groove makeover coming soon!