I’m coming at ya today with a big farmhouse kitchen remodel update! We’re 15 weeks in and finally putting the mess back together! Since my last update, we finished drywall and flooring, had the gas line installed and assembled all of our cabinets!
Farmhouse Kitchen Remodel Update!
Drywall
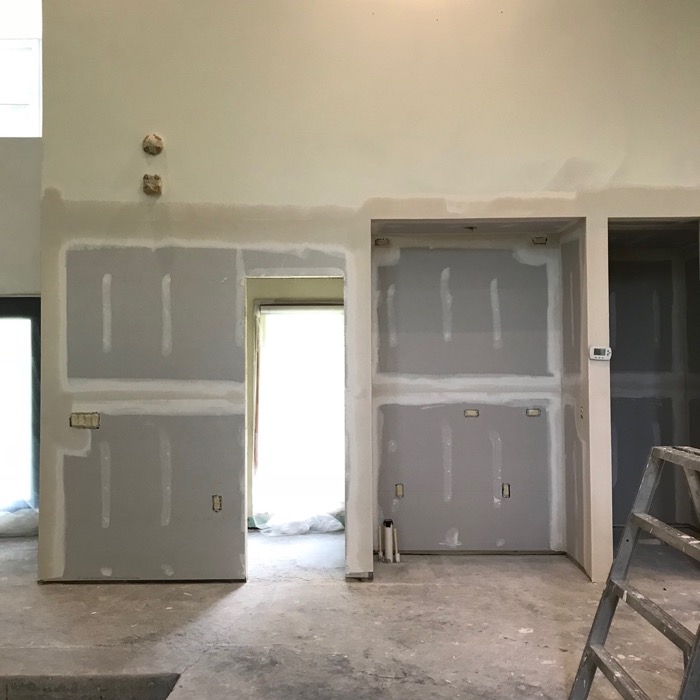
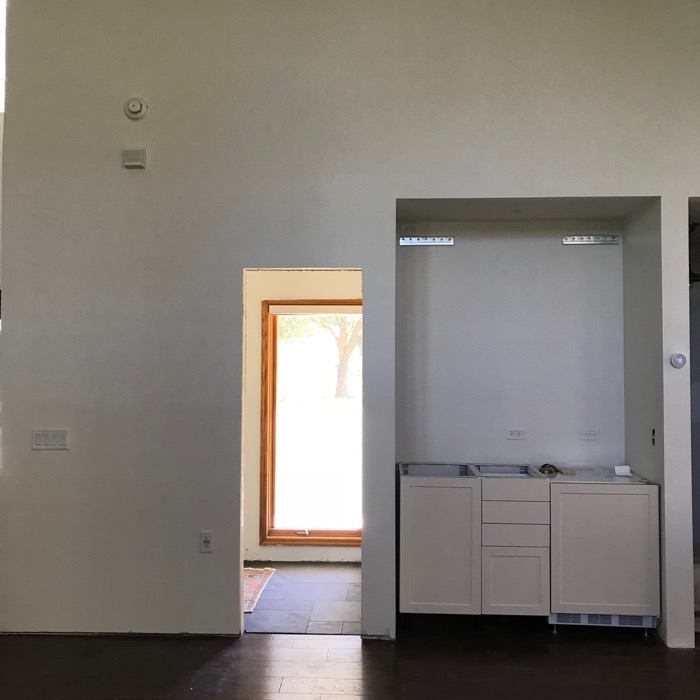
All of the drywall is done! We had it done in two phases, mostly because it took us a while to do the electrical work, but the entire kitchen and powder room/pantry/mudroom/wet bar area off of the kitchen is all drywalled, textured and painted.
Flooring
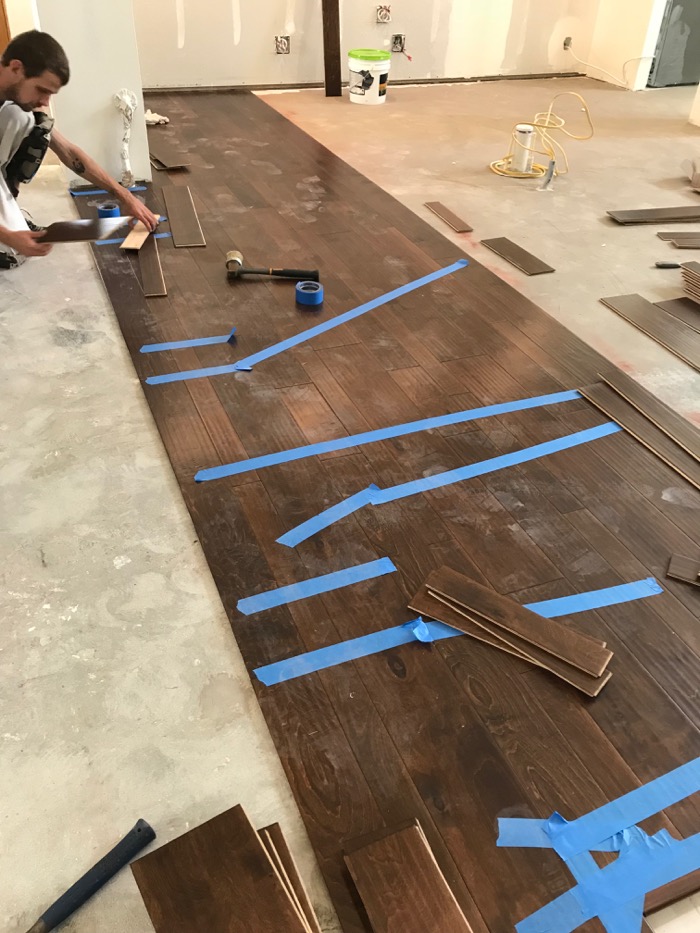
As soon as the drywall work was complete, we had our new floors installed. This marked the fourth and final phase of new flooring install in our house, and we finally have all matching floors! We have a hand scraped engineered hardwood in a mixed 3″, 5″ and 7″ width.
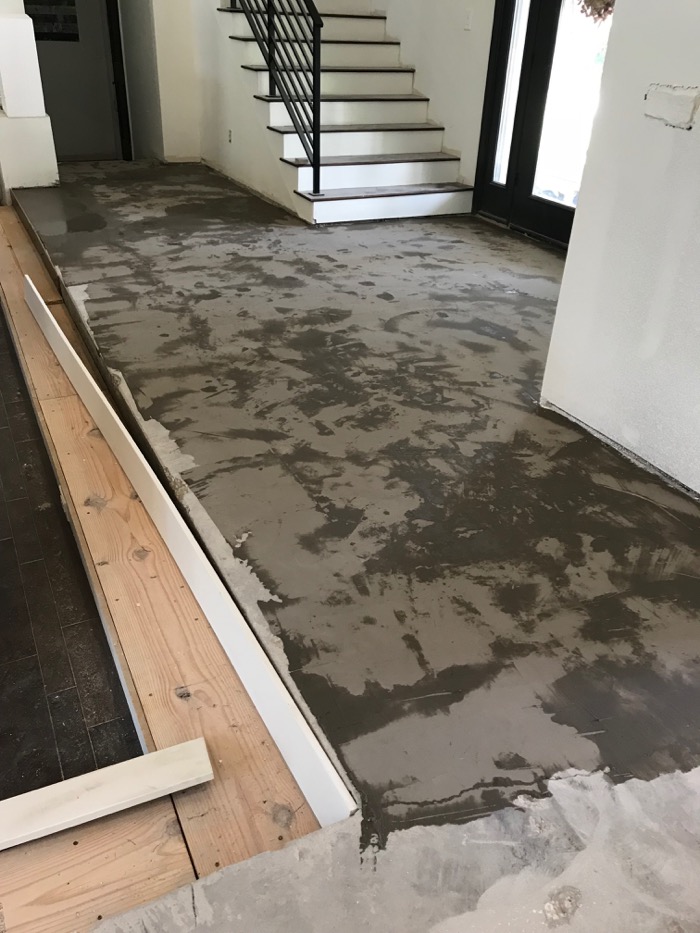
Here’s a closer look at the step down into the living room that hubby built. It looks so nice now that the flooring is installed.

Propane Tank Install
Our previous kitchen range was electric and since we wanted our new range to be gas, we had to have a propane tank installed. We don’t have access to natural gas in our area so the range will be fueled by propane and our gas company will convert our range from natural gas to liquid propane. The install was quite a production since we had the tank buried.

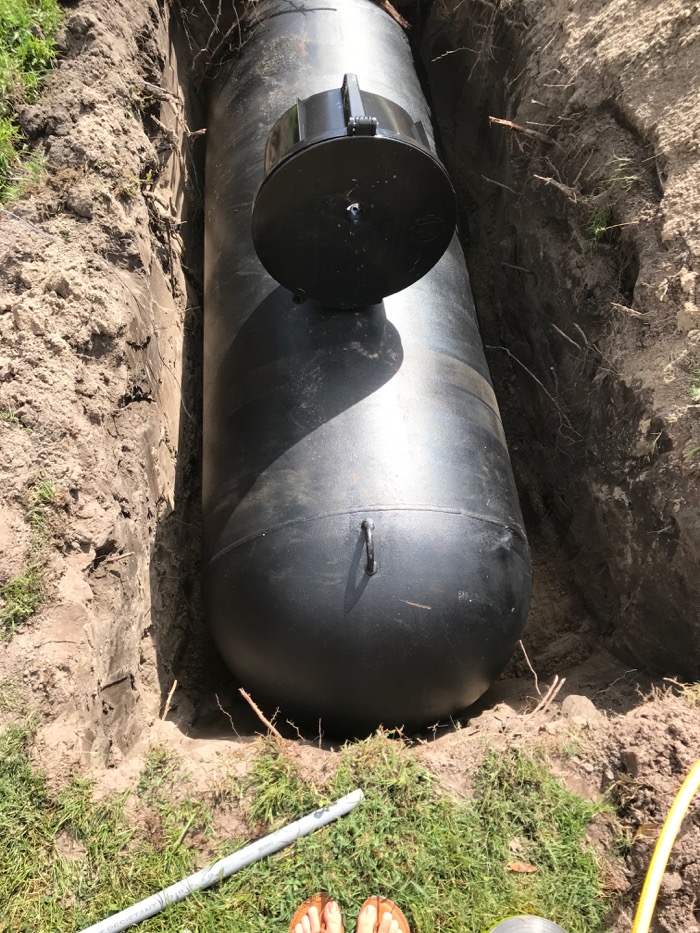
The tank is filled with propane but we’ll have to wait until our range is ready to be installed for it to actually be hooked up.
Cabinets
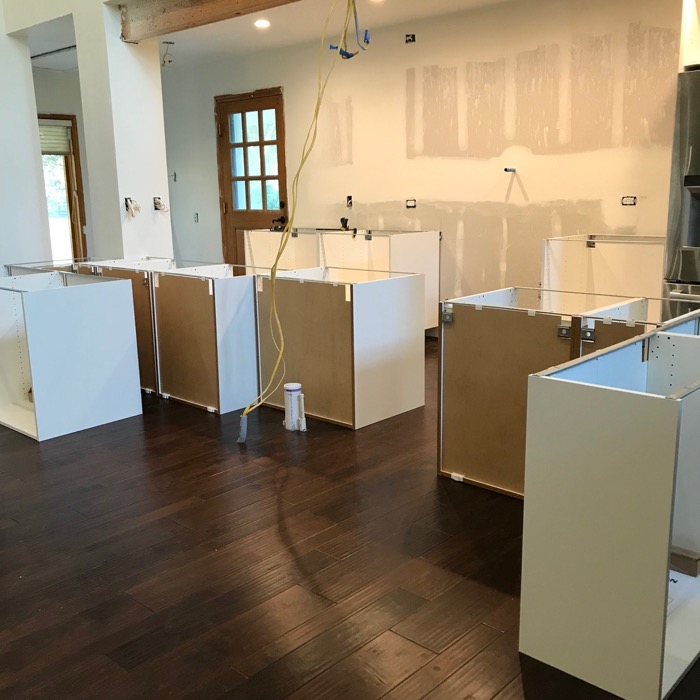
All of our cabinet shells are assembled!! Here’s a peek at them prior to us installing the base.
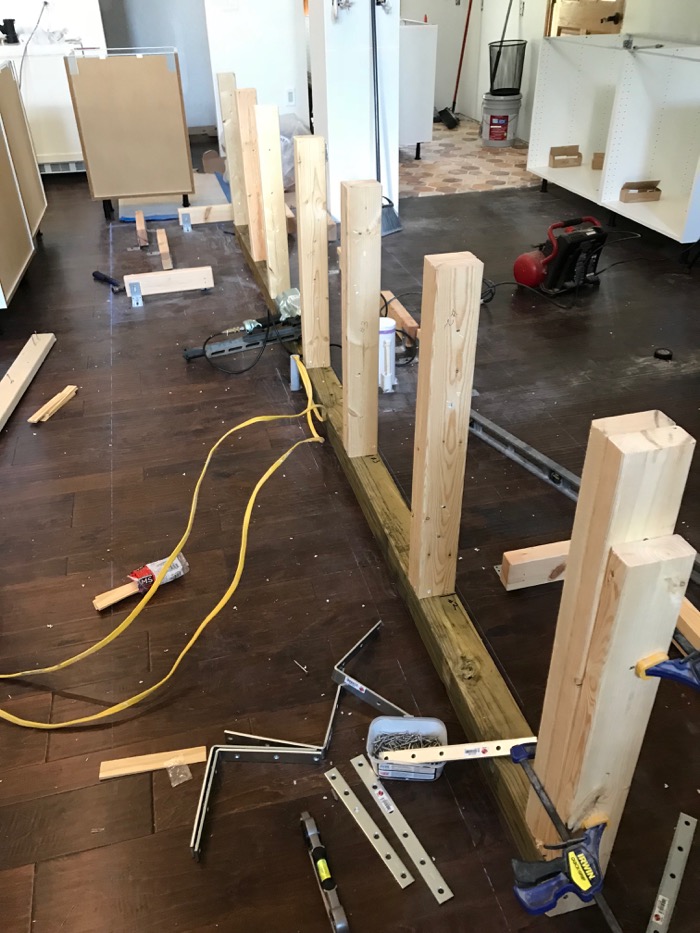
And here’s some of the progress of building the base and a support wall in the dead space we have along the center of the island. The wall will provide extra support for our countertops.
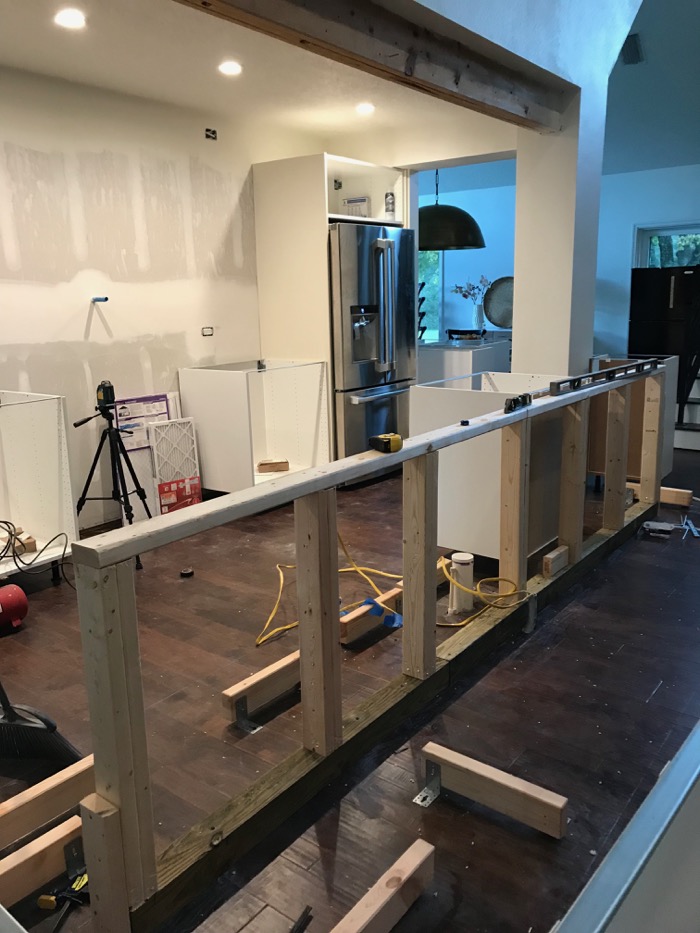
Getting it level was a bit tricky because of course our floors are not level. Hubby used a fancy new laser level and was able to get the cabinet and wall height within less than a 1/2″. Once the wall was built, we started securing the cabinets and are nearly done with that step.
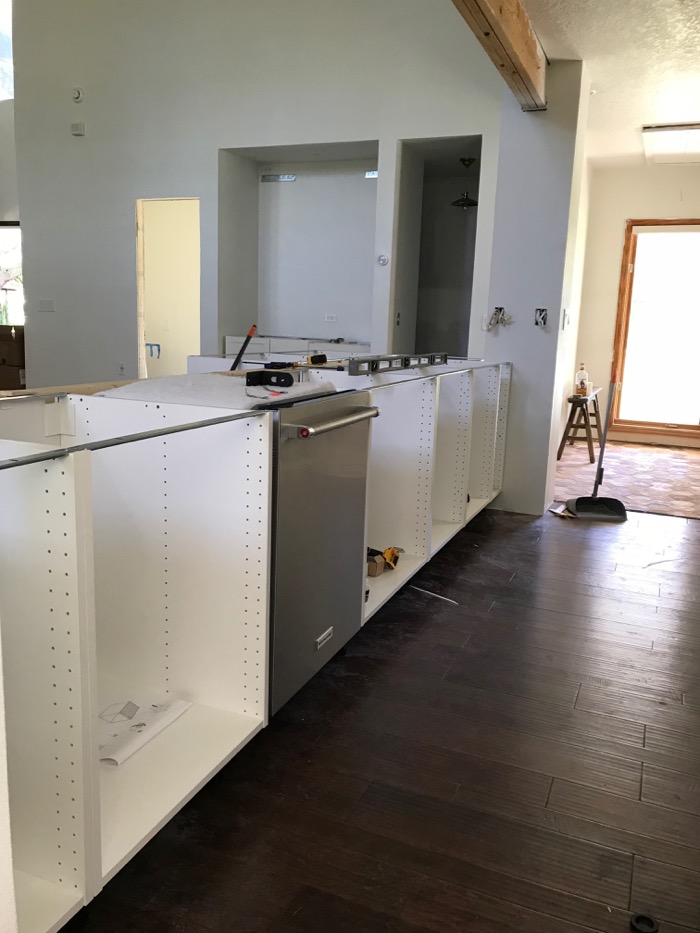
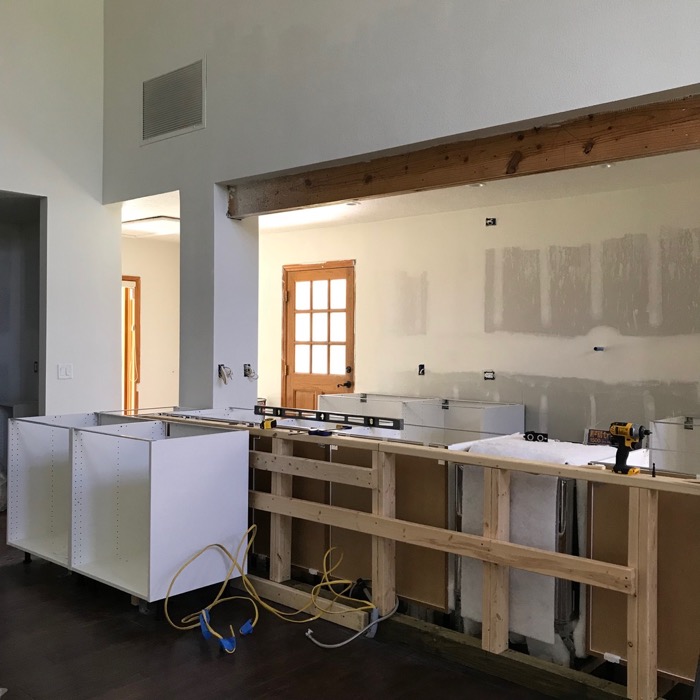
That’s where we’re at now. We have about 4 cabinets left to secure and then hubby is going to build two more small walls on either side of the open overhang, and then we have to do all the electrical for the outlets that will provide power for the dishwasher, disposal, microwave and an extra outlet inside the island seating area for phone/laptop charging, etc.
Countertops
After all the cabinets are secure and electrical work is done, we can have our countertops installed!!! I was leaning toward a quartz I saw at Lowe’s, but after a not-so-great customer service experience and learning about their long lead time, we decided to go a different route. We’re still installing a quartz, we’re just going to go through a local countertop shop with a quick turn around time. After bringing home several samples and going to the slab yard to see the slabs in person (a very important step!), we decided on Calacatta by Pompeii Quartz.

The lighting in the slab yard was tough so the photo above isn’t the best representation of the slab. The photo below is of a small sample of the quartz and it’s a brightened image. I’d say in real life, the quartz looks somewhere in between these two photos. The veining is pronounced with thick green-gray veins with some tan-brown shades throughout. It’s creamy and not white, something I want to avoid since our cabinets are ivory (and clay). I love this option for our farmhouse kitchen remodel. It was not something I considered until seeing it in person, but I feel in love.
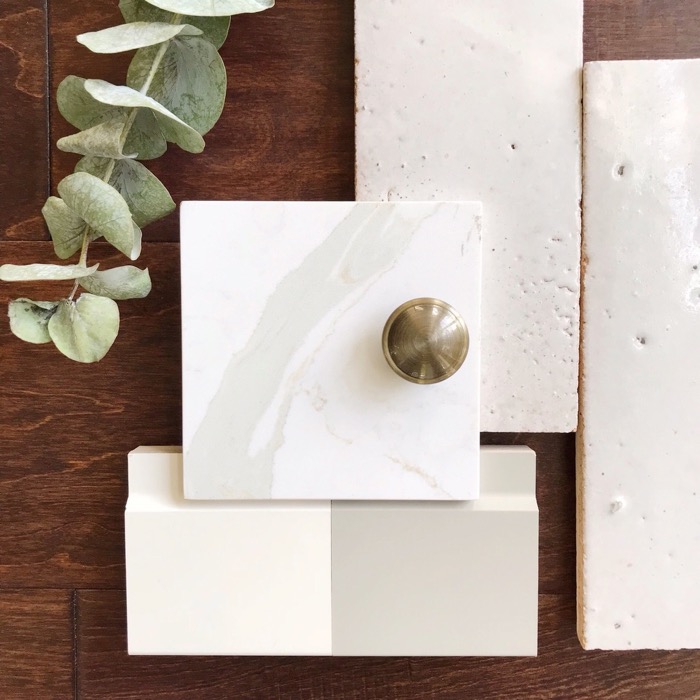
The quartz goes so well with our cabinet colors, backsplash tile and especially our antique brass faucets.
Faucets
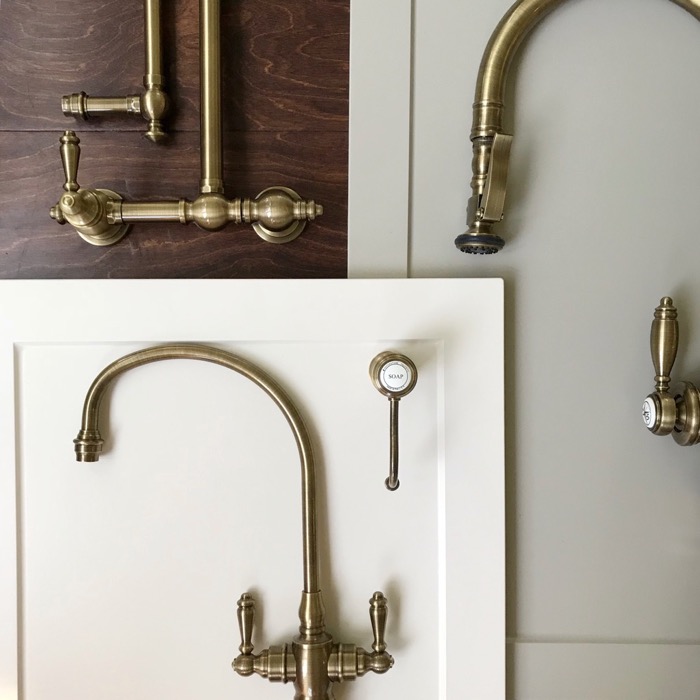
Speaking of faucets, all of our faucets arrived from Waterstone! I was so excited about the faucets and after seeing them in person and getting my hands on them, I’m even more psyched. They feel heavy and luxurious. The warm antique brass finish is perfect for our kitchen. Waterstone is a US-based company and customer service was phenomenal throughout. I can’t recommend them enough. We got sooo many faucets and accessories including our regular sink faucet, a soap dispenser, pot filler and wet bar faucet and hot water dispenser.
What’s Next?
We’re getting closer to the finish line, but there is still a lot to do.
 Repair concrete foundation from plumbing work
 Re-run the electrical in the kitchen
 Drywall kitchen
 Re-frame the walls in the area off the kitchen
 Re-run electrical in the area off kitchen
 Drywall area off kitchen
 Flooring install
 Propane tank/gas line install
 Build cabinet frames
- Cabinet install (almost done!!)
- Install farm sink and wet bar sink
- Template for countertops
- Countertop install
- Backsplash tile install
- Plumbing fixtures install
- Range hood vent install
- Assemble cabinet doors/drawers
- Install light fixtures, open shelving, cabinet hardware
- Convert and install the range
- Throw a friggin party!
Just for fun, here’s a couple before photos and a photo of where we’re at now. 🙂
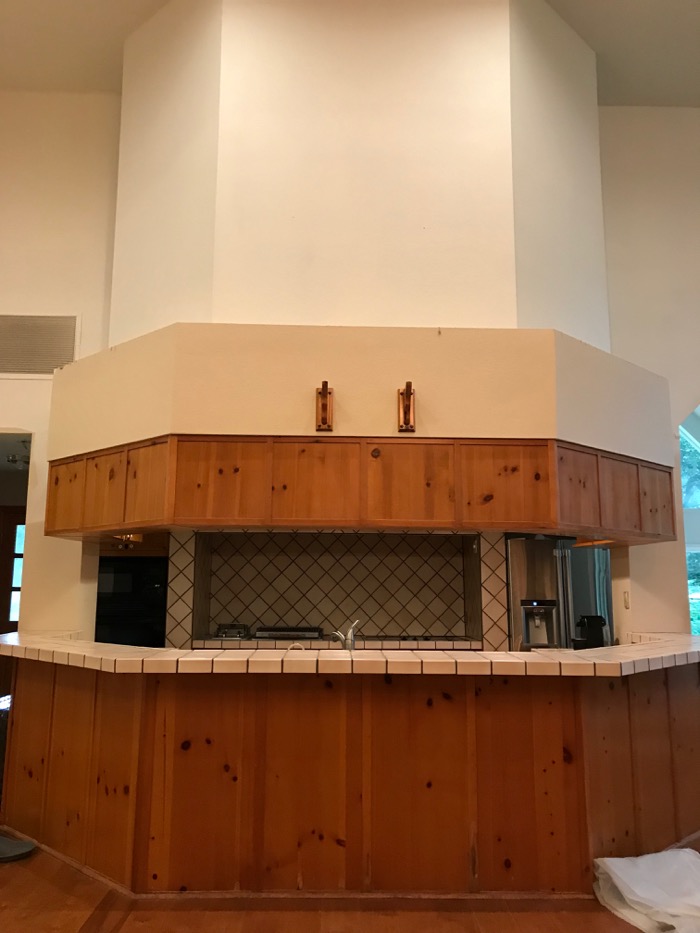
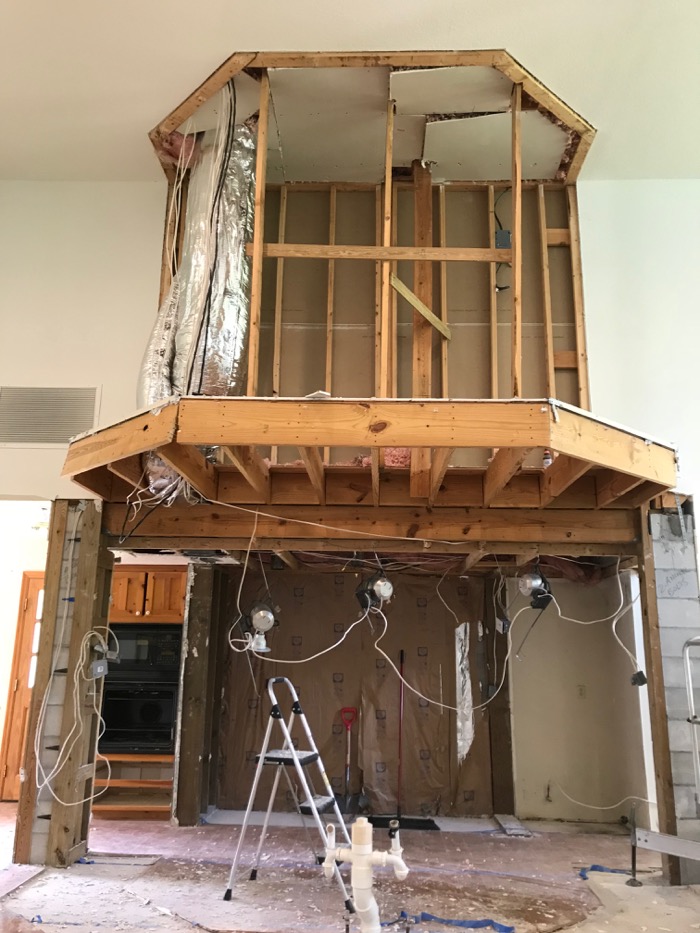
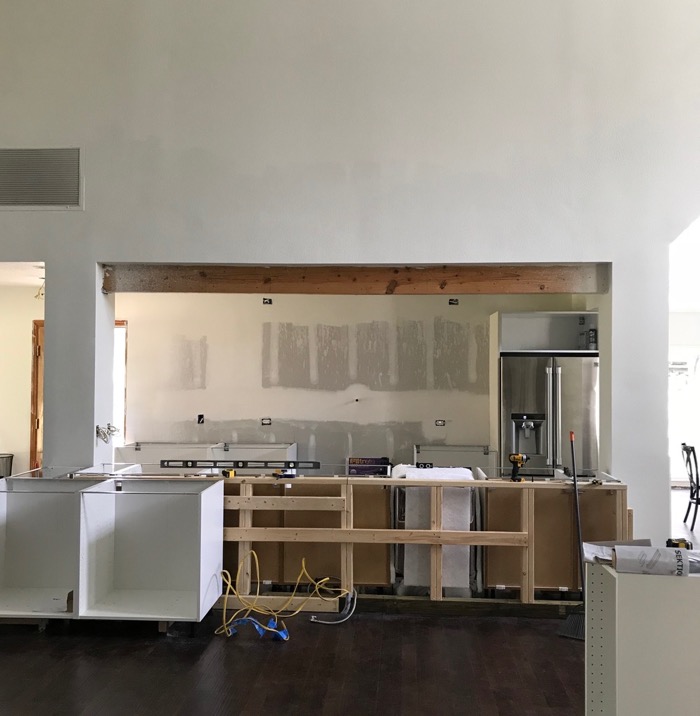
So there ya have it, a big, exciting update on our farmhouse kitchen remodel. I’m really hoping to finish in time for Thanksgiving so please keep your fingers crossed for me!

4 Responses
Hi,
Was interested in information about your backsplash in kitchen. Thank you!
It’s zellige from Cle tile. It is “white peony” from a limited edition kiln load and not something they stock, unfortunately. The weathered white is pretty close though.
What color did you use for the wet bar cabinets? And did you use the same color on the wall? I’m building and having a hard time committing to a look but I love your wall/cabinet color combo.
Our kitchen cabinets are stock colors from Semihandmade that are now discontinued. The wet bar and perimeter cabinets are a creamy antique white color and the island is a greenish-gray tone.